Inspired by my popular Christmas Cake Ball recipe, these Heart Cake Pops bring a festive twist to a tried-and-true favorite making them perfect for Valentine's Day! (My trick is to use Betty Crocker's moist yellow cake mix...it's the BEST!)
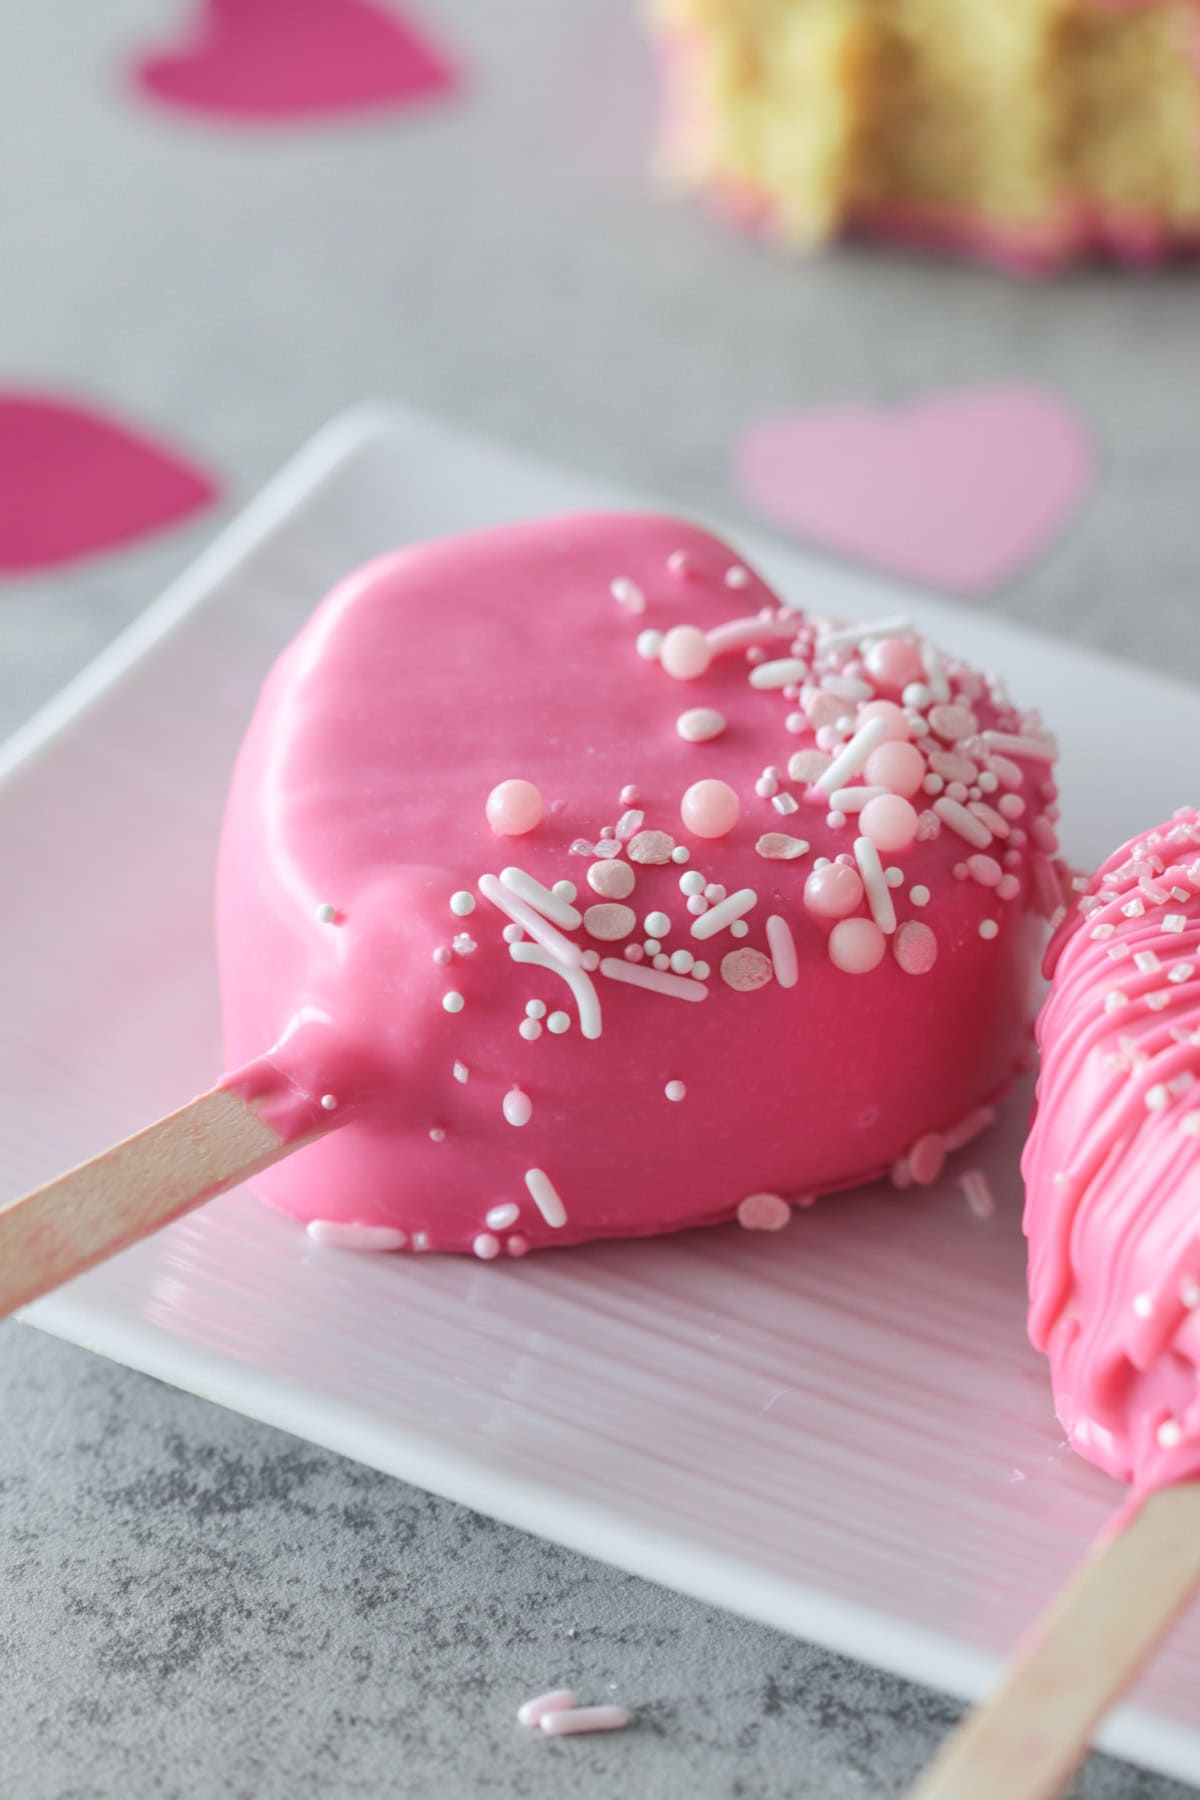
I love LOVE. (Who doesn't?!) So Valentine's Day is a holiday that I have always looked forward to. It's the perfect time to remind your besties (on Galentine's Day) how much they mean to me.
So sending sweet homemade treats like these heart cake pops or my pink chocolate covered strawberries, are the perfect heartfelt gift! Plus, they're DELICIOUS!
I used my standard cake ball recipe as the base, which is a hit every Christmas! You could also make them instead of hearts if you don't have heart molds (which I linked to below) or don't want to wait for them to arrive! (They would taste just as delicious!)
Ingredient Tips
- Boxed Cake Mix: I LOVE Betty Crocker's moist yellow cake mix. It's is the most moist and flavorful in my opinion.
- Cream Cheese Frosting: I use storebought cream cheese flavored but vanilla icing works fine too.
- Candy Melts: Candy melts were made specifically for dipping. You can use white, pink or red for Valentine's Day.
- Sprinkles: You can choose ANY sprinkles you like!
Dipping Tips
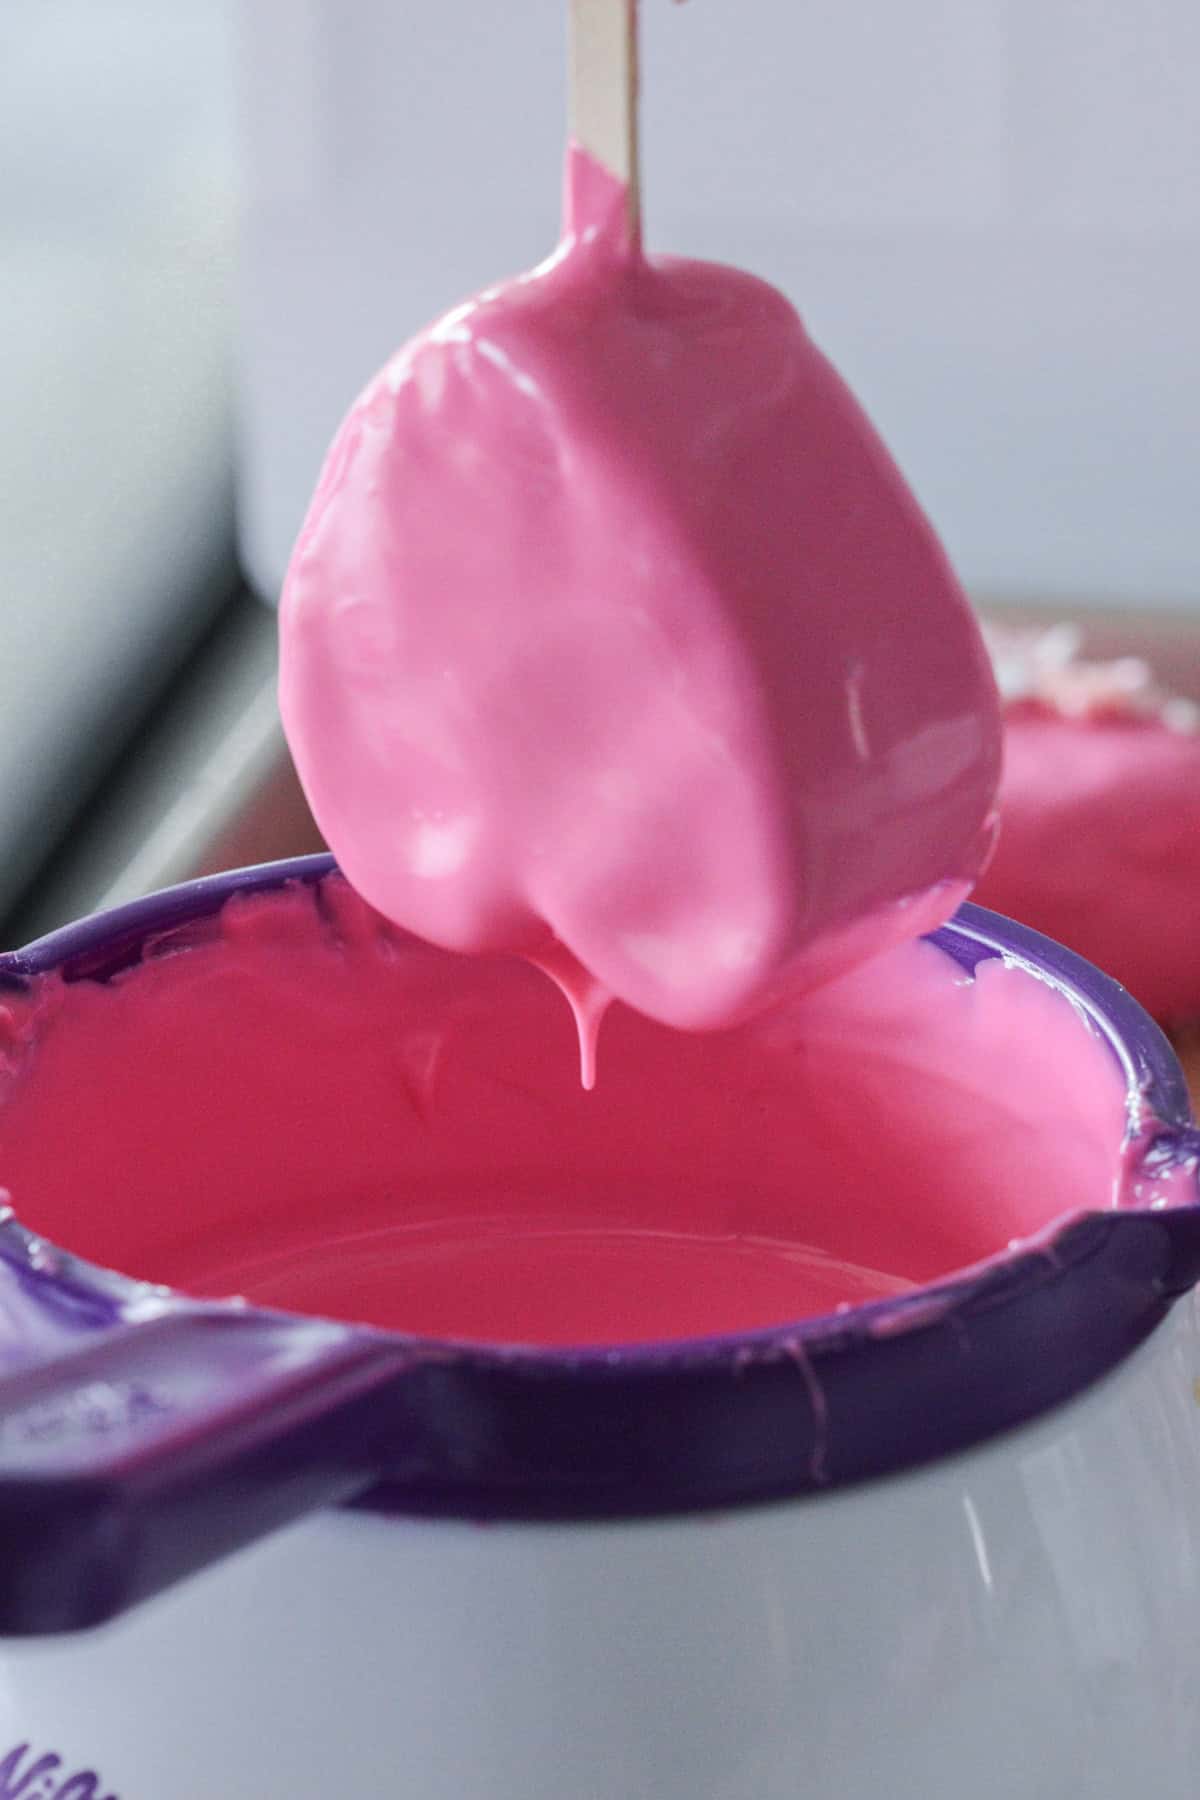
- If you scorch or overheat your chocolate, it will seize or thicken up. Adding ez-thin, coconut oil or Crisco to help thin it out. It should be very loose when dipping a spoon in.
- Make sure your melting vessel is deeper than the length of your cake pop so you can fully submerge it.
- Parchment paper and silicone mat are the only surfaces you want to place wet chocolate on. Otherwise they will stick!
Cake Pop Variations:
- Holiday Twist: Switch the candy melt colors, molds and sprinkles to match different holidays.
- Flavor Options: Experiment with chocolate cake mix and peanut butter frosting for a rich alternative. Red velvet cake would be perfect
- Decorative Pops: Add edible hearts, glitter, or Valentine’s Day-themed accents for extra charm.
Storing Tips
Storing Cake Pops BEFORE Dipping
- Refrigerate: Keep undipped cake pops in an airtight container in the fridge for up to 2 days. This helps them stay firm and easier to dip.
- Freeze: For longer storage, freeze undipped cake balls on a baking sheet until solid, then transfer them to a freezer-safe container or zip-top bag for up to 1 month. Thaw in the fridge before dipping.
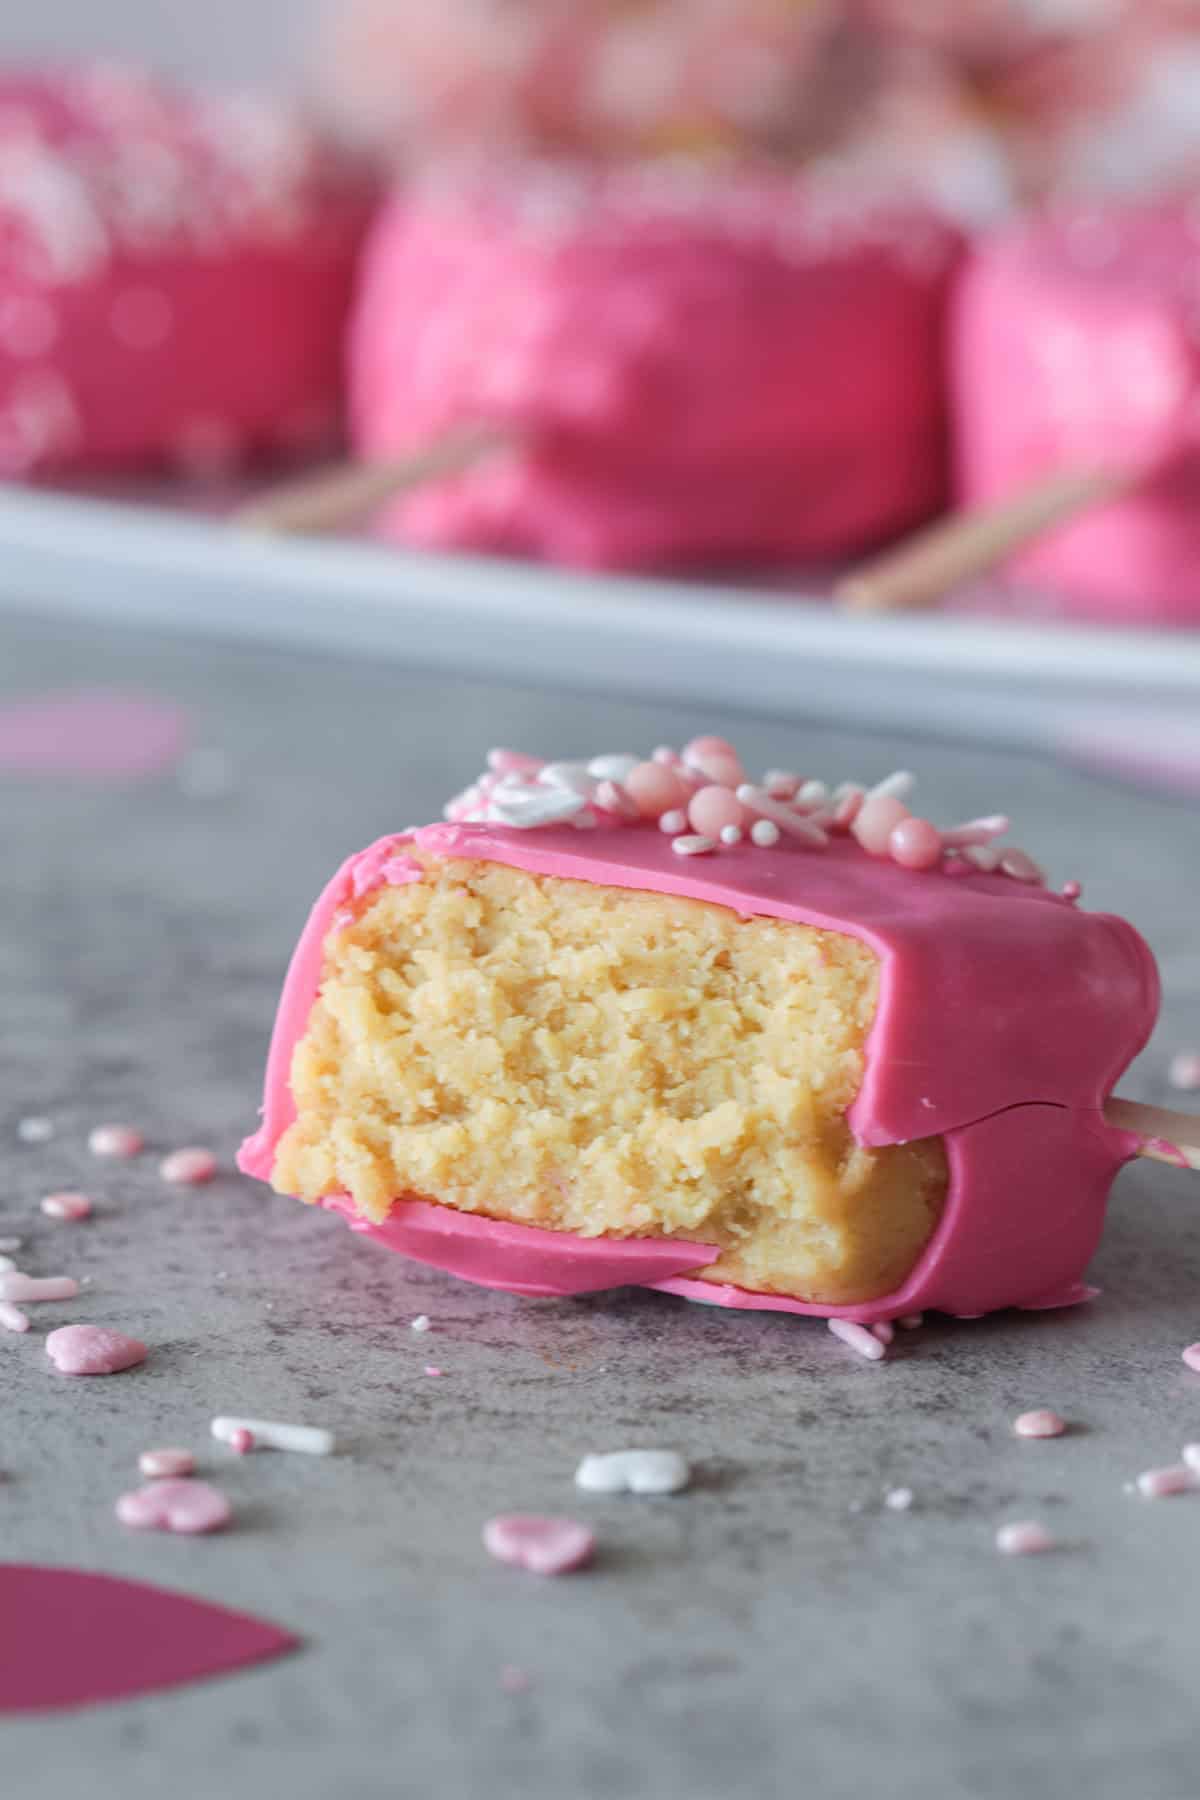
Storing Dipped Cake Pops
- At Room Temperature: If you’re serving them soon, store dipped cake pops at room temperature in a cool, dry place for up to 3 days. Ensure they’re in an airtight container to prevent them from drying out.
- Refrigerate: For longer storage, place dipped cake pops in an airtight container lined with paper towels. They’ll keep in the fridge for up to 1 week.
- Freeze: You can freeze fully decorated cake pops for up to 1 month. Wrap them individually in plastic wrap to prevent moisture from affecting the coating, then store in a freezer-safe container. Thaw in the fridge before serving.
Other Valentine's Day Recipes
Additional Tips
- Keep Them Upright: Use a cake pop stand or foam block to prevent smudging or flattening the coating.
- Avoid Humidity: Store in a cool, dry place to keep the chocolate coating shiny and crack-free.
- Plan Ahead: If freezing, allow time for thawing and ensure the pops are completely dry before packaging or serving.
Recent Recipes
Want something fun to make for dinner? Try my Pink Sushi!!
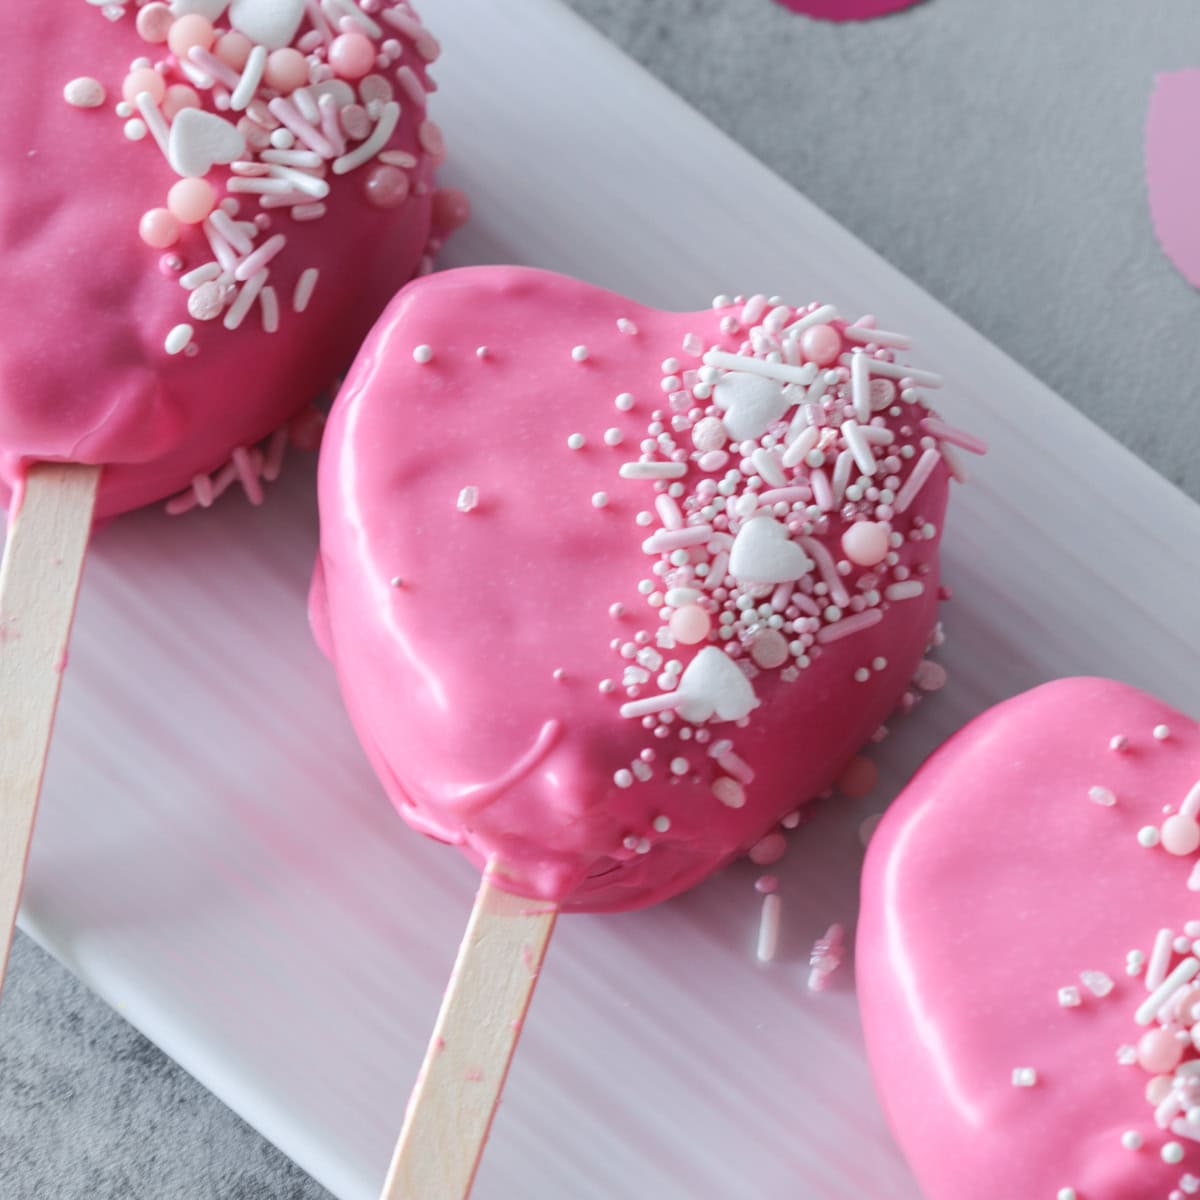
Pink Heart Cake Pops
Ingredients
Equipment
Method
- Preheat oven to 350℉.
- Make the cake mix according to instructions but replace the water with milk and only use 2 tablespoon oil.
- Bake at 350℉ in a greased 9"x 11" cake pan (or something similar in size).
- Once it's baked and just cool enough to handle, transfer the warm cake to a large mixing bowl.
- Add about ¼ cup of frosting and mix it all together with your hands, a mixer or a spatula if you prefer.
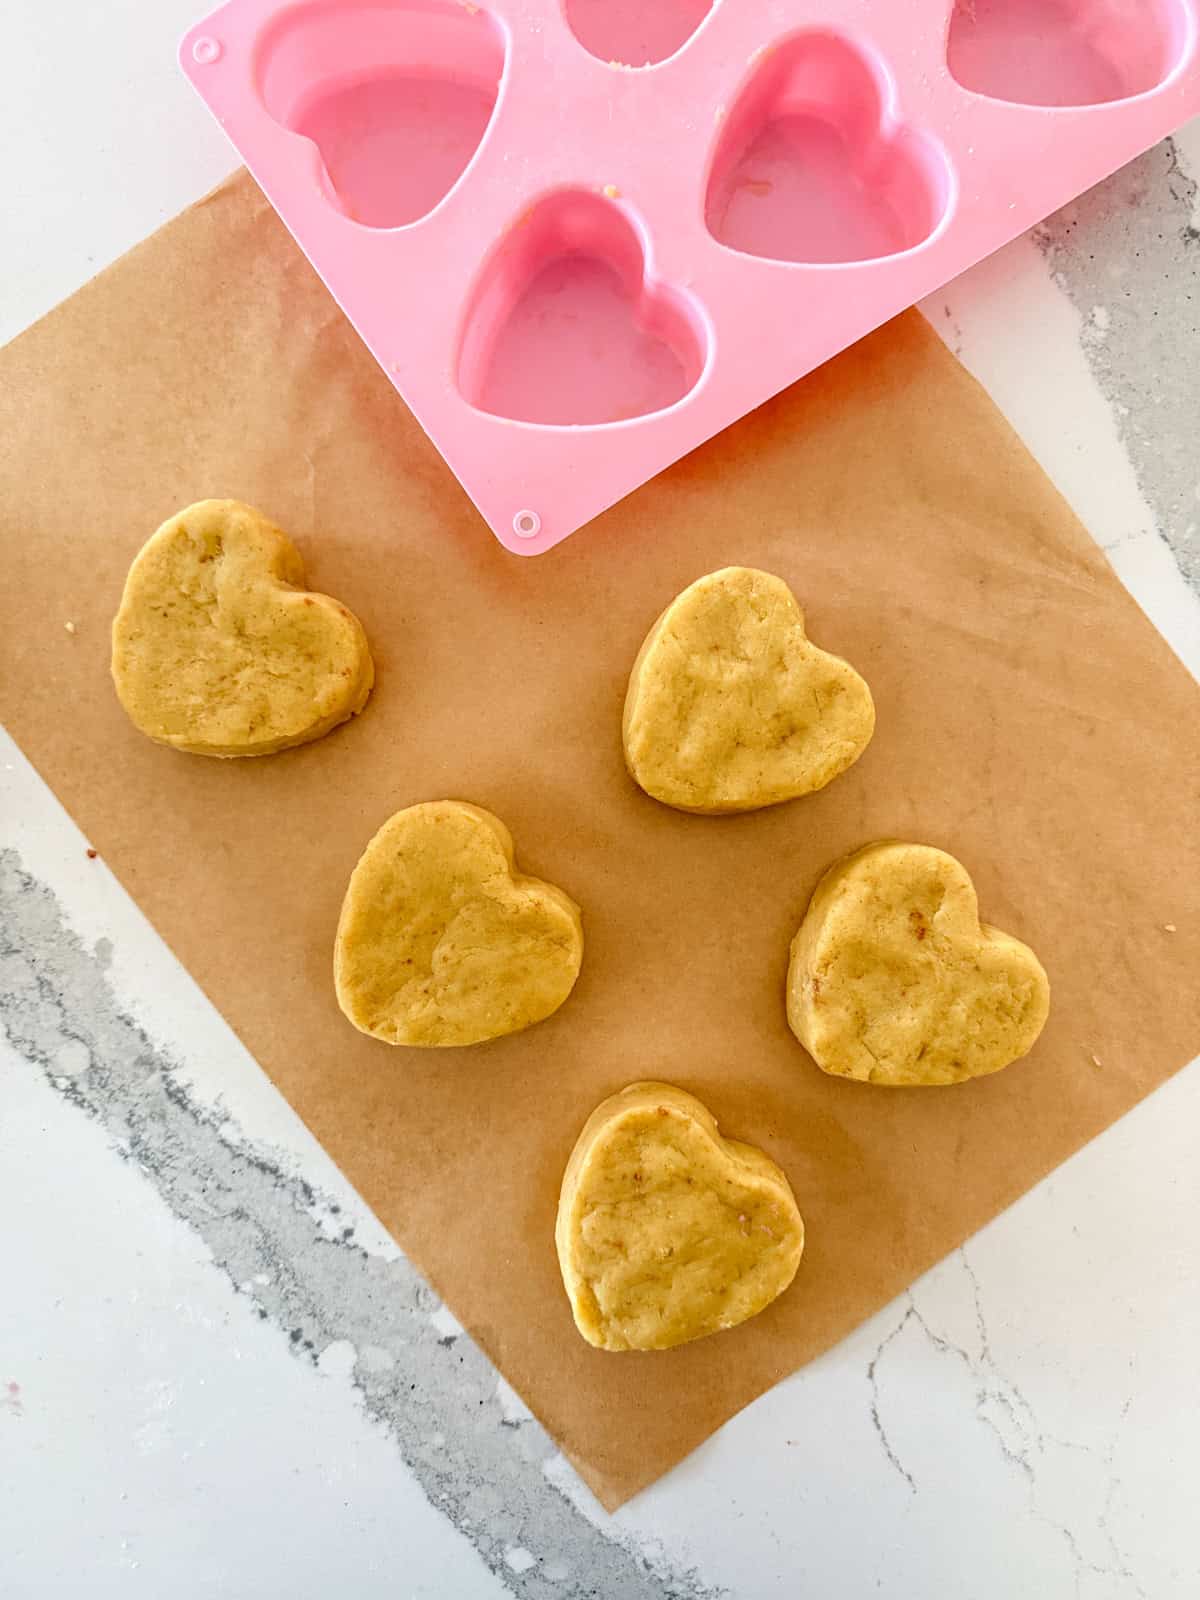
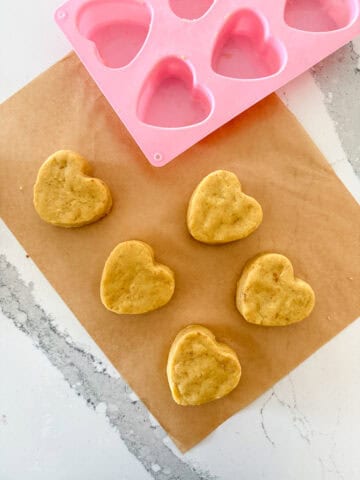
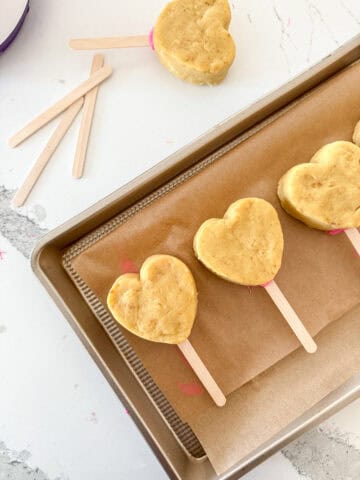
- Lightly spray the silicone heart molds with cooking spray and fill each with as much cake as needed to level it out, pressing firmly into the mold. Repeat with remaining molds. I was able to get FIVE.
- Place mold in the refrigerator for at least 30 minutes or in the freezer for 15 minutes to solidify.
- In the meantime, add candy melts into a melting pot, mini crock pot, or into a large microwave-proof mug. (Wide enough to dip hearts).
- Remove the cake from the molds by simply pushing up from the bottom. If they need a little extra shaping, use your fingers to shape them up into a defined heart.

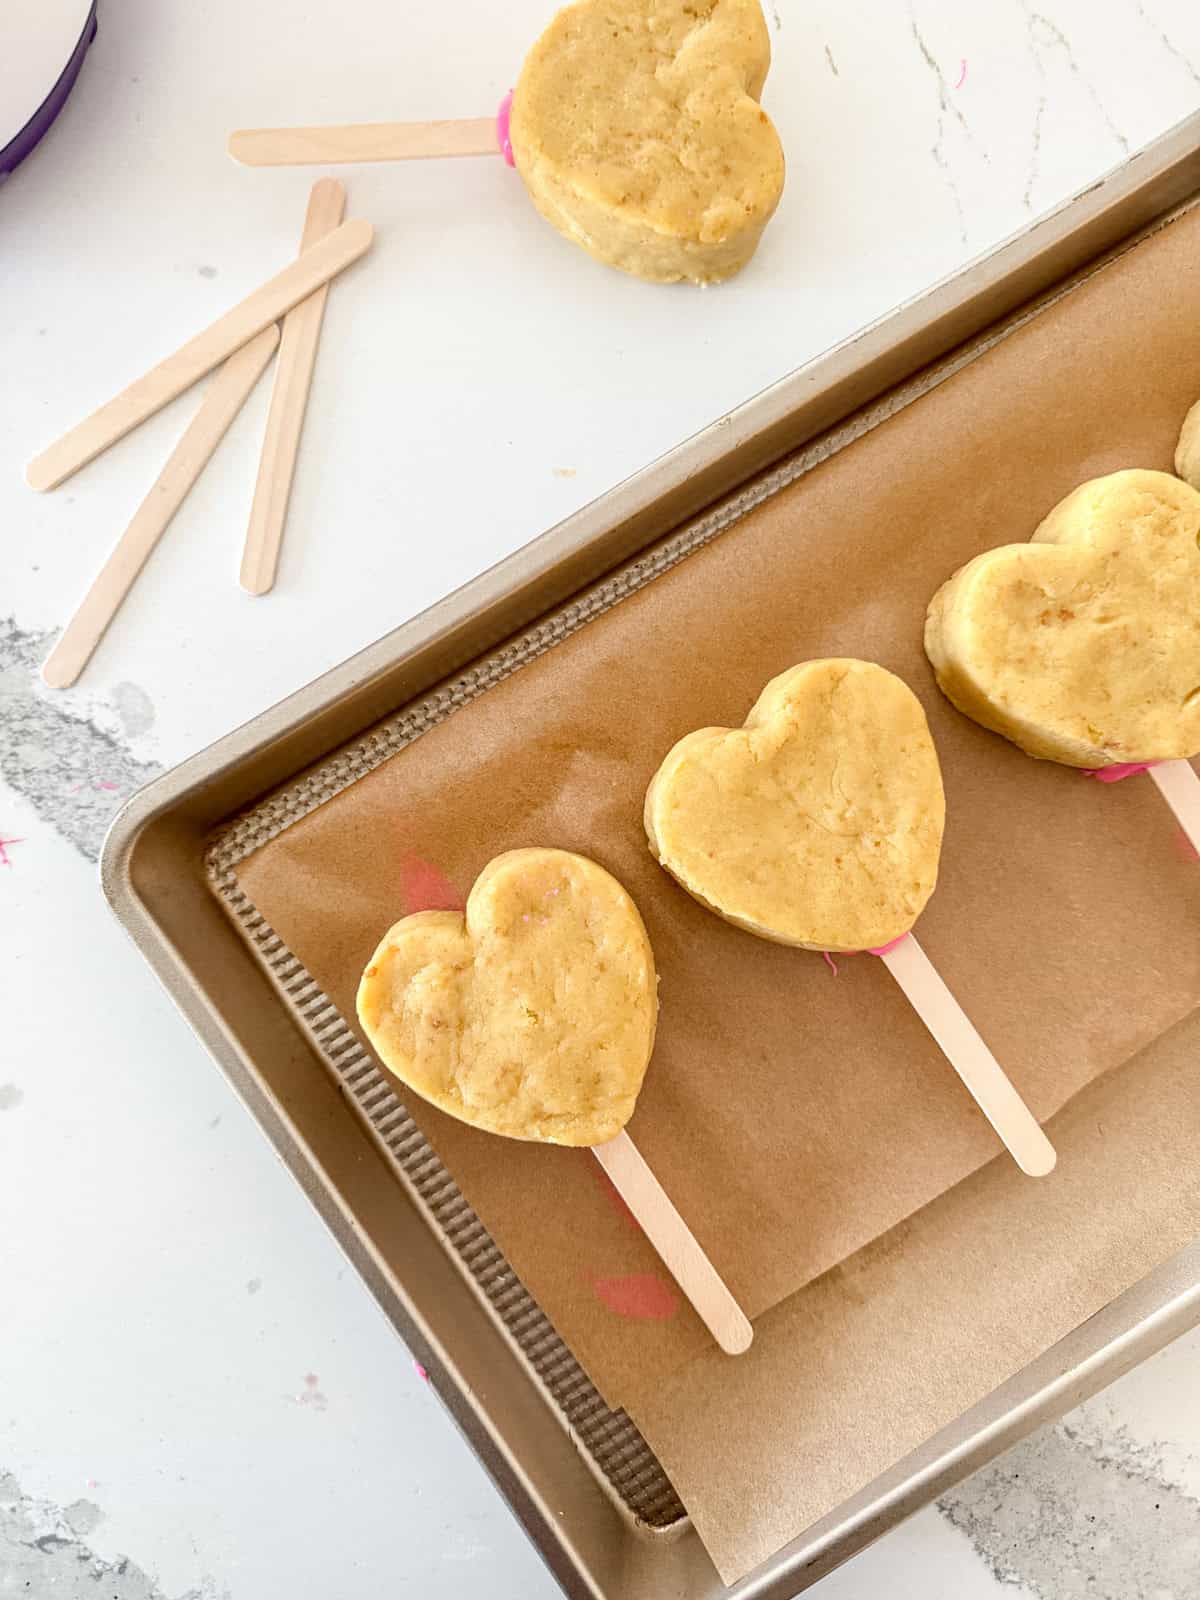
- Stick a popsicle stick 2" or so into the chocolate then immediately into each cake (through the bottom).

- Set cake pops on parchment paper or a silicone mat and place back into the fridge/freezer for another 10 -15 minutes or so until the chocolate hardens.
- When set, remove and dip each cake heart into the melted chocolate until they are fully submerged. Then pull out to allow the excess chocolate to drip off. After Important! Make sure your chocolate is DRIPPY. If it's not running off a spoon like lava, the surface will not be smooth and shiny. To thin it out, add a tablespoon of coconut oil or Crisco. Mix and dip away!)

- Place on a silicone mat and immediately add sprinkles while still wet. Let chocolate set before removing. Enjoy!
Nutrition
Notes
Storing Dipped Cake Pops
- At Room Temperature: If you’re serving them soon, store dipped cake pops at room temperature in a cool, dry place for up to 3 days. Ensure they’re in an airtight container to prevent them from drying out.
- Refrigerate: For longer storage, place dipped cake pops in an airtight container lined with paper towels. They’ll keep in the fridge for up to 1 week.
- Freeze: You can freeze fully decorated cake pops for up to 1 month. Wrap them individually in plastic wrap to prevent moisture from affecting the coating, then store in a freezer-safe container. Thaw in the fridge before serving.









Tried the recipe? I'd love to hear your thoughts below!