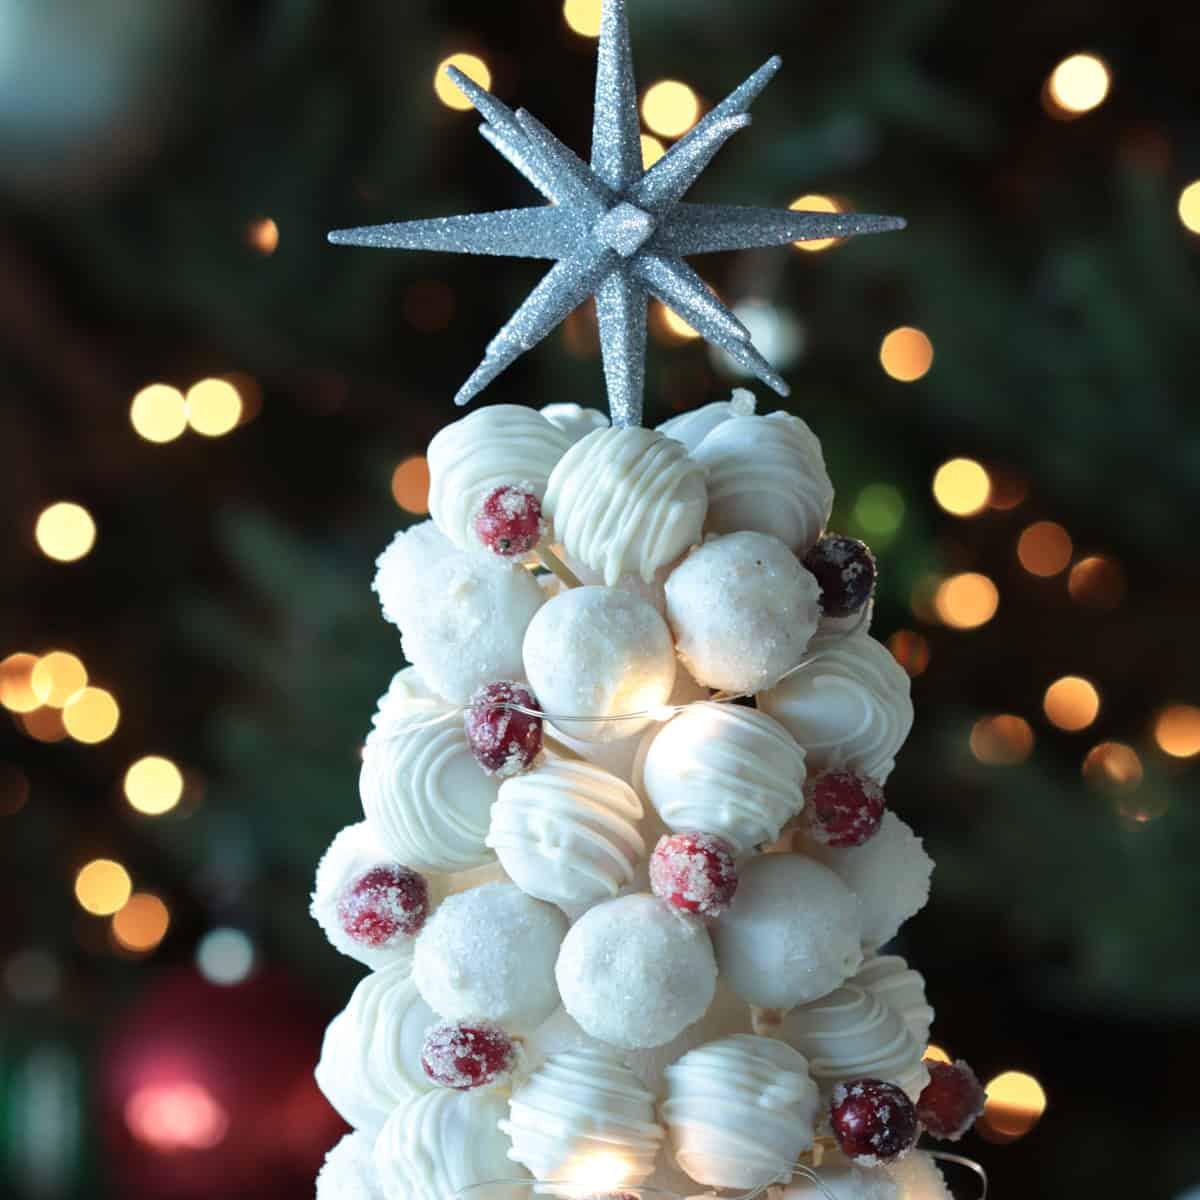
This Christmas Cake Ball tree is something I've been wanting to make for years now. I made cake pop trees for a friends wedding years ago and it was absolutely gorgeous. this one is easier since you don't need to add the cake pop stick.
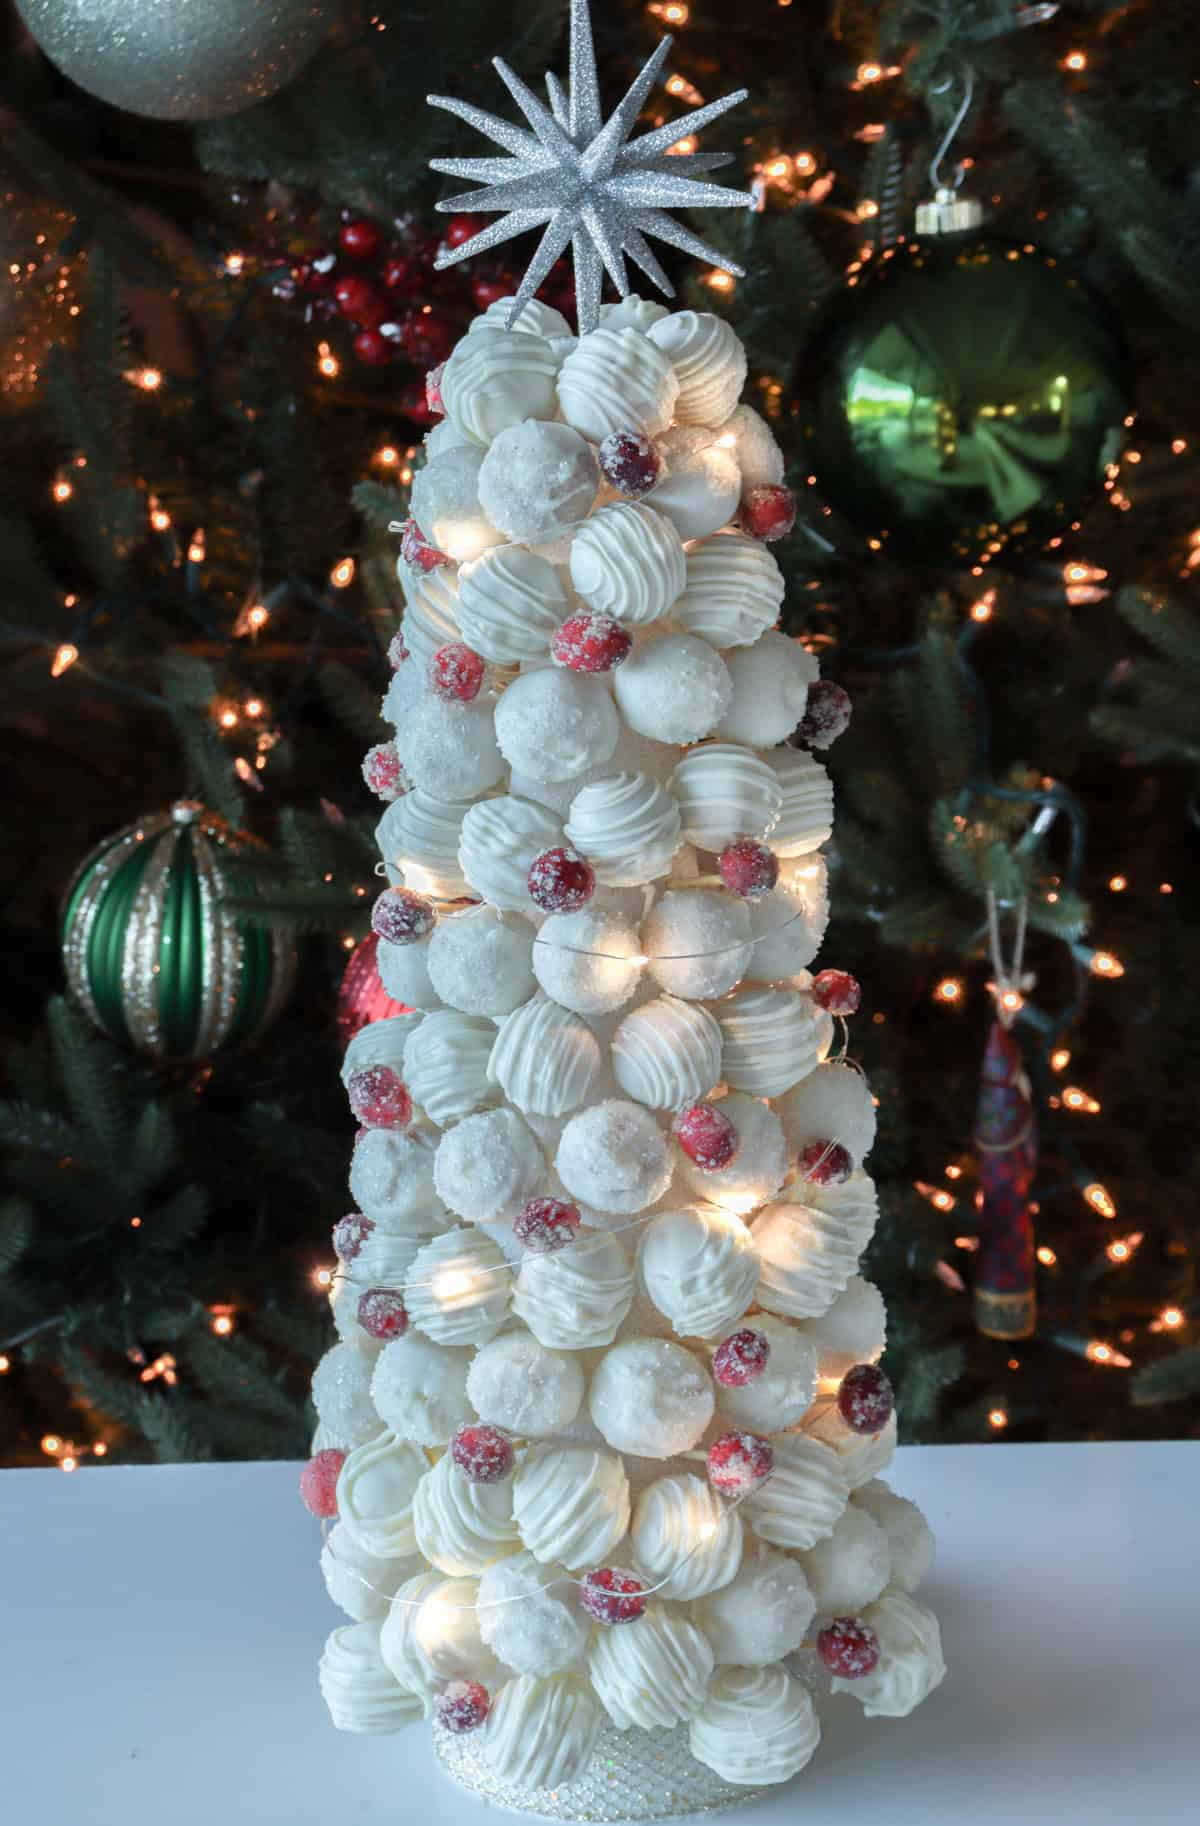
I used my Christmas Cake Ball recipe for this tree because it's easy and so delicious. I hope you have fun with this one and hope your guests appreciate the work and love you put into it! 🙂
If you're looking for a fun and festive way to impress guests this holiday season, this Christmas Cake Ball Tree is a showstopper! Not only is it delicious, but it's also an easy way to combine the love of cake with the magic of Christmas. This dessert doubles as a centerpiece, and it's customizable, so you can adjust it to suit your tastes.
What You’ll Need:
- 2-3 boxes of yellow cake mix (depending on the size of your styrofoam cone)
- Cream cheese frosting (store-bought works great)
- 1-2 teaspoon vanilla extract
- Eggs (as required on the box for the cake mix)
- Oil (as required on the box for the cake mix)
- 48-60 oz almond bark or candy melts (you can use any color)
- Mini toothpicks
- Styrofoam cone (about 17”)
- Silicone mat or parchment paper
- Cranberries + sugar (optional)
- Fairy lights (optional, but totally festive)

Ingredient Tips:
Frosting: You can certainly make your own cream cheese frosting, but if you’re short on time, store-bought works perfectly fine here. If you're looking for a fluffier frosting, opt for a buttercream instead.
Cake Mix: Using a boxed cake mix makes this recipe quick and easy. But if you’re feeling adventurous, you can make your own cake from scratch. Just ensure the texture is dense enough to hold up the cake balls on the cone. You can add a touch of vanilla extract or almond extract for a more personalized flavor.
Candy Coating: Almond bark or candy melts work best for dipping cake balls since they’re smooth and set quickly. If you prefer a more natural coating, you could use tempered chocolate, but it takes a little more finesse.
Expert Tips for Making Cake Ball Trees:
- Chill Before Dipping: After you’ve formed your cake balls, place them in the freezer for about 15 minutes before dipping them into the almond bark or candy melts. This makes them firmer and easier to handle while dipping, preventing them from falling apart in the melted coating.
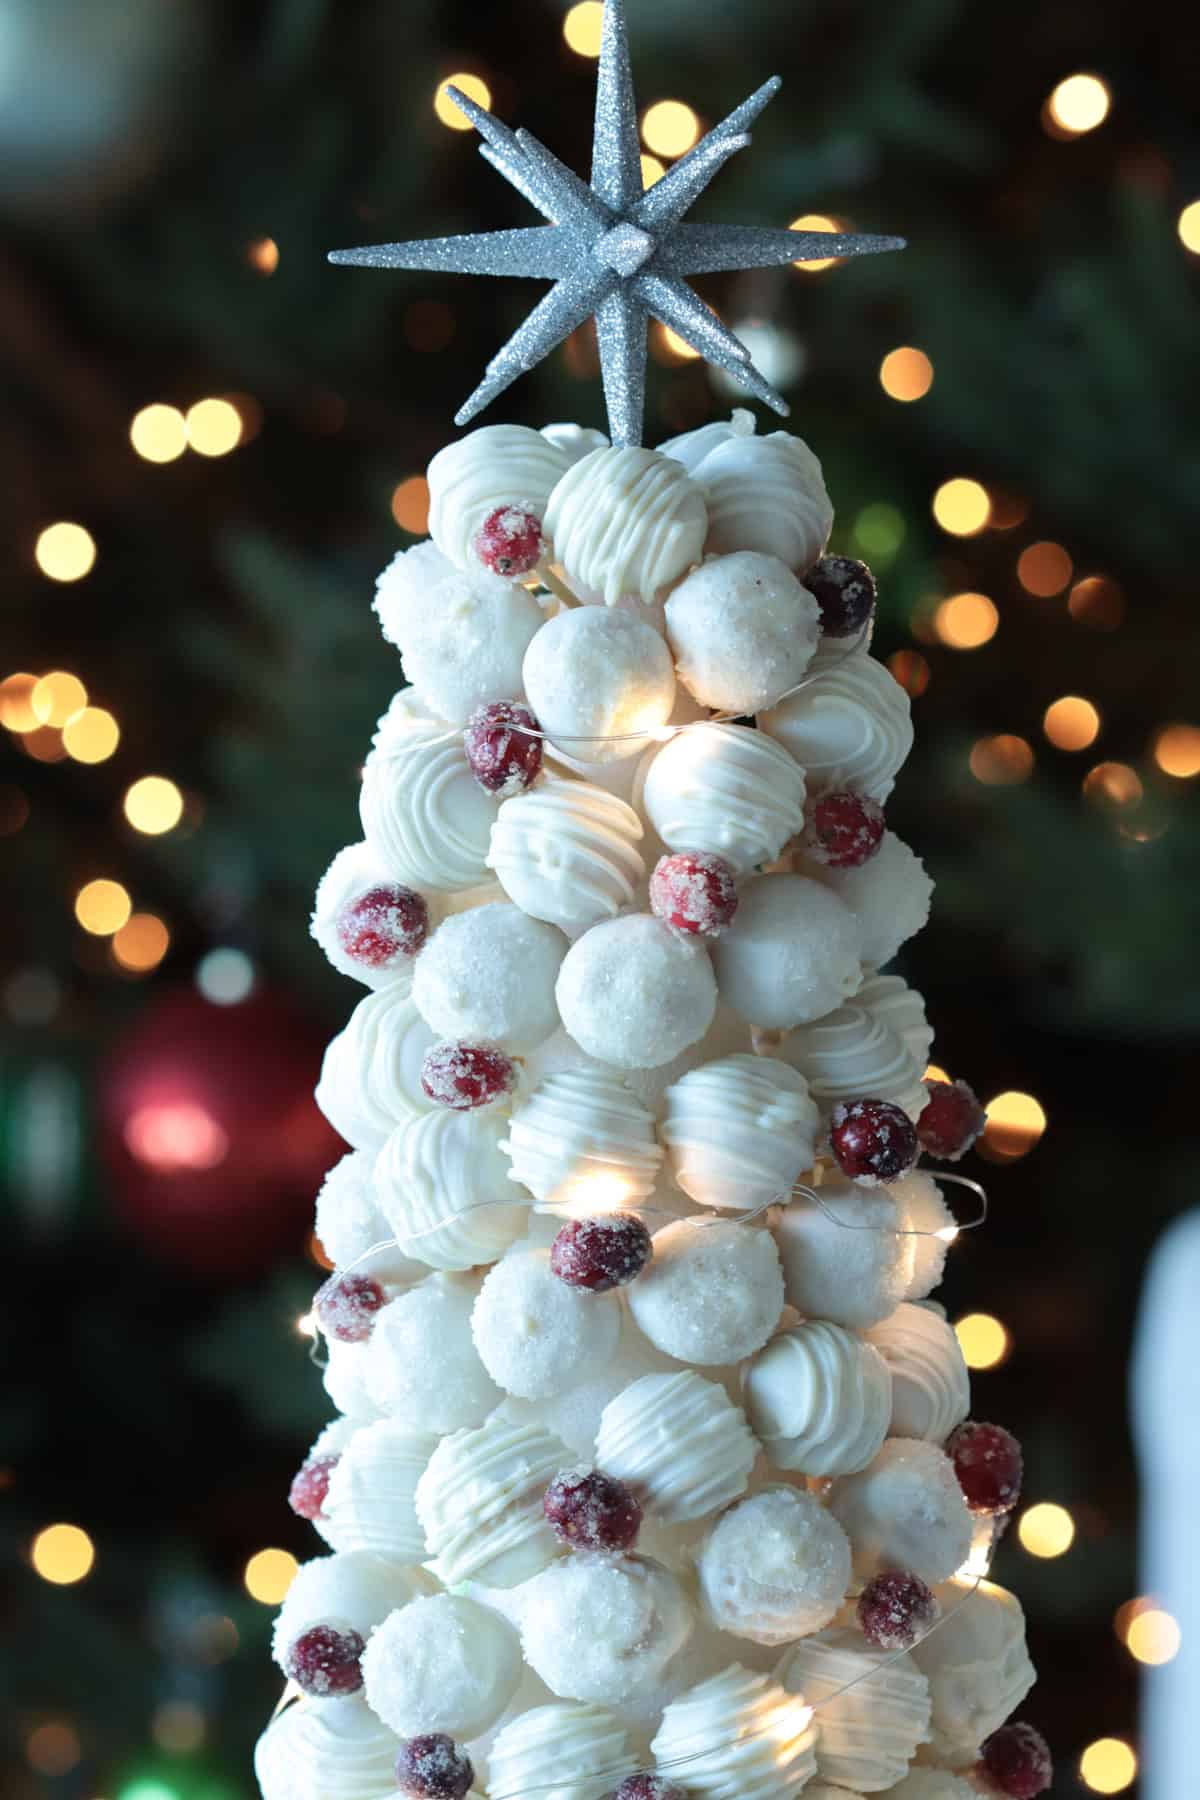
- Fill in Gaps: Don’t stress about those little gaps between your cake balls! A perfectly smooth tree is overrated. But if they bother you, you can fill those spots with extra candied cranberries or icing. They’re not only a great way to cover up any gaps but will also add a pop of color and flavor.
- Get the Right Size Cone: Styrofoam cones come in different sizes. For a tree that’s a good height and will give you plenty of room to work with, aim for a cone around 17 inches tall. This will give you enough surface area to place your cake balls in a staggered fashion.
- Prep in Advance: I recommend making this cake ball tree 2-3 days ahead of time. This will give you the luxury of focusing on other things like appetizers or last-minute decorations. You can even store the cake balls in an airtight container at room temperature until you're ready to assemble the tree.
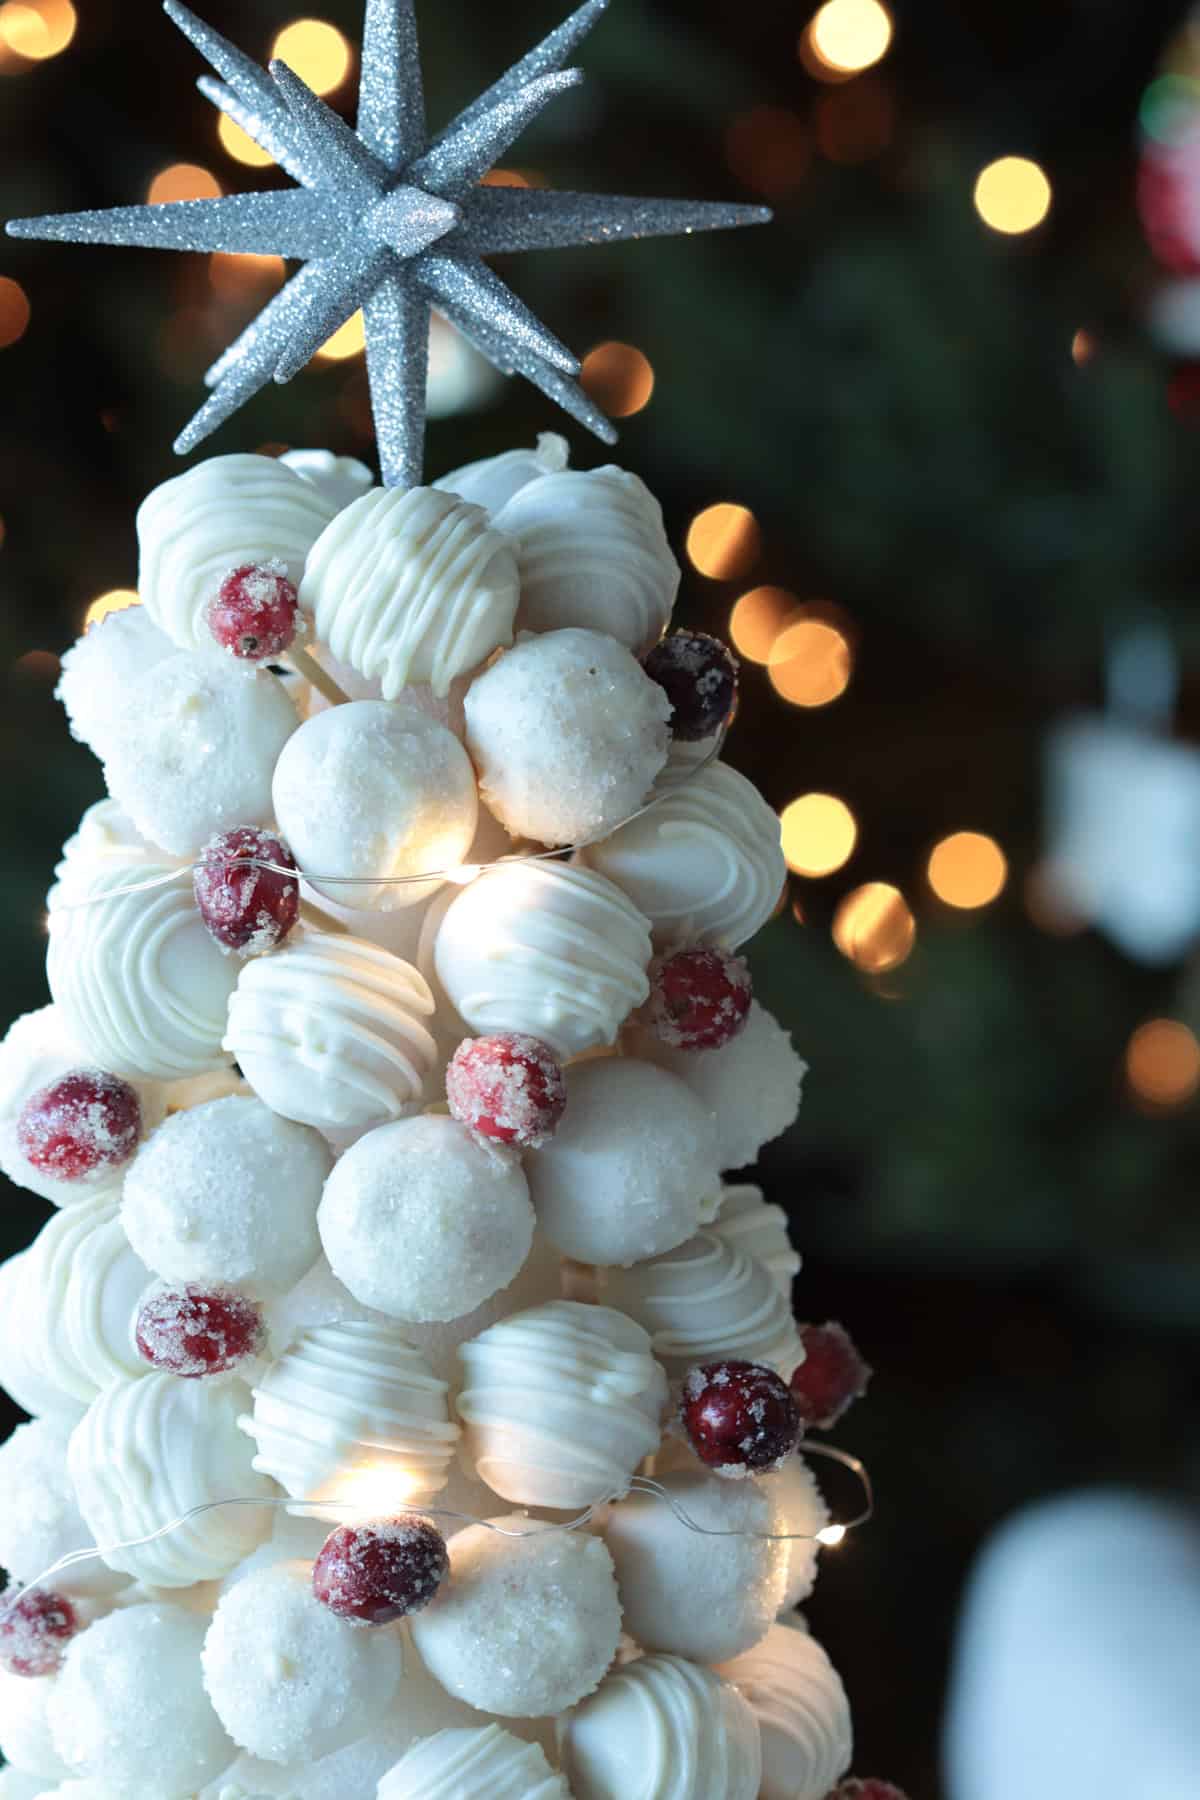
- Lights for Extra Sparkle: Add a small string of fairy lights around your tree to give it that extra festive touch. The soft glow makes the cake ball tree even more magical and eye-catching.
- Customization: While I love the elegant look of white cake balls with almond bark, feel free to get creative! You can use different colored sprinkles or opt for red/green candy melts to make the tree even more vibrant. The beauty of this recipe is that it’s entirely adaptable to suit your style!
Variations and Flavor Options:
- Flavored Cake Balls: While I’ve suggested using yellow cake mix, you can easily swap this out for any flavor you like! Chocolate, strawberry, or even spice cake would add fun flavor twists. Don’t forget to pair the frosting with your cake flavor. A chocolate frosting would pair perfectly with chocolate cake, and cream cheese frosting is fantastic with spice or carrot cake.
- Toppings: Besides candied cranberries, there are many fun toppings you can use for decoration. Consider adding:
- Crushed candy canes for a peppermint twist
- Edible glitter for a sparkling effect
- Drizzled chocolate or caramel for a richer flavor
- Non-Christmas Themes: Want to make a similar cake ball tree for another occasion? Change the colors of the candy melts, add edible flowers, or use pastel sprinkles for a spring theme, or go all-out with vibrant rainbow-colored cake balls for a birthday party!
Other Christmas Desserts
Christmas Cake Ball Tree
Ingredients
Equipment
Method
- Bake the Cake: Prepare the cake according to the instructions on the box, but leave out the oil. This helps the cake hold its shape when crumbled. Bake until a toothpick comes out clean, then let it cool completely.
- Crumble the Cake: Once the cake is cooled, crumble it into small pieces in a large bowl. Add ¾ of the tub (12 oz.) of cream cheese frosting to the crumbled cake and mix until well combined. You can do this by hand or use a mixer for a quicker process.
- Form the Cake Balls: Use a mini ice cream scoop to portion out the cake mixture, then roll each scoop into a ball using your hands. Place the cake balls in a Tupperware container with parchment paper between the layers to prevent them from sticking. Freeze for about 30 minutes to firm them up.
- Prepare the Chocolate Coating: While the cake balls chill, melt the chocolate. If you have a mini crockpot or the Wilton melting pot, great! If not, you can melt the chocolate in a microwave-safe mug. Heat the chocolate in 30-second intervals, stirring between each until fully melted. Add a spoonful of EZ Thin (or vegetable oil) to make the chocolate smoother and easier to work with.
- Dip the Cake Balls: Once the cake balls are chilled and your chocolate is melted, it’s time to dip! Insert a toothpick into each ball and dip it into the chocolate, making sure it’s fully coated. Hold the cake ball at a 45-degree angle and gently rotate it until the excess chocolate drips off. Place the dipped cake ball onto a parchment-lined or nonstick surface.
- Patch Up the Holes: When you remove the toothpick, there may be small holes where the toothpick was. No worries—just dip a small spoon or your finger into the melted chocolate and patch up the hole while the chocolate is still wet.
- Decorate: While the chocolate coating is still wet, add sprinkles, candied cranberries, or any other fun decorations. Let the cake balls set for about 15 minutes until the chocolate hardens.
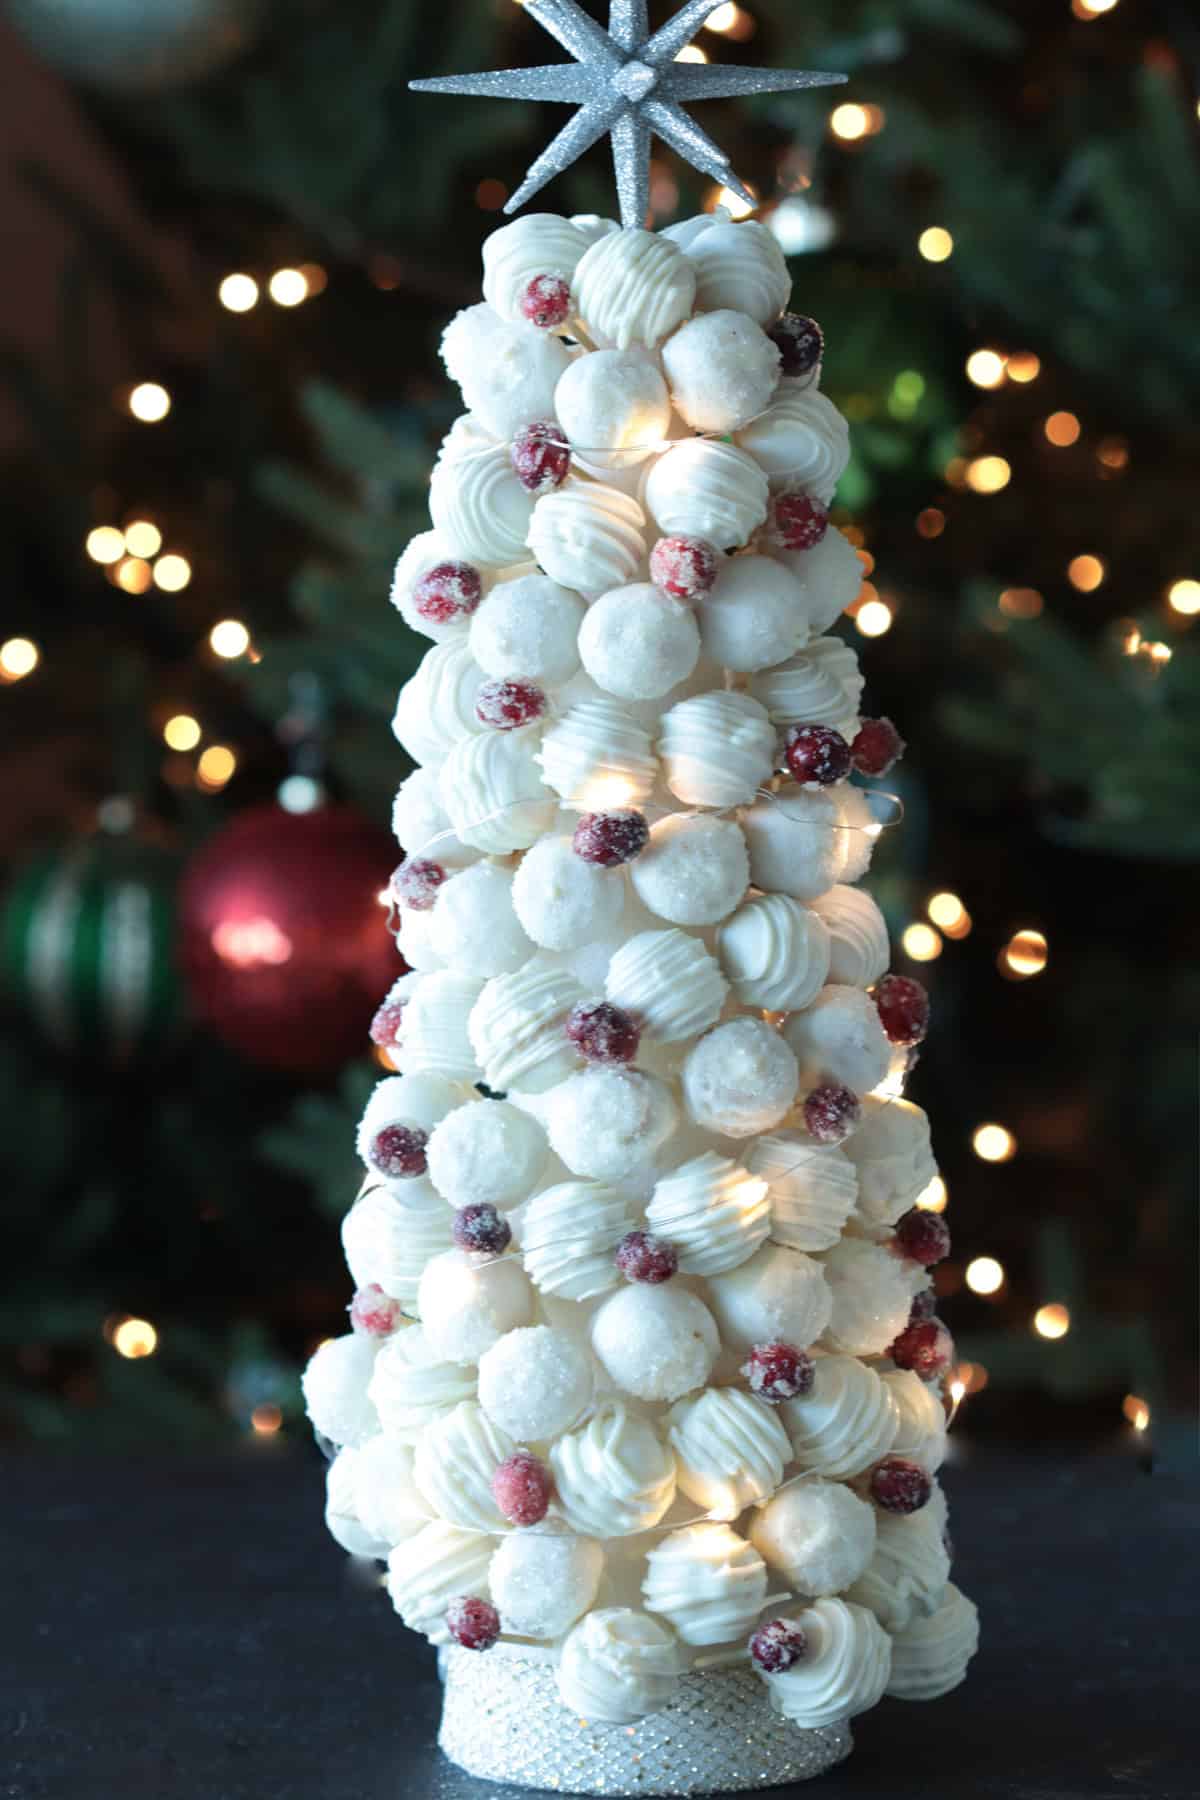
- Assemble the Tree: Use a Styrofoam cone to assemble your cake ball tree. Stick mini toothpicks into the bottom of each cake ball and gently insert them into the cone, working your way up in layers. You can place the cake balls closely together, but there will be small gaps. If that bothers you, add more decorations like cranberries or icing to fill the gaps!
- Optional Sparkle: For an extra festive touch, add a string of fairy lights around the tree to make it glow. It’s a fun way to brighten up your tree and make it stand out.
- Storage: Store your cake ball tree in the fridge for up to a week, or in Tupperware for a few days if you prefer not to refrigerate it. It’s best made 2-3 days in advance so you can focus on other holiday prep.
Notes
2. Fill Gaps: If you don’t like the small gaps between the cake balls, cover them with extra decorations like cranberries or icing to make it look perfect.
3. Make in Advance: Prepare the cake balls 2-3 days ahead to save time and reduce stress on the day of your event.
4. Customization: Use any colored candy melts or sprinkles to match your holiday theme. Red, green, or even gold can add a touch of glamour to your tree!




Tried the recipe? I'd love to hear your thoughts below!