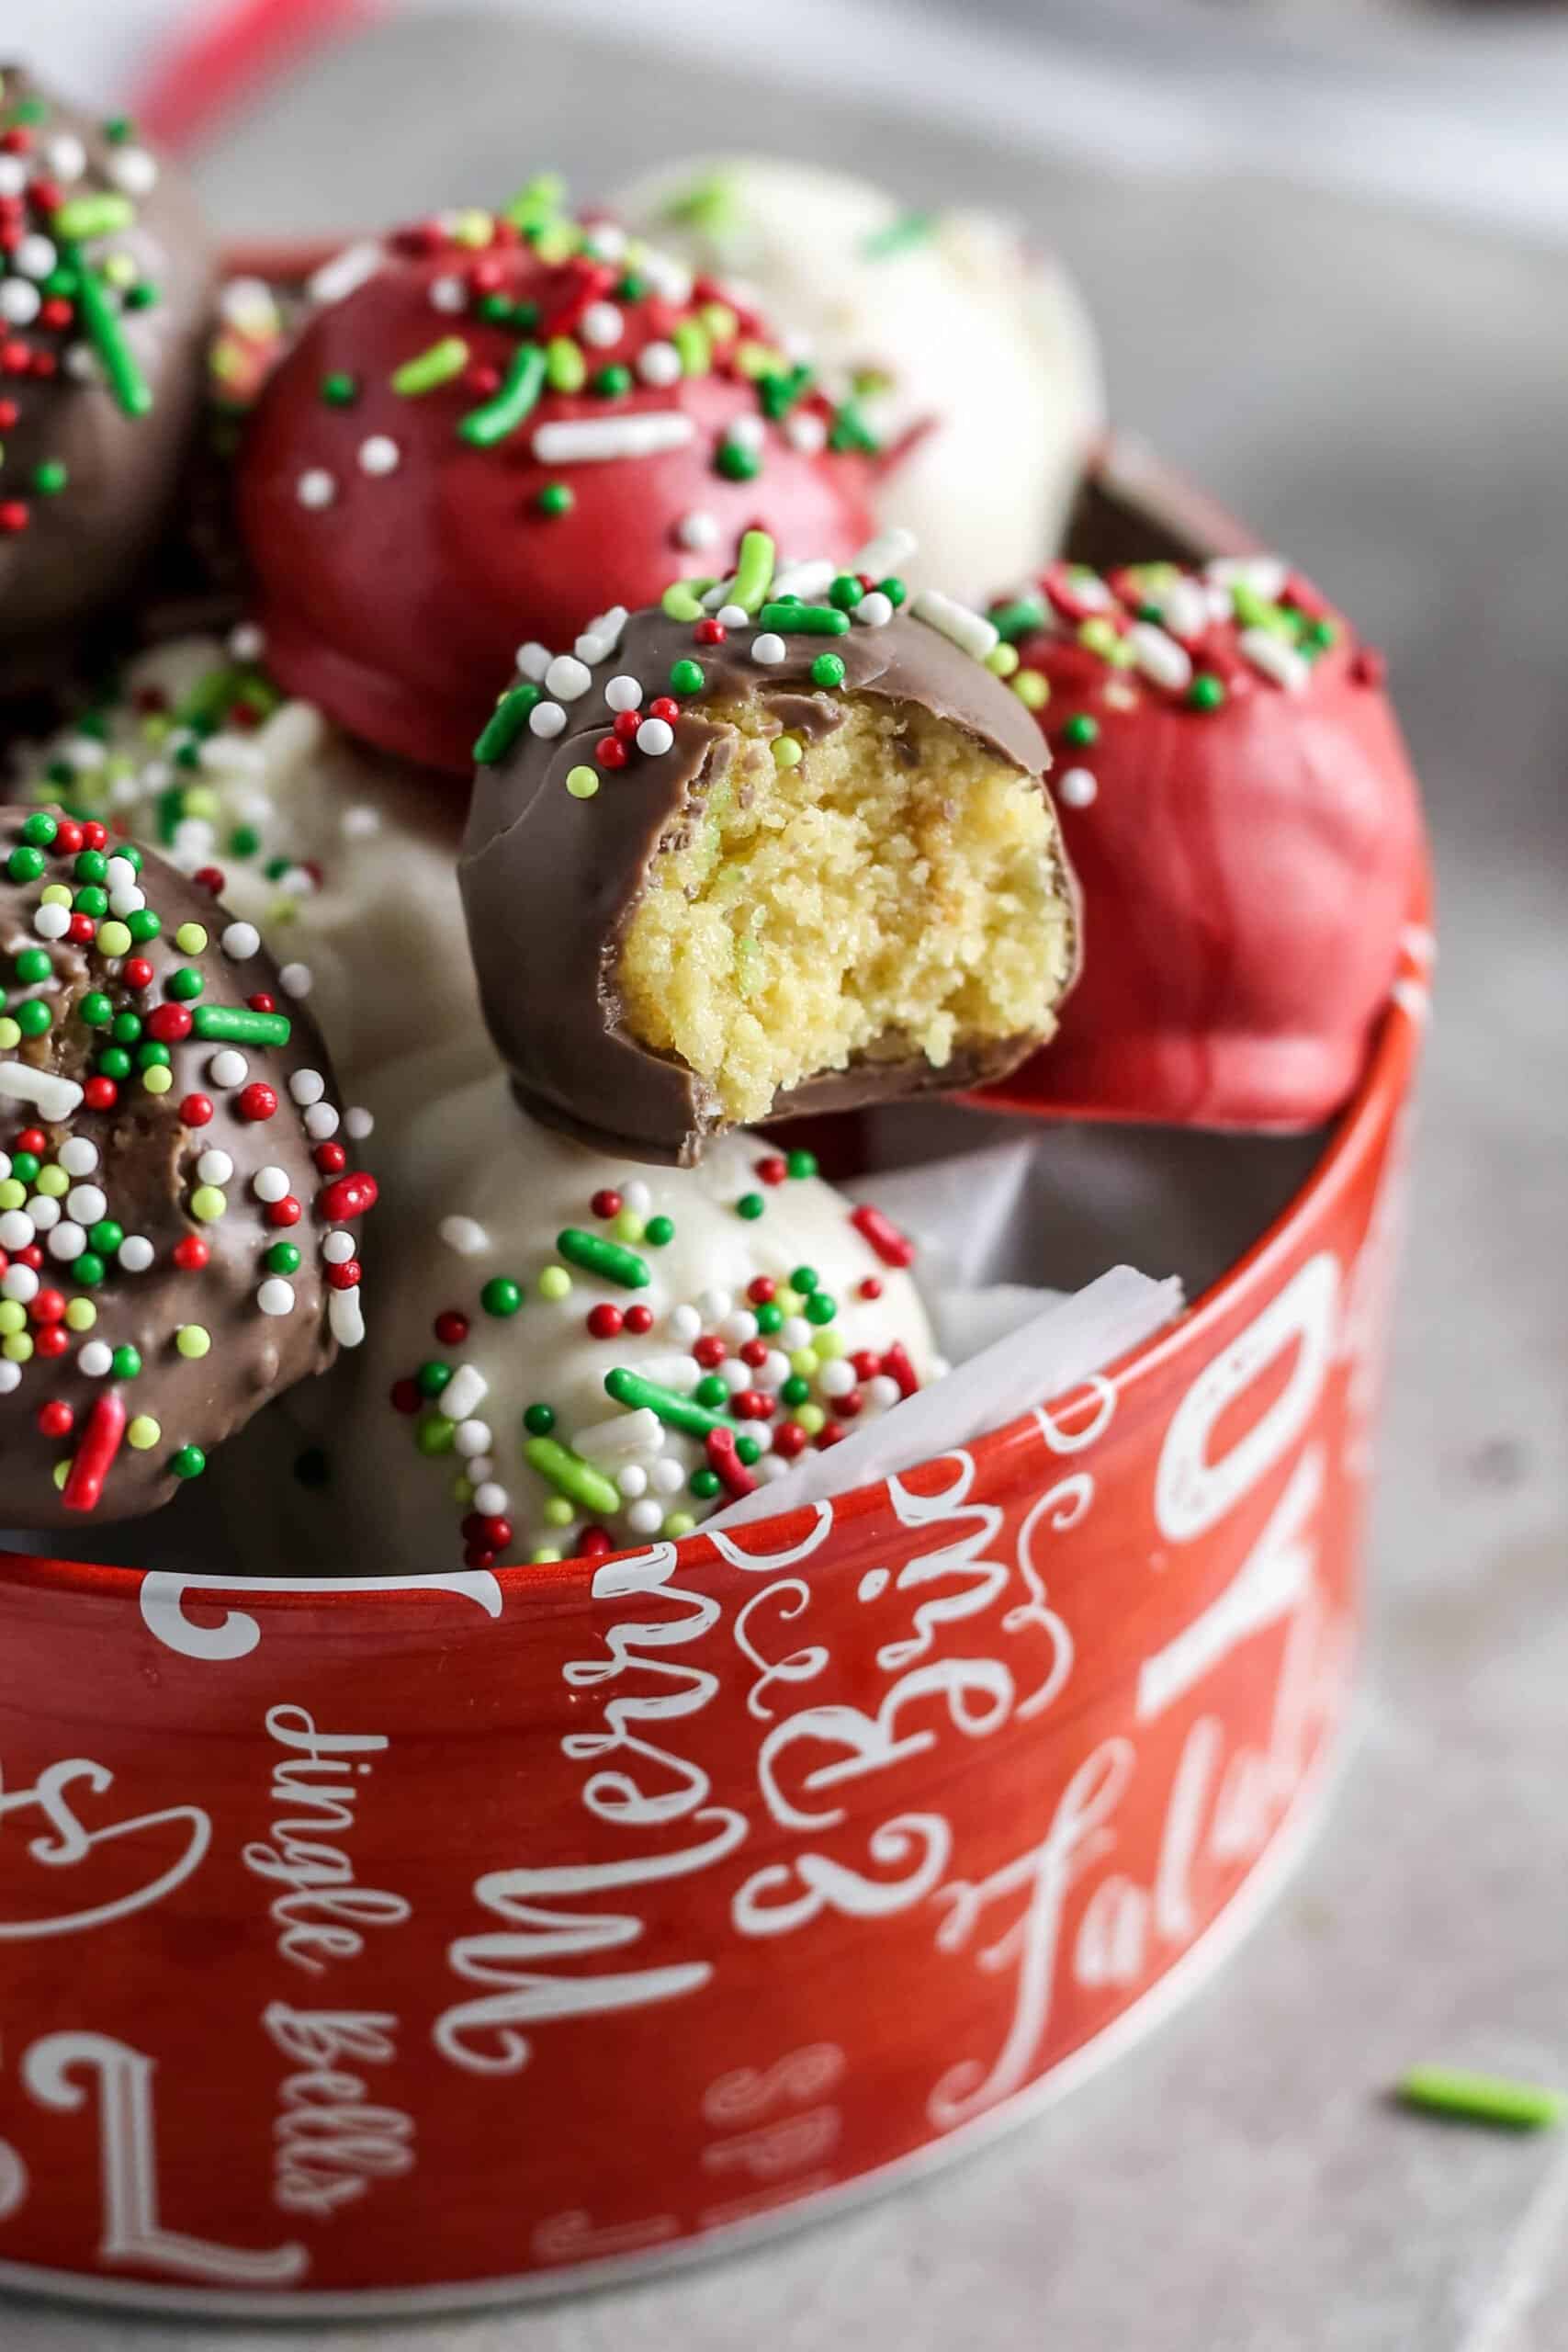
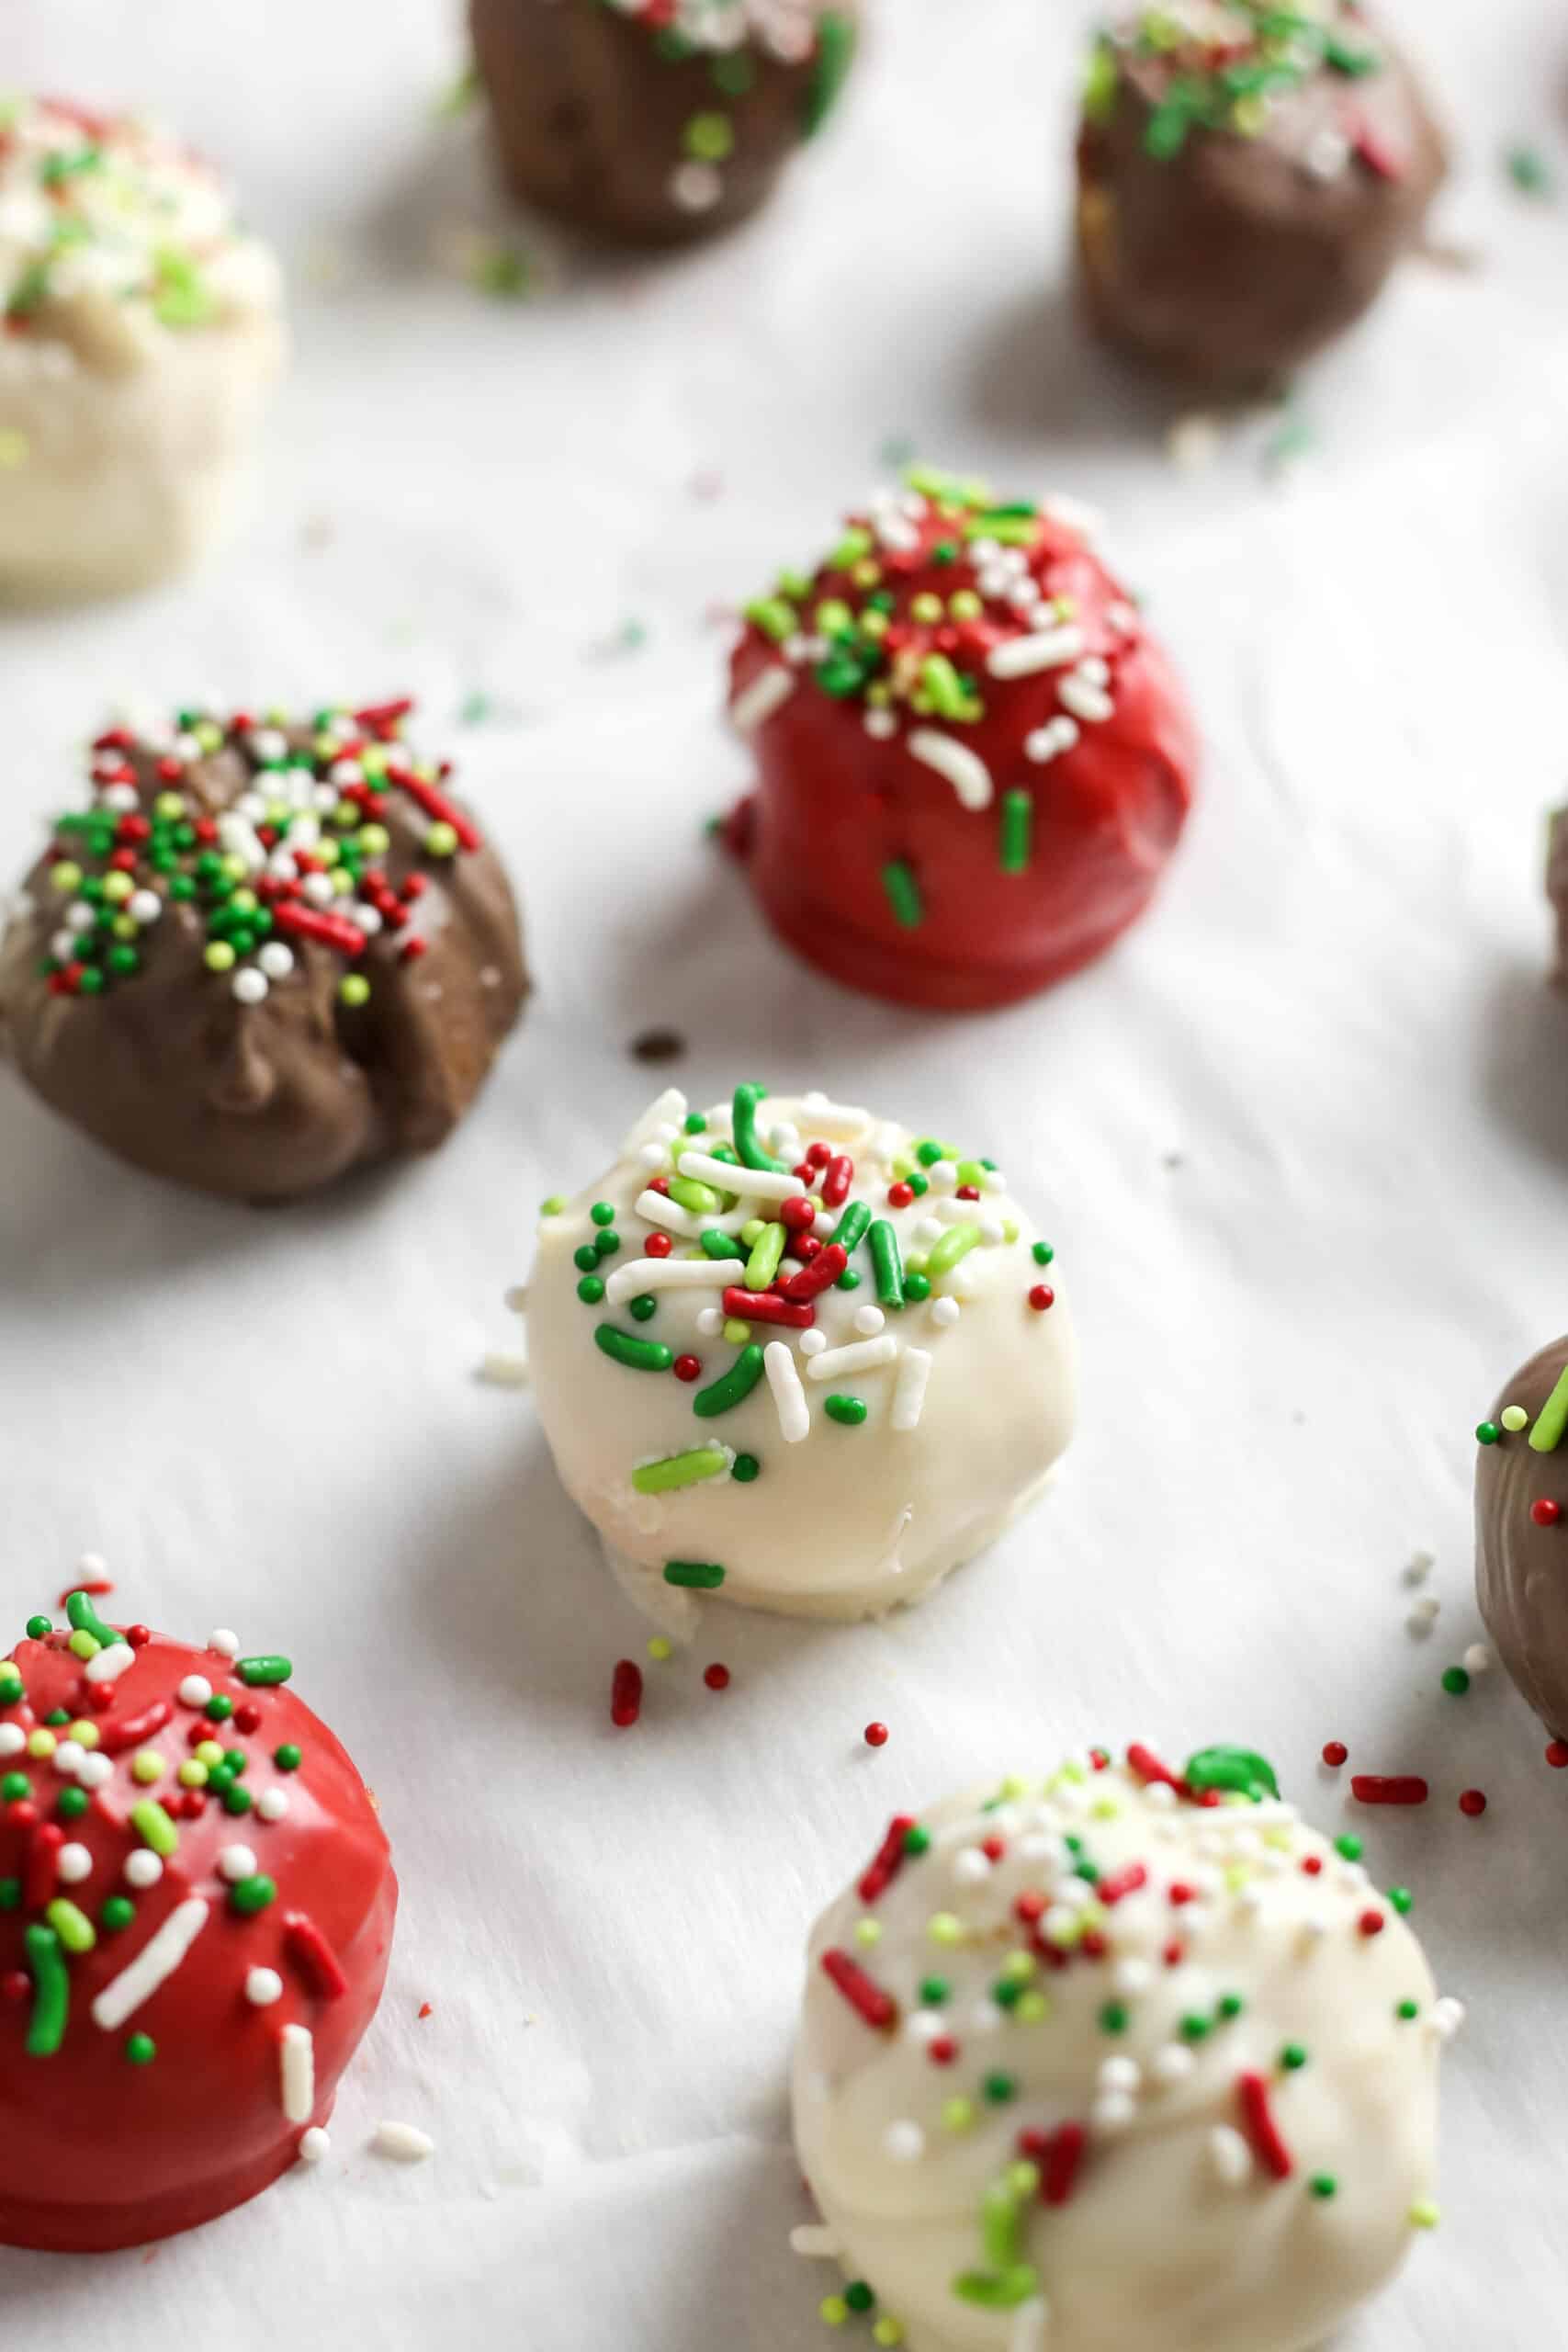
This recipe for Cake Balls is one of my most requested every Christmas. But they can be made for ANY holiday including birthdays! They are so moist and the one sweet treat that everyone goes crazy for every year.
I love that these are easier to make than cake pops because they don't use a stick and can be dipped in red, white, brown or green chocolate.
Along with my Pecan Tassie Cookies, these are one of my favorite Christmas desserts to make.
Throwing a Christmas Party? Check out these 23 Elegant Adult Christmas Party Theme Ideas!
These cake balls have become a Christmas family tradition that I started about 6 years ago.
Image taking an entire cake, frosting and all, and throwing it to a food processor. Boom, cake balls!
But although this recipe IS indeed simple, assembling your cake balls requires a bit more attention to detail.
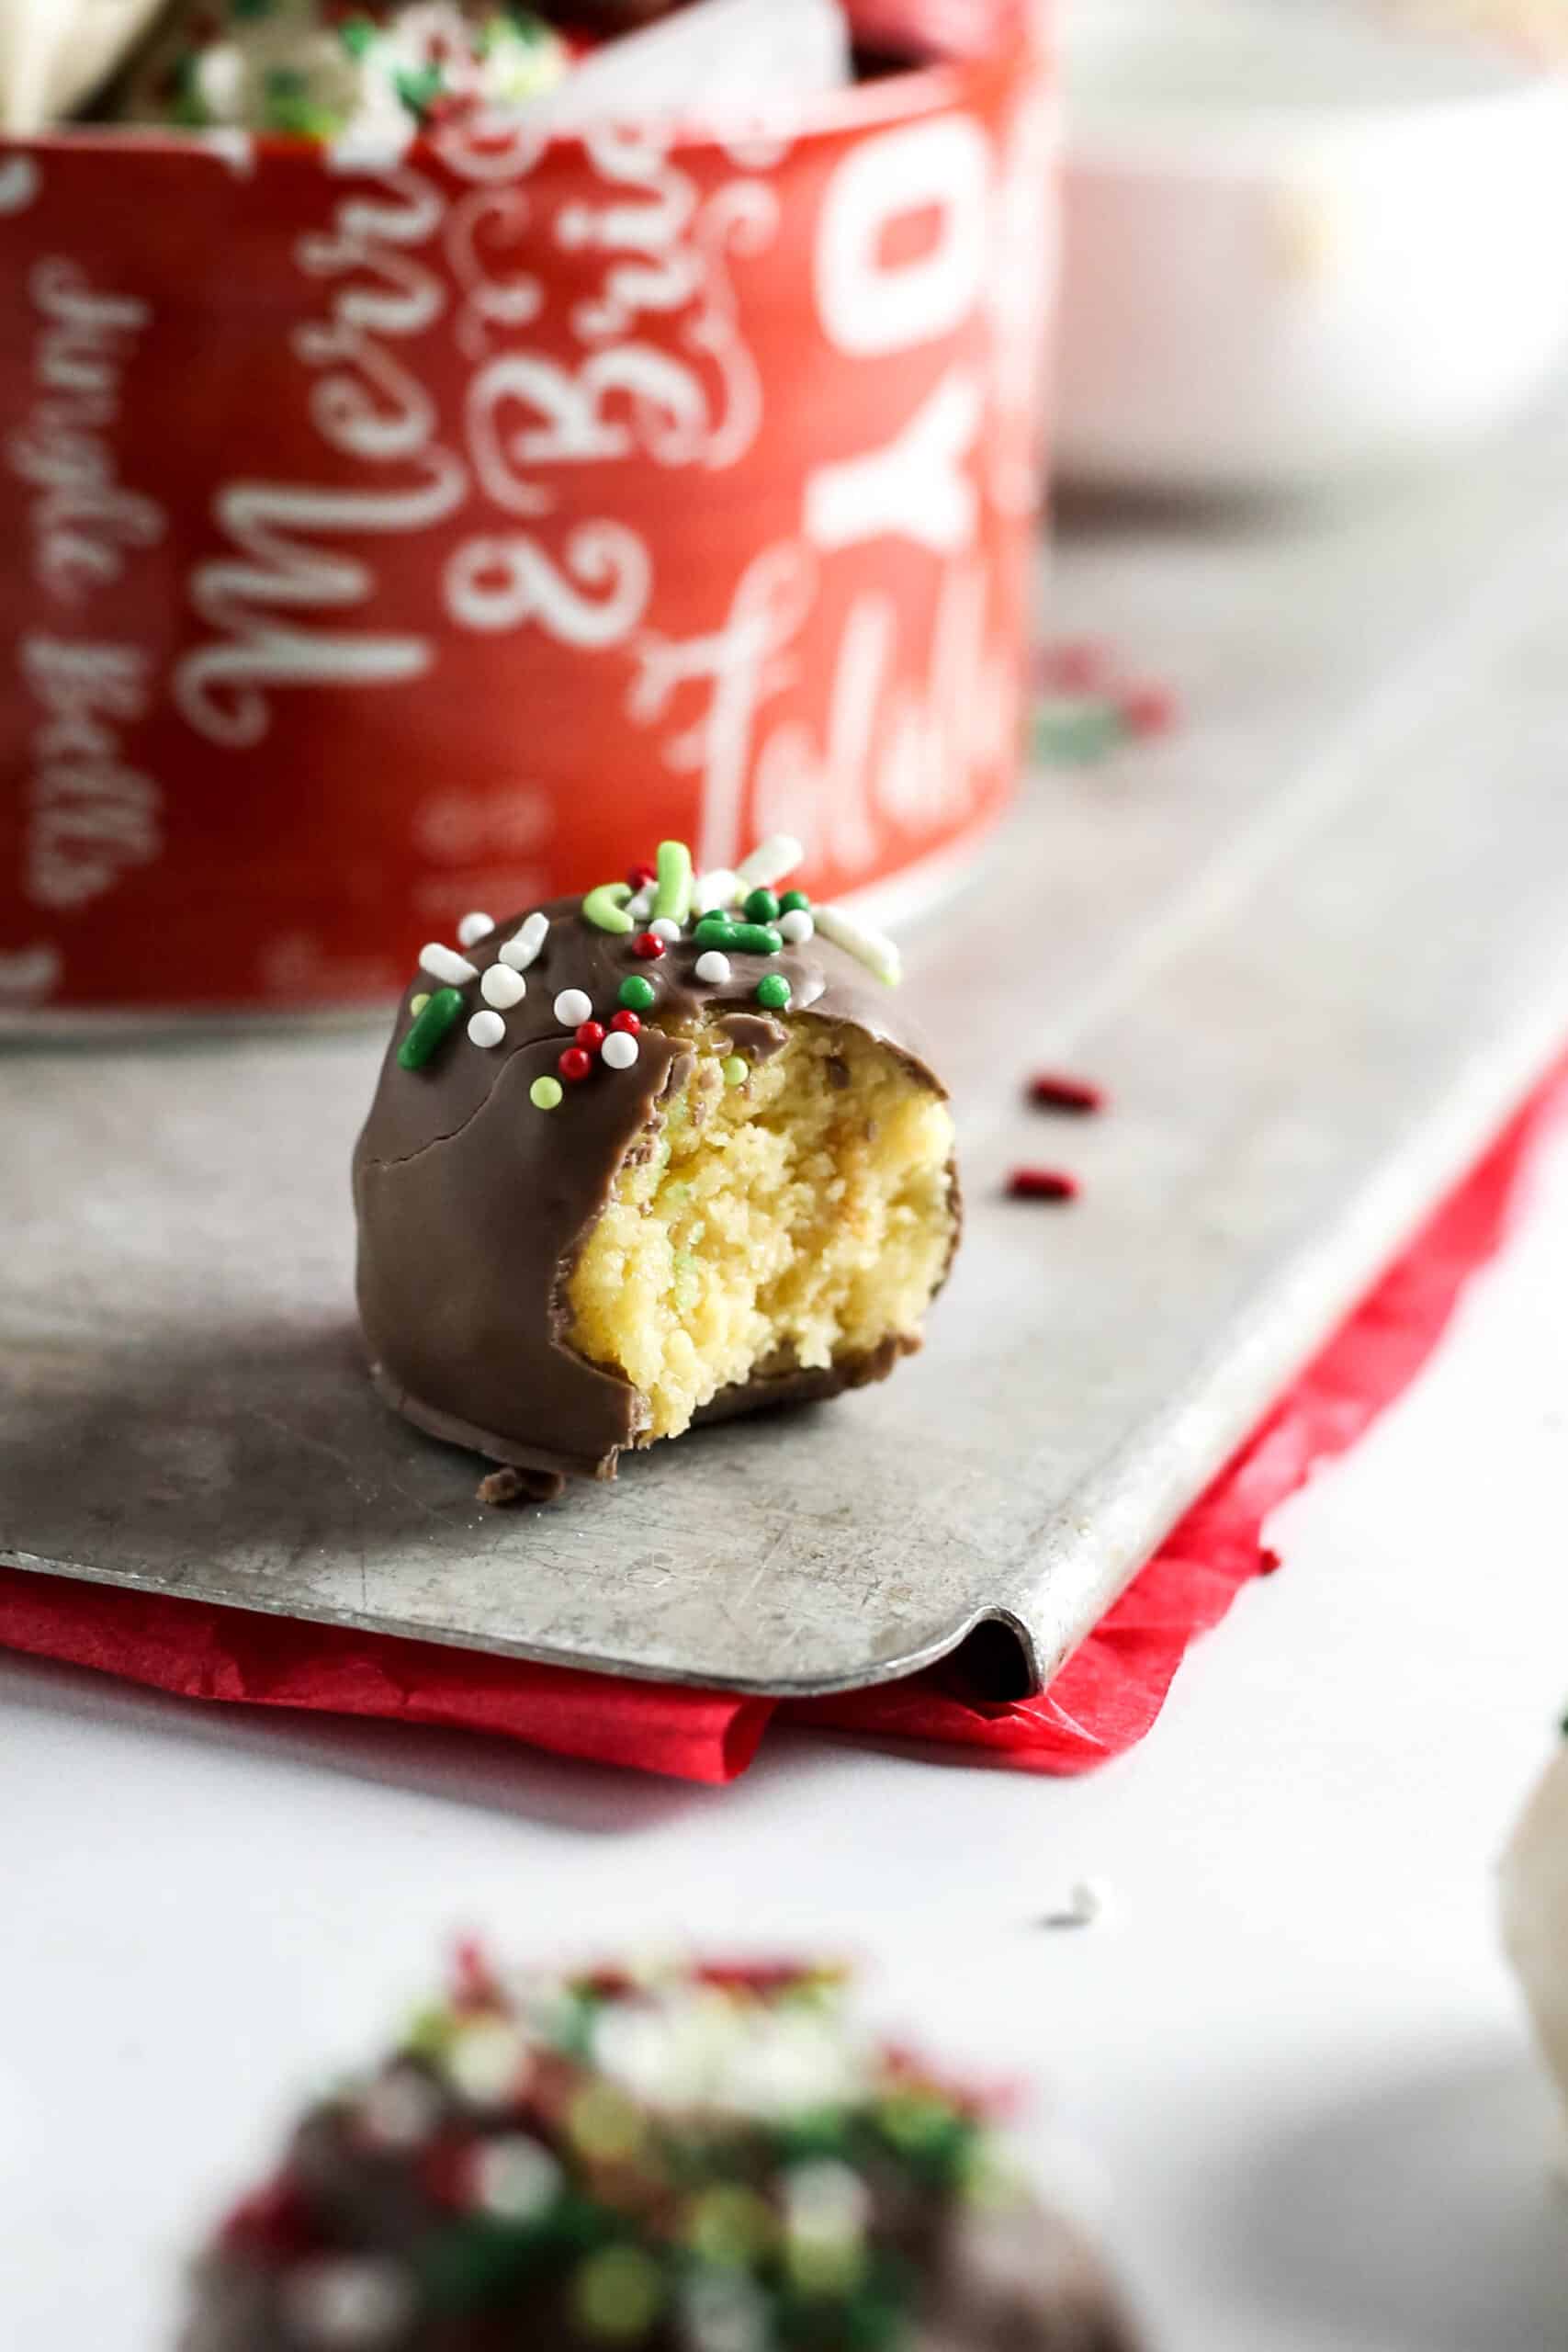
But every minute is worth it because these cake balls are SO delicious. Some people like to call them "cake truffles" but they are made without real chocolate like truffles are.
You can call them a stickless cakepop if you prefer! I made them WITHOUT the stick to make it more inconvenient for you and I. Plus, you don't have to worry about them falling off the stick!
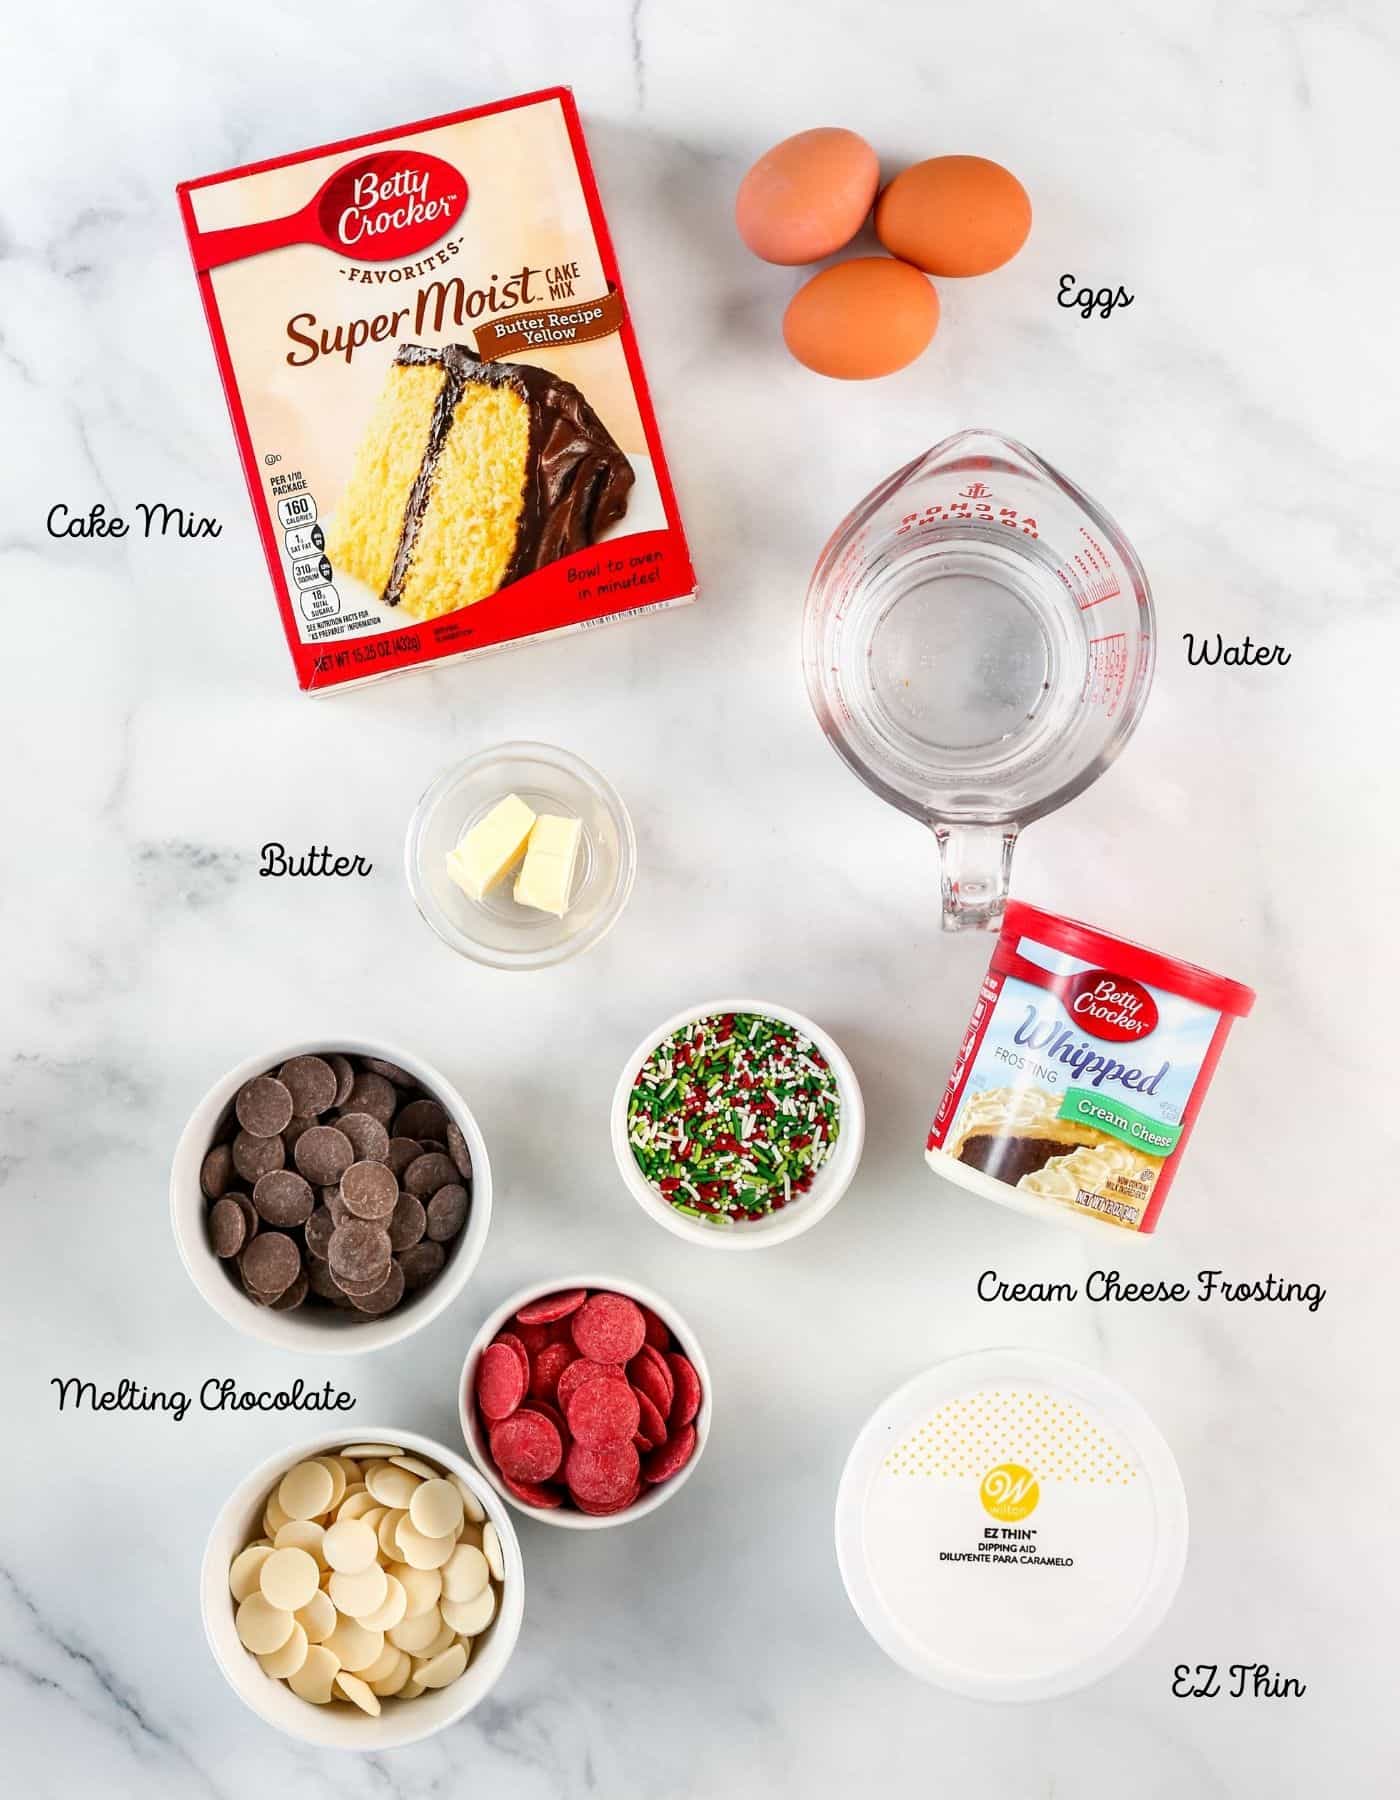
Cake Ball Ingredients
- Boxed Cake Mix- I always use Betty Crocker's Super Moist Yellow cake mix. It makes a difference so don't go generic here.
- Candy Melts- Melting chocolates are the only chocolate I recommend. They make dipping easier and make the exterior shell smoother. See my recommendations below!
- EZ Thin*- Optional. This helps to thin out the chocolate which makes dipping easier.
Instructions
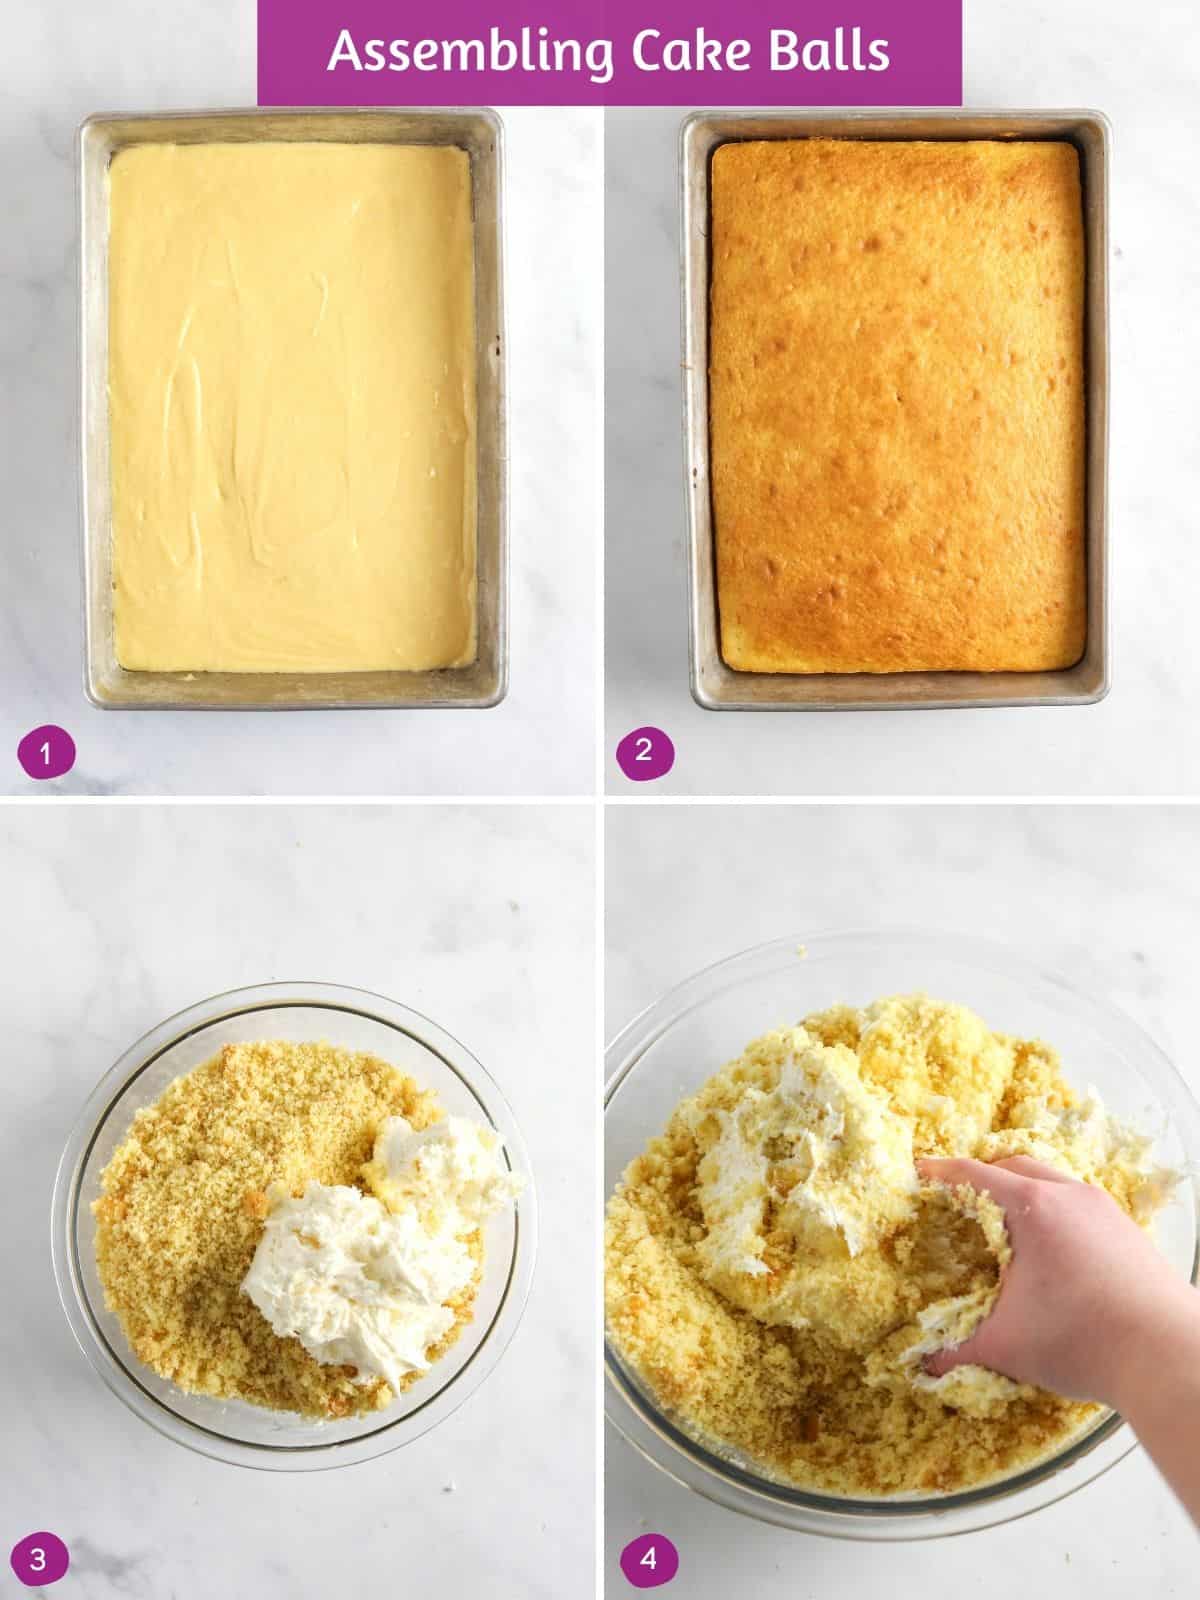
Step 1: Make your cake mix according to the instructions on the back of the box. I replace the oil with butter and use a bit less. See below!
Step 2: Bake in a 9″x13″ baking dish.
Step 3: Let slightly cool and crumble cake using your hands or a food processor.
Step 4: Mix in your frosting. The cake should hold together when pinching it.
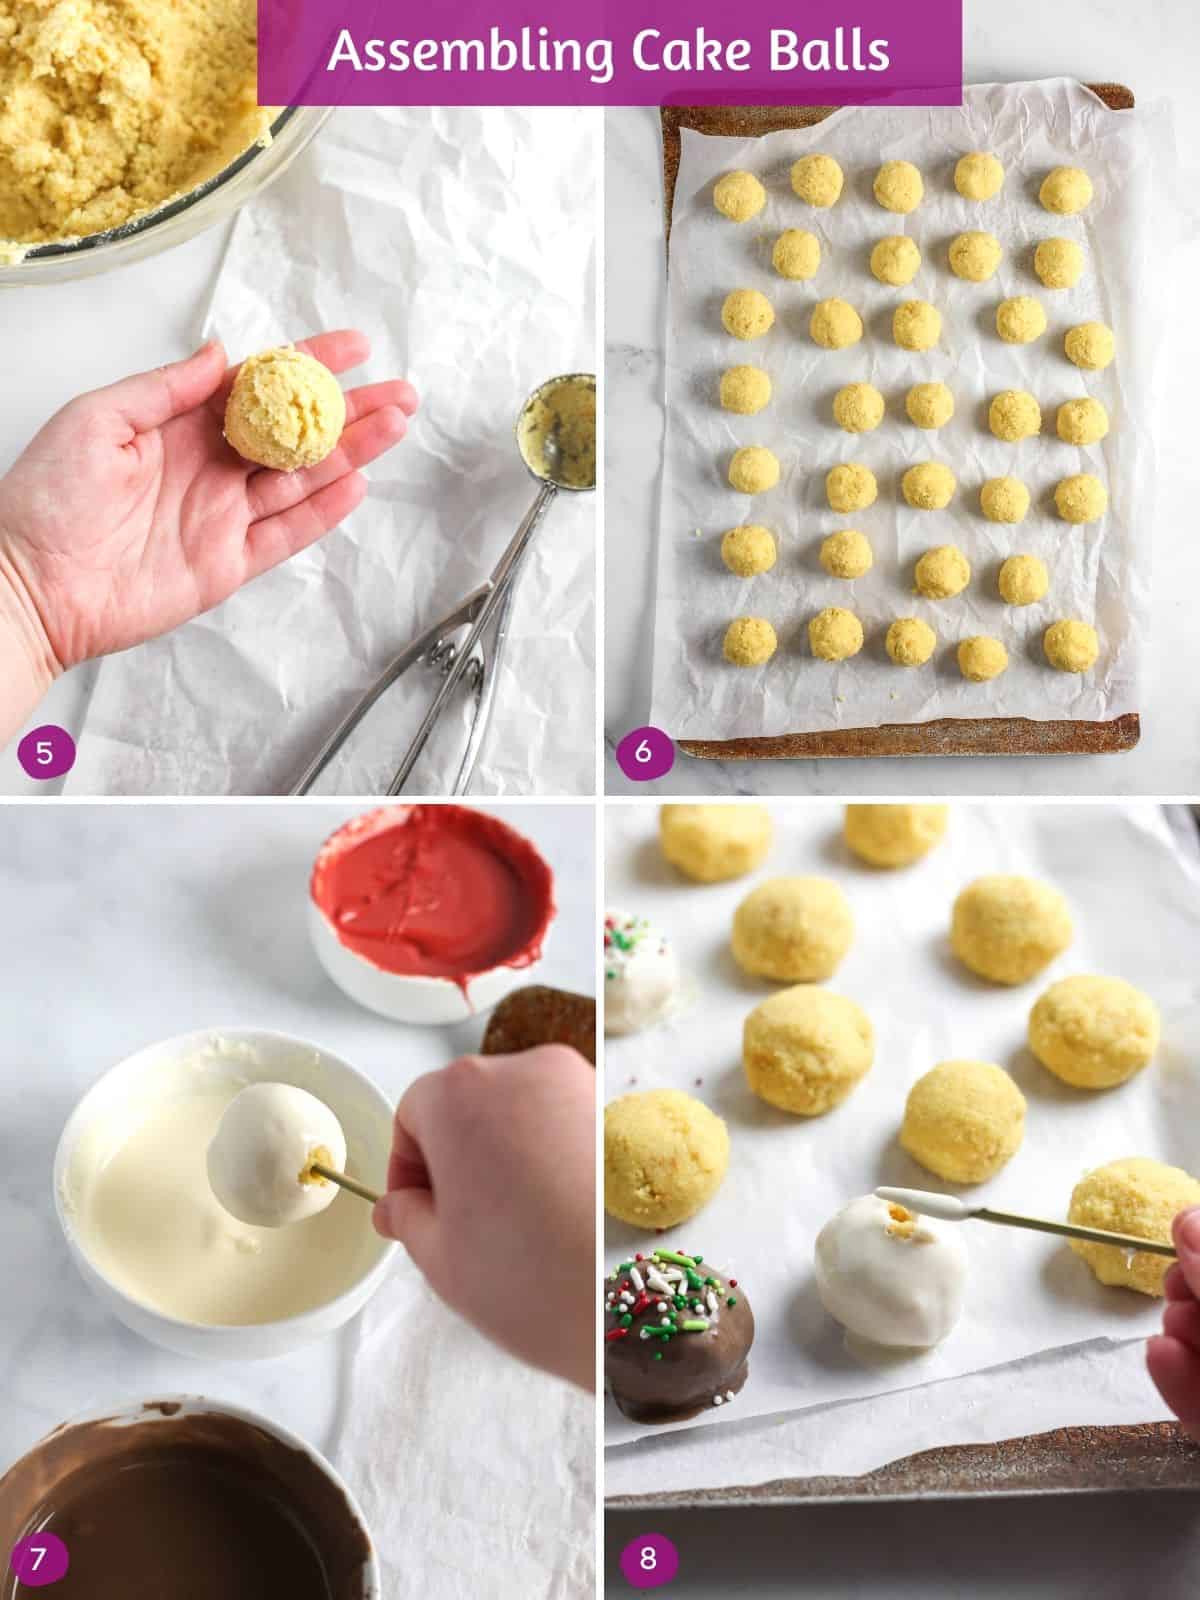
Step 5: Scoop cake out using a mini ice cream scooper and roll into balls using the palms of your hands.
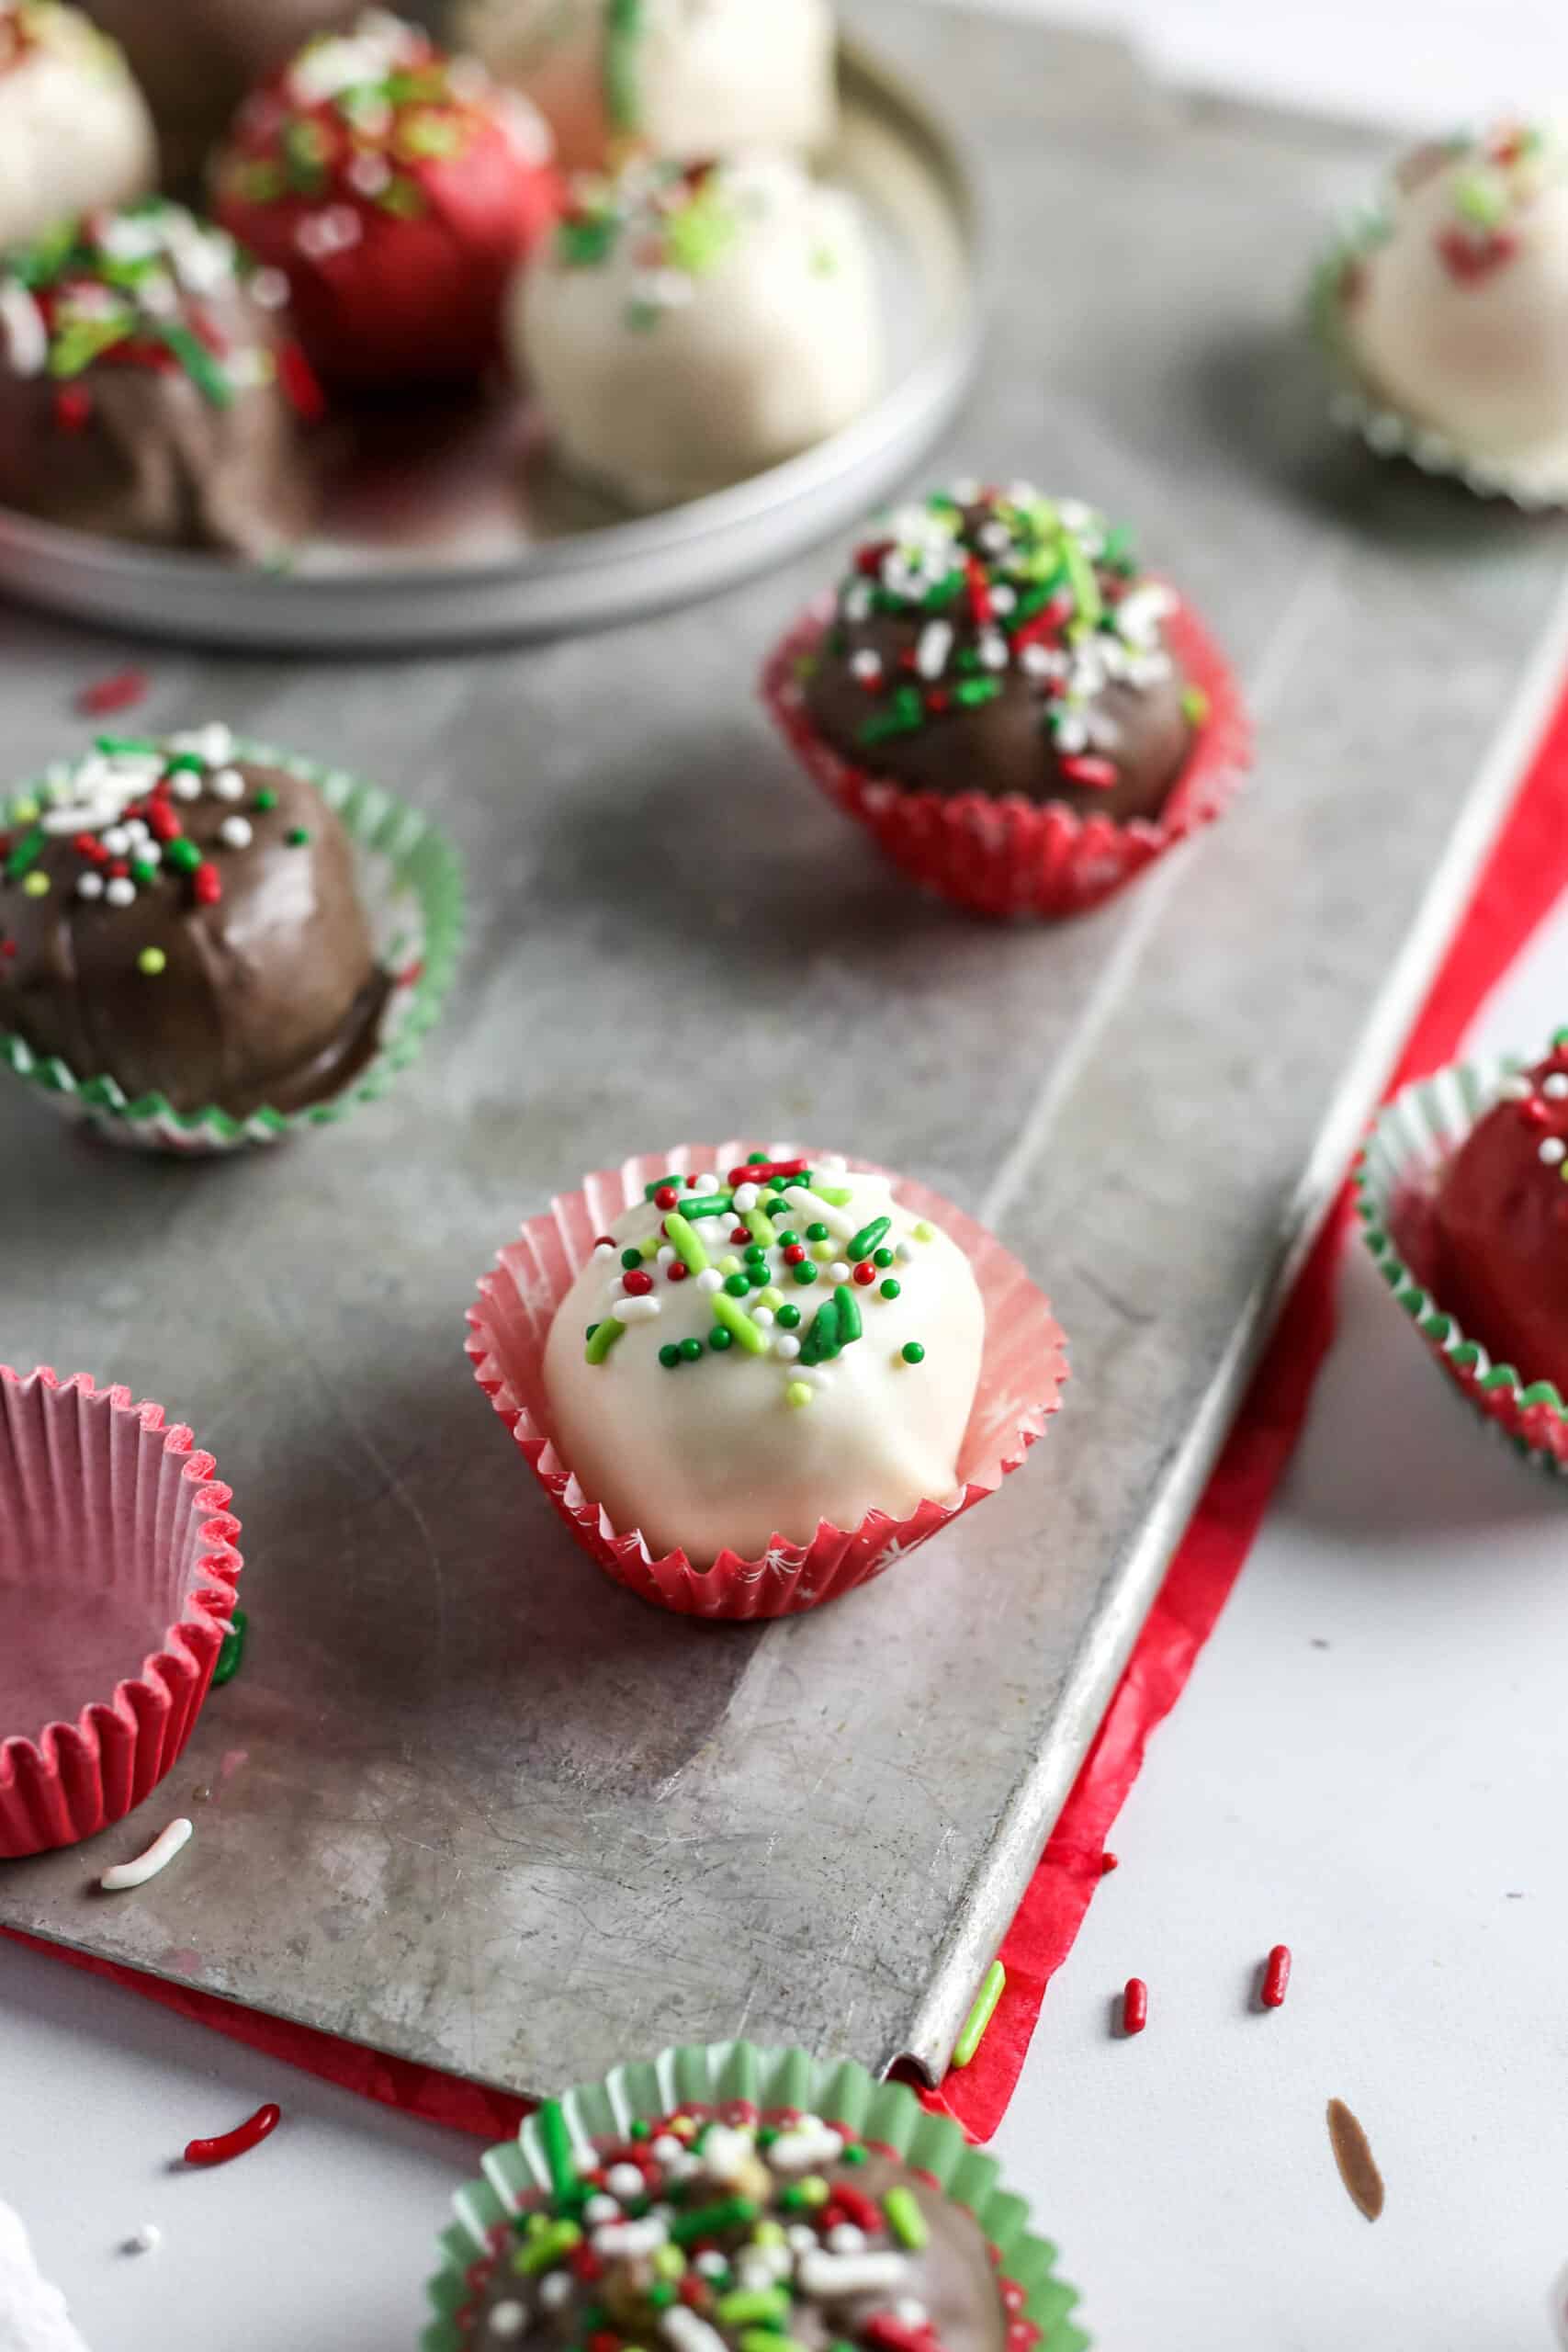
Step 6: Chill balls to harden them before dipping into melted chocolate. Place on parchment paper or a nonstick silicone mat and top with sprinkles. Allow the chocolate to set and harden.
I have been making cake balls for over 6 years now. I have even made a cake pop TOWER for a friends wedding which I had so much fun doing. Over the years I have learned what works and what doesn't. Here are my tips for you:
- Do NOT coat super cold cake balls in your melted chocolate. The chocolate will crack with the temperature change which is not pretty.
- Use Candy Melts (which I always order off Amazon) or look in your grocery store for Ghirardelli melting wafers. I cannot stress how helpful these are. They are MADE to melt easily. For years I tried using regular store-bought chocolate and it is unforgiving.
- Add EZ Thin Melting Crystals to your chocolate to help smooth it out. THIS IS SO HELPFUL! Your candy melts will be smooth as butta' and so will your cake balls. (Adding shortening can be a good substitute to thin your chocolate.)
- Use a food processor to "crumb" your cake! This is a trick that many people don't know about which helps to break up the harder edges of cake. It is an extra step that is worth it.
- Wash your hands between rolls. When your using your hands to roll out your cake balls, cake will stick to your palms which we don't want.
- Use a toothpick or mini skewer to dip your cake balls into your candy melts.
- Add your candy melts to a mini crock pot so you don't have to reheat your chocolate 1000 times.
- Do not overheat your chocolate. Doing this will scorch it causing it to thicken and harden up. It is hard to fix once it is scorched. This pot is great for this.
- Leave the oil out! Adding the oil a boxed mix requires will cause your cake balls to be extra oily which may cause the oil to seep out later on. Not very attractive.
- Chill your cake balls. This is important and makes them easier to work with.
- The most important tip is to make sure you let the excess chocolate drip off your cake ball before placing it down to cool. I see too many times, cake balls sitting in a pool of chocolate. We don't want "melted snowballs"!
Ingredient Swaps
- Moist Yellow Cake Mix: This type is my go-to every time. You can use ANY boxed cake mix including white, red velvet or chocolate.
- Candy Melts: Candy melts comes in EVERY color. They even come in peppermint flavor which I used in some of the photos here. You can use any kind you wish!
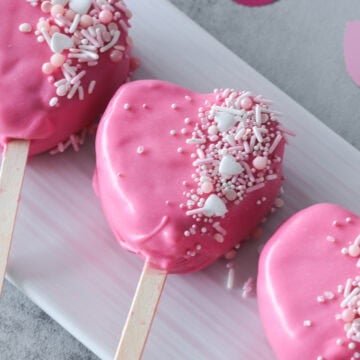
- Sprinkles: You do not have to ONLY make these at Christmas time. You can add any colored sprinkles to make them festive for any holiday. Add rainbow confetti sprinkles for kid's birthday-themed cake balls!
- Cream Cheese Frosting: I like the flavor of cream cheese frosting the best. If you do not have this on hand, you can use any vanilla-flavored frosting. Steer clear of chocolate frosting unless you use chocolate cake mix as well.
Dipping Tips and Tricks
"How do I dip cake balls?". This is the most common question I get and by far, the trickiest part of making cake balls.
Since you do not have an actual stick to hold while dipping, coating your balls without them diving right into the chocolate can be a challenge.
The BEST way to dip a cake ball, is to use a toothpick, skewer or small fork as a dipping tool. The smaller, the better. I like to use mini wooden skewers because they are thick enough to hold the cake ball but not so thick where it will destroy my cake ball.
Then, after you dip your cake ball into the candy melts, let the excess drip off and set onto some parchment paper. You will have a tiny hole that you will need to PATCH using a small dab of chocolate over top. No one will be able to notice the hole after it dries.
Other Cake Ball Flavors
The reason I LOVE cake balls so much is because of how versatile they are. You can use any boxed cake mix and any store-bought frosting! You can even use your own homemade frosting if you want. Here are some other delicious cake ball flavors you can try out!
- Lemon cake mix with a citrus frosting
- Chocolate cake mix with chocolate frosting
- Red velvet cake mix with cream cheese frosting
- Funfetti cake mix with vanilla/cream cheese frosting
- Butter pecan cake mix with cream cheese frosting
- Strawberry cake mix with vanilla frosting
How Long Will These Keep?
Cake balls will be good for 5-7 days at room temperature if they are sealed properly. If you place them in a sealed container in the fridge, they can last up to 10 days.
You can freeze the "naked" cake balls (balls without chocolate) for months but once you coat them in the chocolate, you have to keep them in the fridge or on the counter.
Cake Ball Tools
Here are some useful tools and supplies you may want to grab to make your cake pops turn out flawless and professional looking! The EZ Thin is a must!!
- Cake Pop Sticks (if you want cake pops!)
- Cake Pop Stand (white tiered, holds 37 pops)
- Cake Pop Stand (clear, holds 32)
- Cake Pop Molds (to help form your balls)
- Mini Cake Pop Maker (will form AND bake them)
- Candy Melting Pot (to melt your chocolate)
- Cake Pop Gift Bags
- Cake Pop Roller (rolls 21 balls at once)
- Candy Melts (melting chocolate)
- EZ Thin (a MUST for smooth chocolate!!)
Here are some other holiday desserts you might like!
Quick Gingerbread Cannoli Mini Phyllo Shells
Moist and Thick Mocha Vanilla Pudding Cookies
The BEST Puppy Chow Recipe NO Peanut Butter
I'd love for you to comment and rate the recipe below!

Most Requested Christmas Cake Balls
Ingredients
Equipment
Method
- Prepare the cake according to instructions leaving OUT the oil! Bake until a toothpick comes out clean.
- Once cooled. Crumble cake in a large bowl and add ¾ of the tub (12 oz.) of frosting. I like using your my hands to mix! (Use can do this in a mixer as well.)
- Using a mini ice cream scoop, scoop out cake balls and roll using hands. Store in a Tupperware container with parchment paper in between layers so the balls do not stick. Place in the freezer for about 30 minutes.
- Meanwhile, melt the chocolate in your mini crock pot if you have! If not, use a thick coffee mug and melt chocolate in the microwave in 30 second increments stirring in between! Add a spoonful of EZ Thin and stir until smooth.
- Using a toothpick, stick a ball and dip it all the way into the chocolate immediately turning upside down on a 45 degree angle rotating until the excess chocolate runs off. Then drop onto parchment or nonstick surface.
- When you remove the toothpick, there will be holes. Just dip a small spoon or your finger into the chocolate and patch the whole up while still wet.
- Add sprinkles while still wet and allow chocolate to set. This should take about 15 minutes.
- Store in the fridge for up to a week or in Tupperware for a few days.
Nutrition
Notes
- Make sure your chocolate does not get too hot! I will stir my mini crock pot a few times or unplug for a few minutes during the process so my chocolate does not burn.
- You can add any kind of sprinkles to make these for any holiday or occasion.
- You can also drizzle chocolate over top when the first coating sets for a classic look.
- If your balls fall off of your skewer when dipping, you will need to pop them back in the fridge or freezer.
- Turn the cake ball upwards and tap against the edge to gently allow the excess chocolate to drop.

Kim Thornton
I don't understand why you have EZ THIN Dippibg Aid in the ingredients if it doesn't explain anything about it in the instructions!
Aleka Shunk
So sorry about that! I did not want to add it as some people may think it's required.
Emily Hensley
So my cake mix called for water, oil and eggs. Should I have only used eggs? I saw no oil but I did use the water that the cake box called for. I feel like my cake balls are a little mushier than I’d like but still turned out okay.
Aleka Shunk
Yes you need the water. You may have used too much frosting. Pop them in the freezer to harden a bit. Mushy cake balls are delicious after they're coated in chocolate so just get past that stage and you'll be set!
Rehoboth
Excellent post
Vickie Gordon
Where dies the frosting come in?
Aleka Shunk
Hi Vickie! In the second step, it says "Add cake crumbs to a large bowl along with your cream cheese icing and mix well." Does this answer your question? If not, feel free to email me! 🙂
Julie
Your recipe says to use water according to the package. Your comment says NO water. Which is correct? Were you saying don’t add ADDITIONAL water.. only what is called for?
Bite Sized Kitchen
Hi Julie, I apologize, the cake mix cookie recipe I just posted has no water so that’s why I said that! In the post I explained that I leave any oil
out of the recipe. I found it will often seep back out of the cake balls after you coat them in chocolate. With that said, it won’t ruin them if you do use the oil according to the directions. It’s just for aesthetics. I hope this helps! (I currently have them chilling in my fridge waiting to be coated!) 😉
Kerry
This recipe looks great! When mixing the cake batter, should I use something instead of the oil (Yogurt, or applesauce etc)? Or just omit it completely?
Thanks 🙂
Bite Sized Kitchen
You can use oil OR butter. But if you want to make these a little healthier, you can definitely use applesauce. It would be a 1:1 ratio so you use the same amount of applesauce. Let me know how your cookies turn out!!
KS
The cake recipe calls for cake mix, 3 eggs and oil. Do I substitute water for the oil, as your recipe says no oil and includes water?
Bite Sized Kitchen
You can use 2-3 eggs. I have tried both and if you want more cake-like cookies, use 3 eggs, if you want gooey cookies, use 2 eggs. As for the water, do not use ANY! Just oil (or butter). Let me know how they turn out!! 😉