
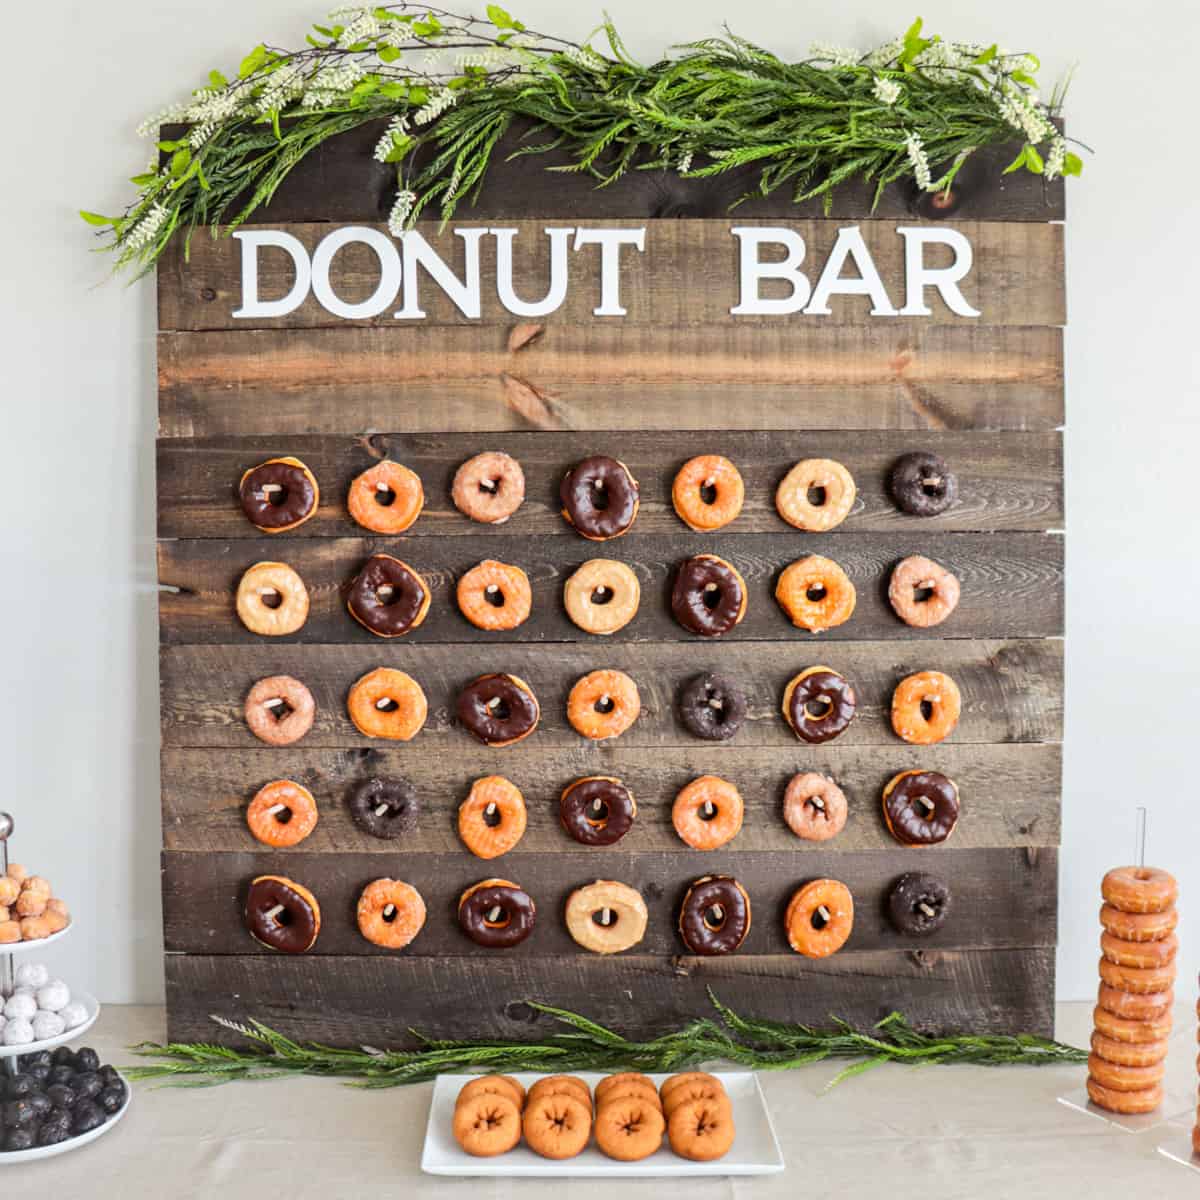
Learn how to make your own DIY Donut Wall in less than 2 hours! I took as many shortcuts as I could to make it happen on a budget. It's huge and can fit over 70 donuts so is perfect for a wedding, bridal shower, graduation party or any get-together really.
Check out how to set up a full donut bar for your guests like in the photo below!
Materials Needed:
Affiliate disclosure: As an Amazon Associate I earn from qualifying purchases.
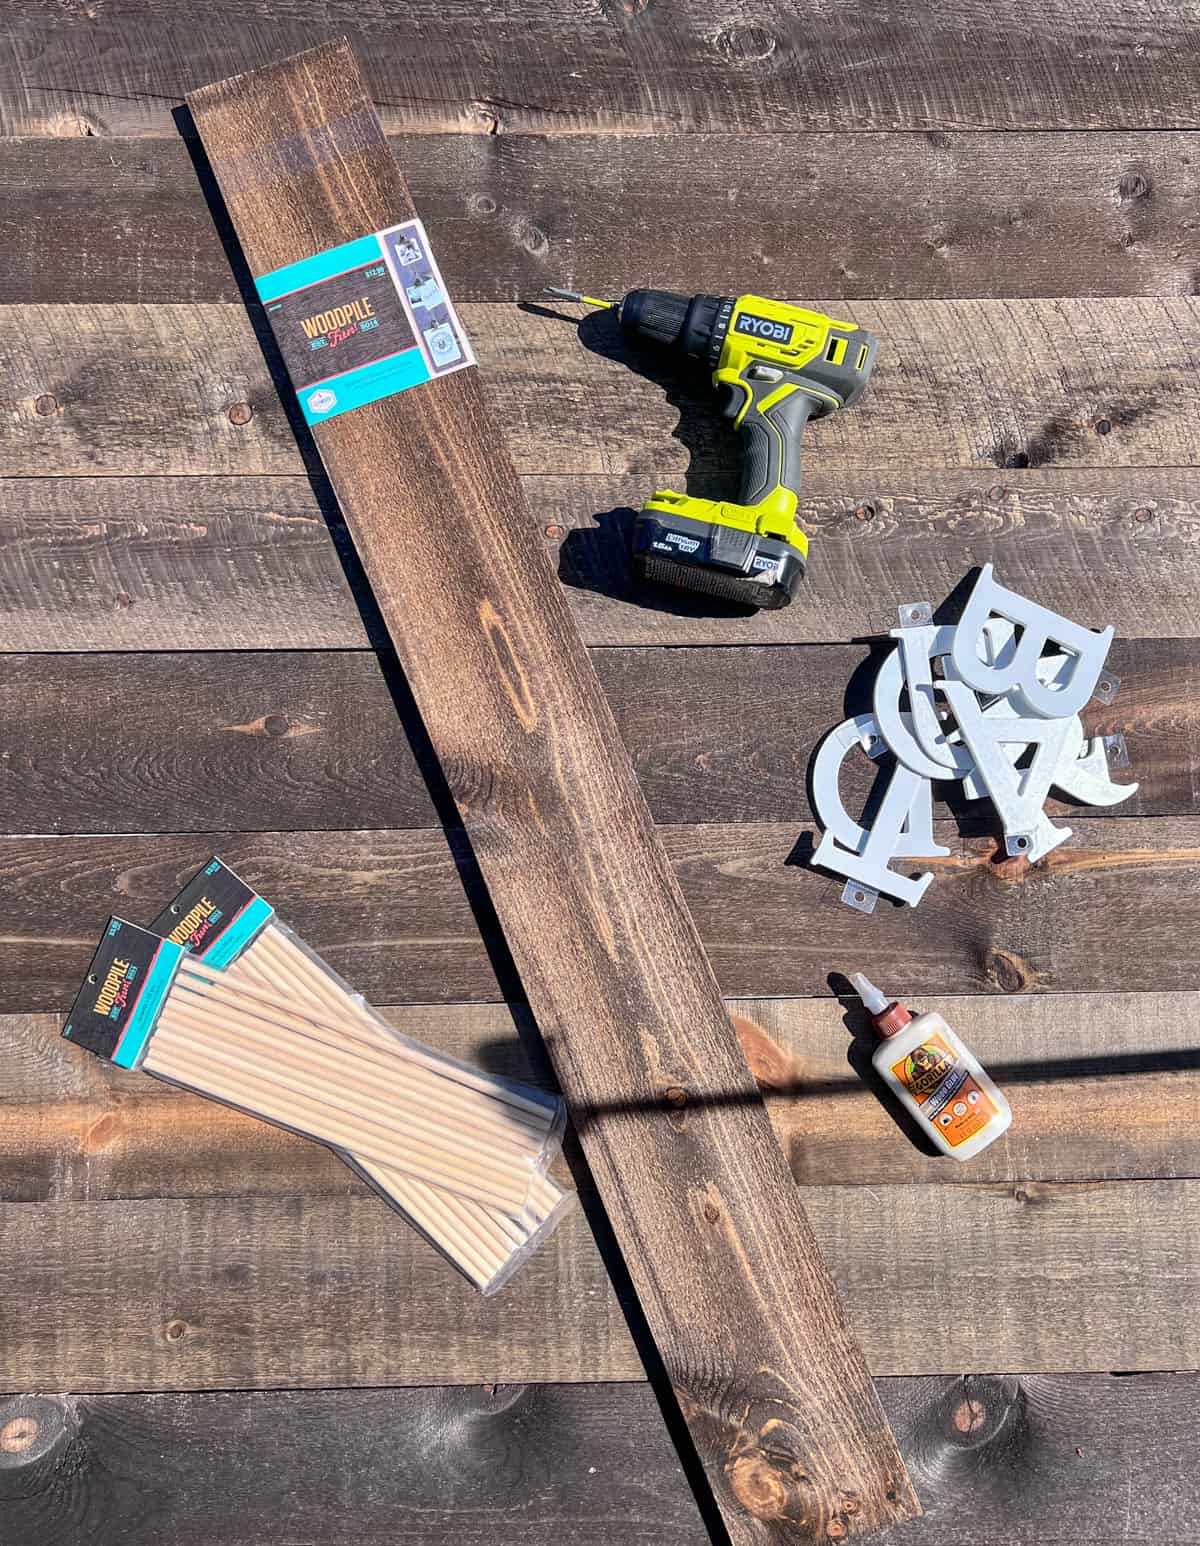
- 8-9 long wooden planks- I found mine at Hobby Lobby but you can get some from Home Depot too.
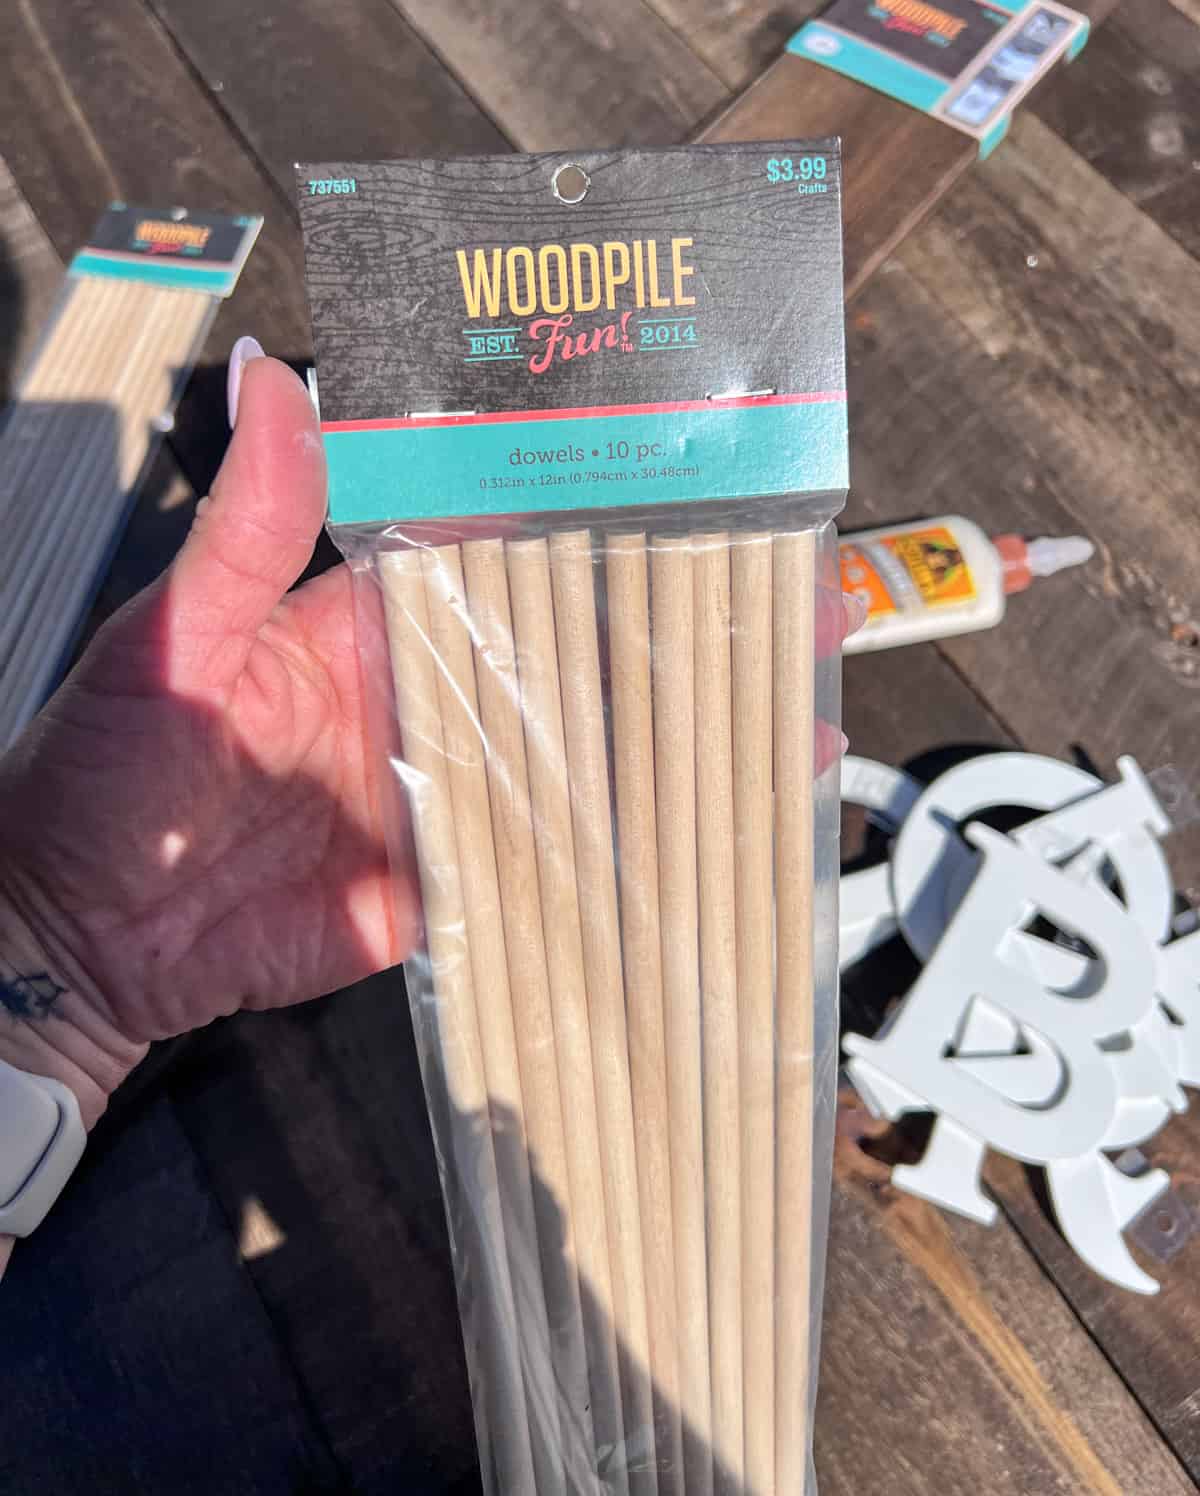
- 35+ Wooden dowels or pegs- enough to hang your desired number of donuts.
- Hot Glue Gun or Gorilla Glue for Wood- I used the Gorilla glue because I didn't want strands of hot glue everywhere.
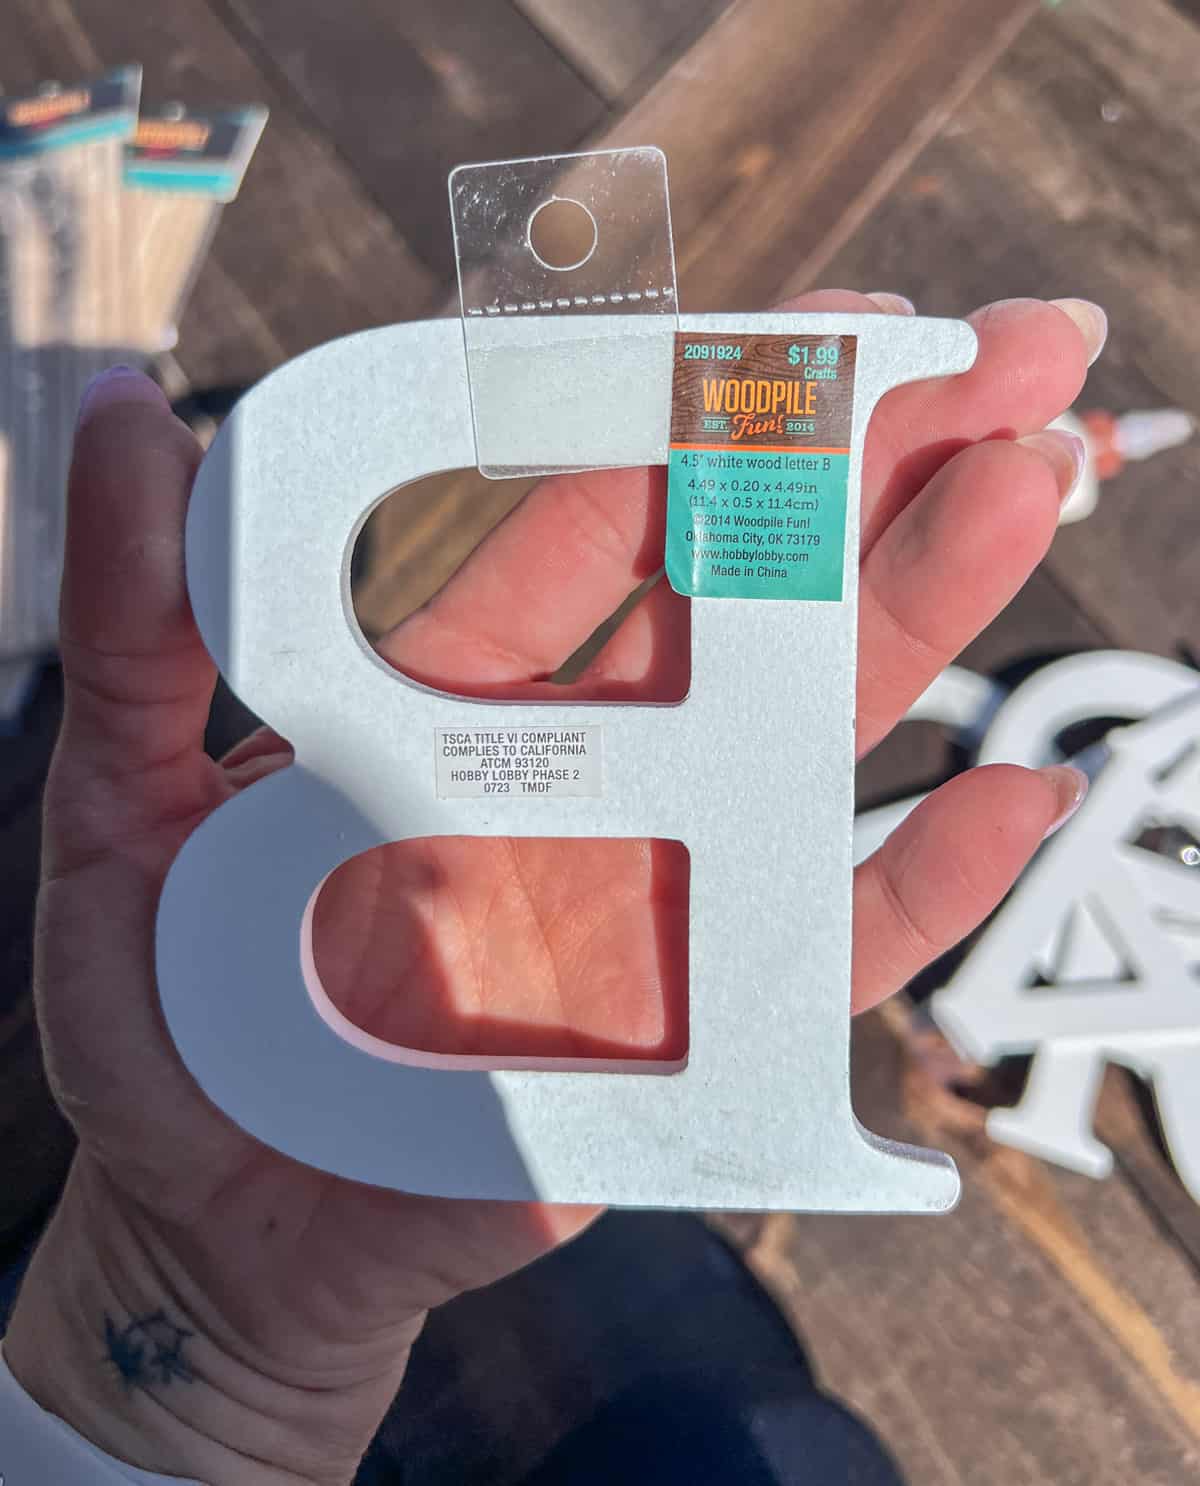
- Wood Letters- this is to spell out "Donut Bar" on your donut wall.
- Power Drill- to drill holes for the donut pegs.
- Drill Bit- for the holes.
- Screws- any small screws to secure the planks together. *The size of the screws will depend on the width of your planks.
- *Paint or stain- only if your planks are not pre-stained.
Instructions:
Prepare your wood
If you're using plain wooden planks, you may want to decorate it to match the theme of your event. You can paint it in a fun color or pattern or stain it to match your party or event.
Screw together your boards
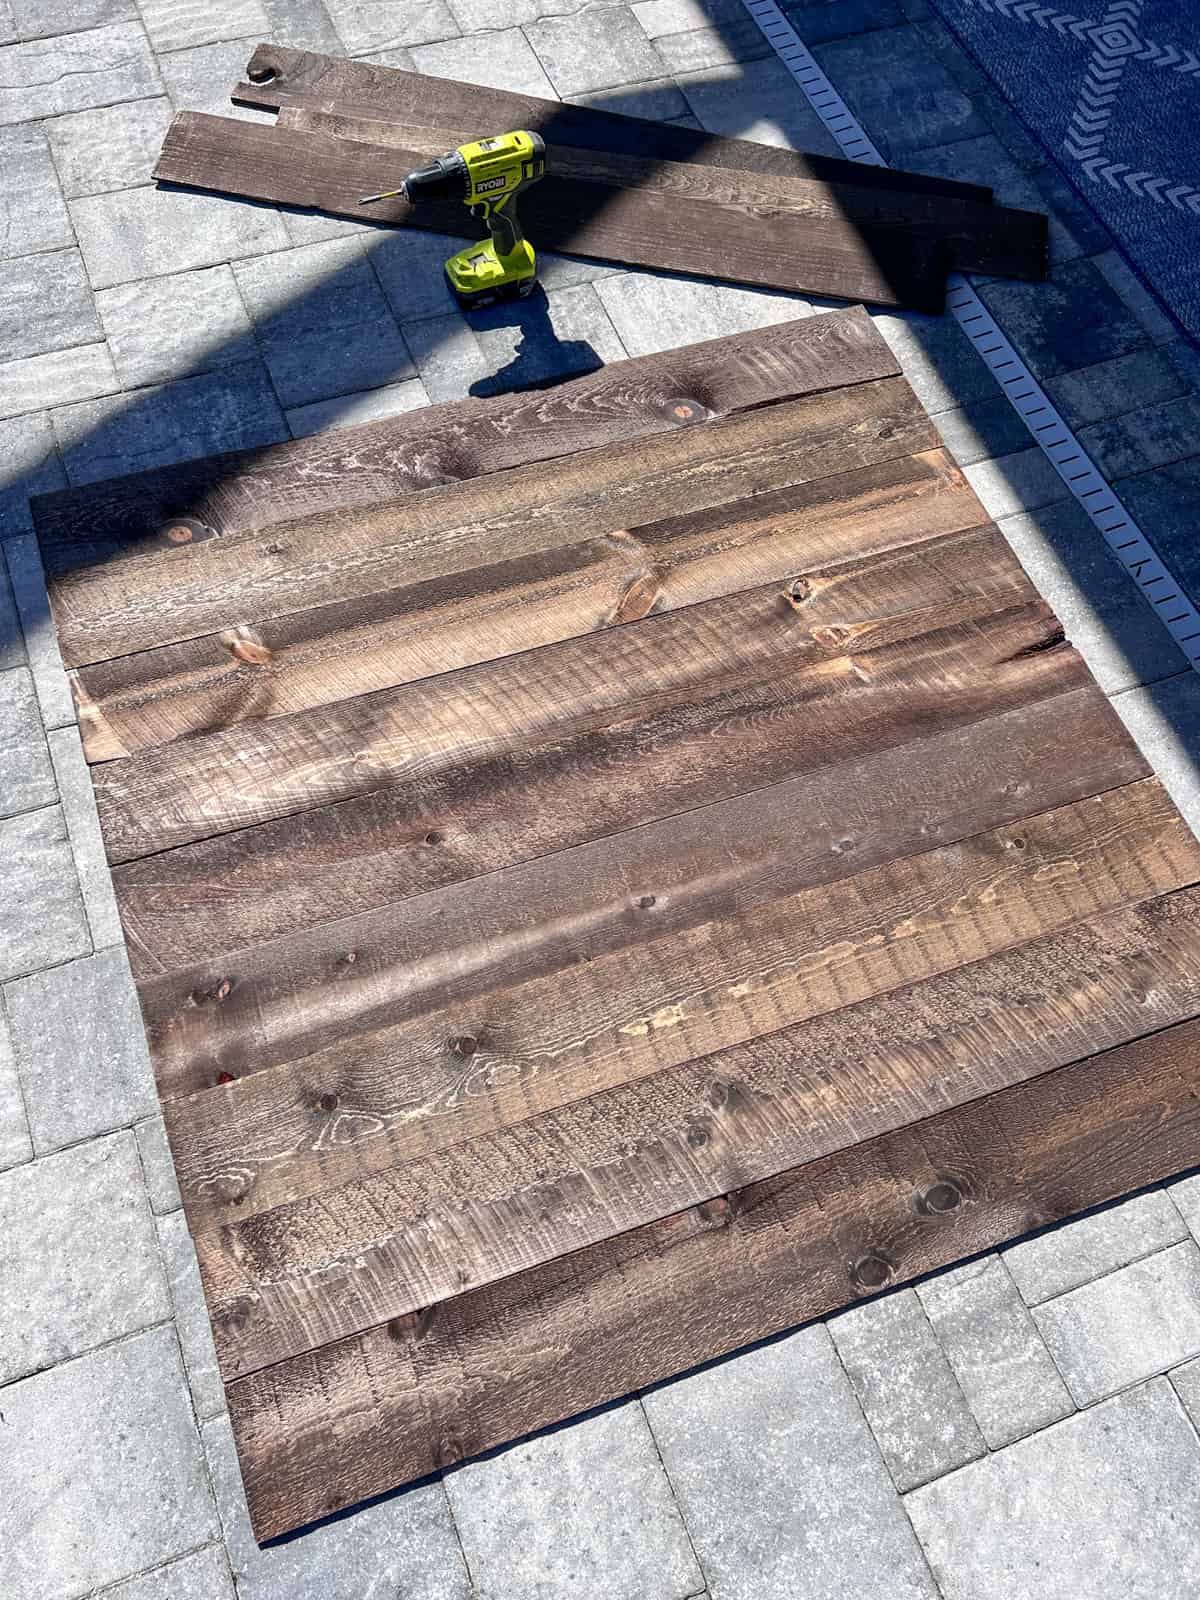
Lay down on a flat surface all of your boards. They don't need to touch but since wood is rarely the exact same size, you will most likely have a gap in the planks. That's okay.
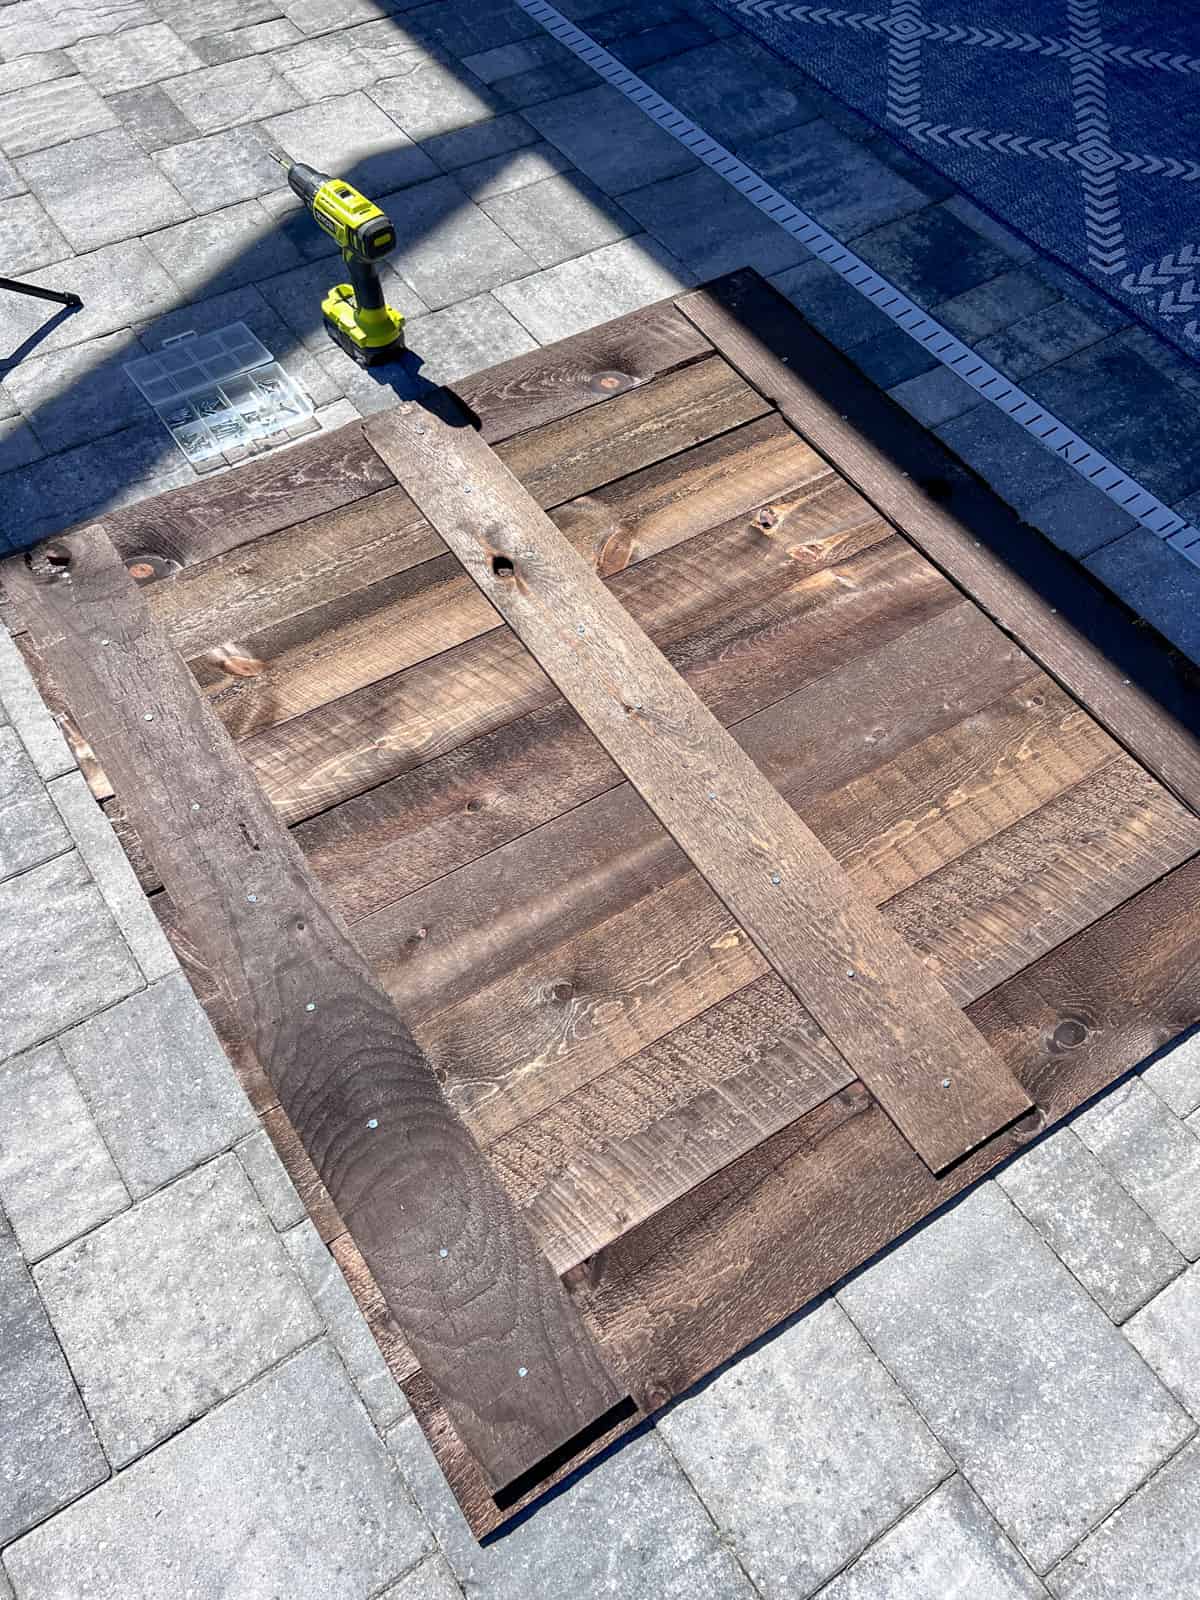
Next, lay three of the planks on the back of the boards. One at the top, middle and bottom for support. It's okay if they are a little shorter. As long as they are long enough to reach the last plank on each end.
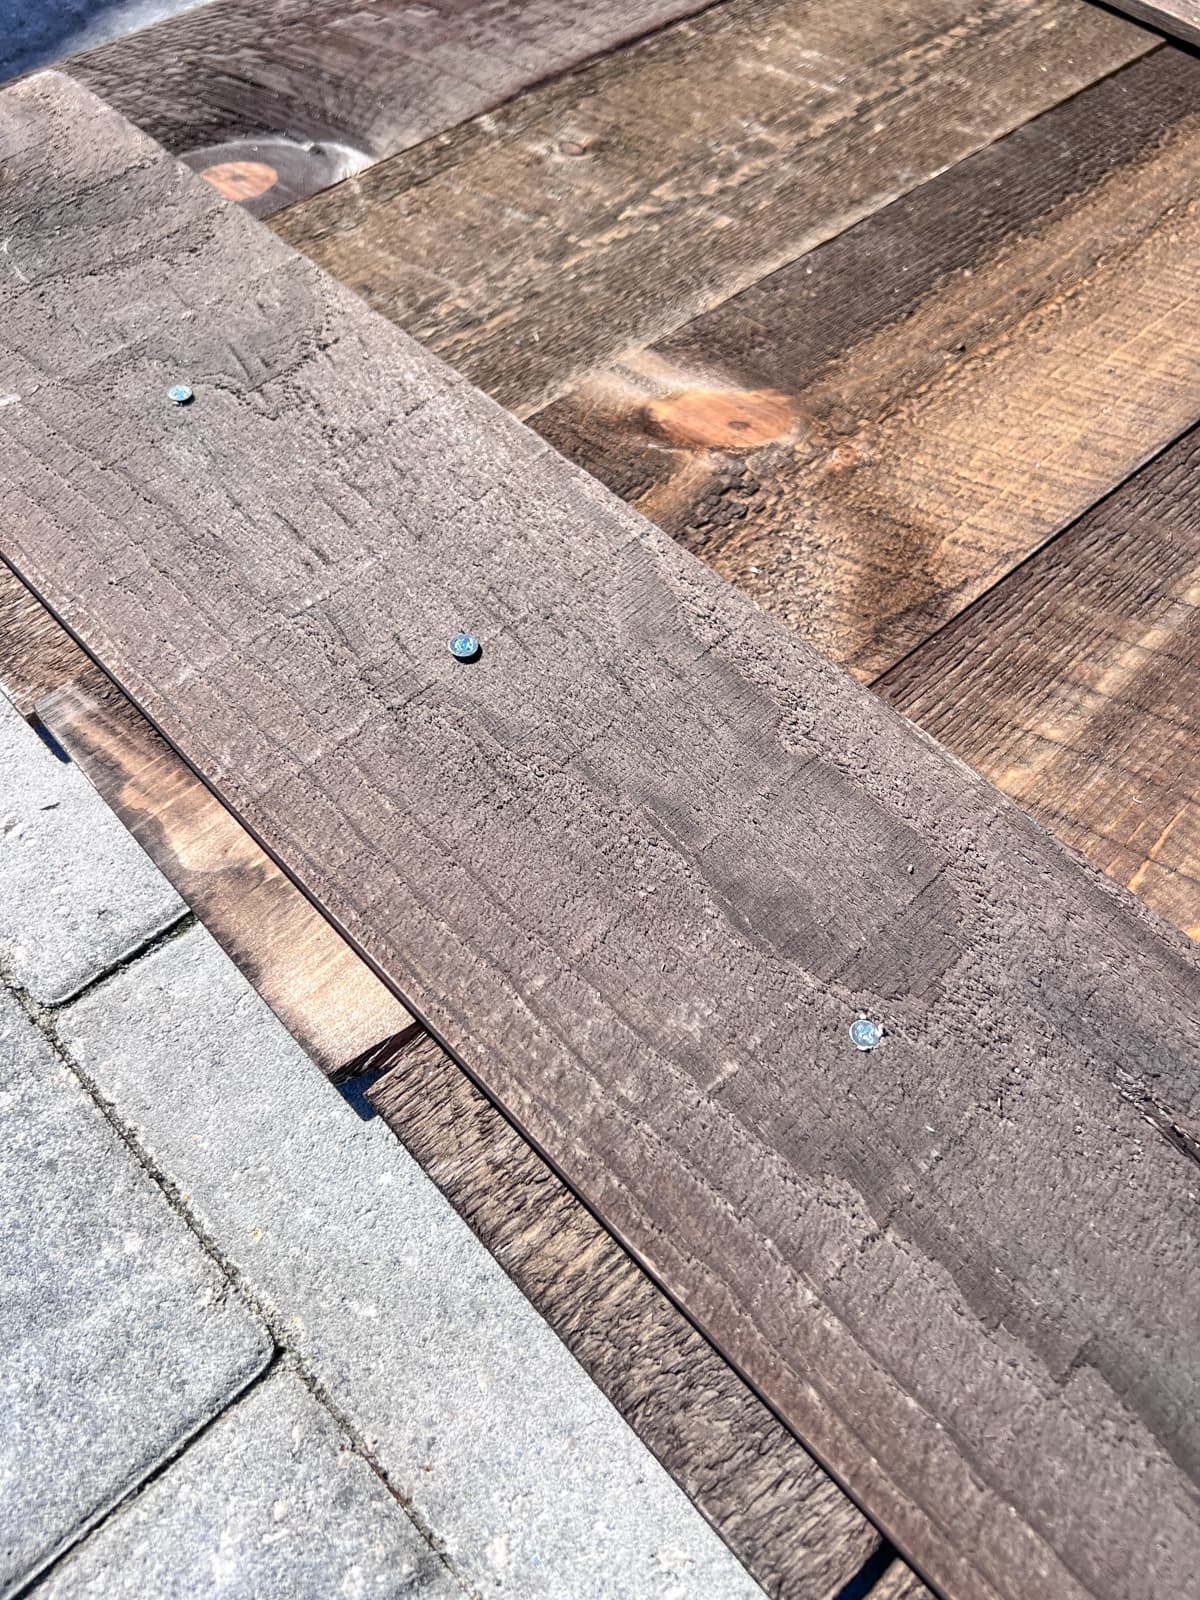
Next, take your screws and screw in each plank until it's tight.
Make sure your screws are the right size!
I made the mistake of choosing screws that were ⅛" too long so they popped through on the other side. Make sure to measure the width of both planks and use screws that are a tad shorter than the combined width.
Drill Your Peg Holes
Decide on the layout of your donut wall and mark where you want each peg to go. Space them out evenly to ensure the donuts have enough room to hang without touching.
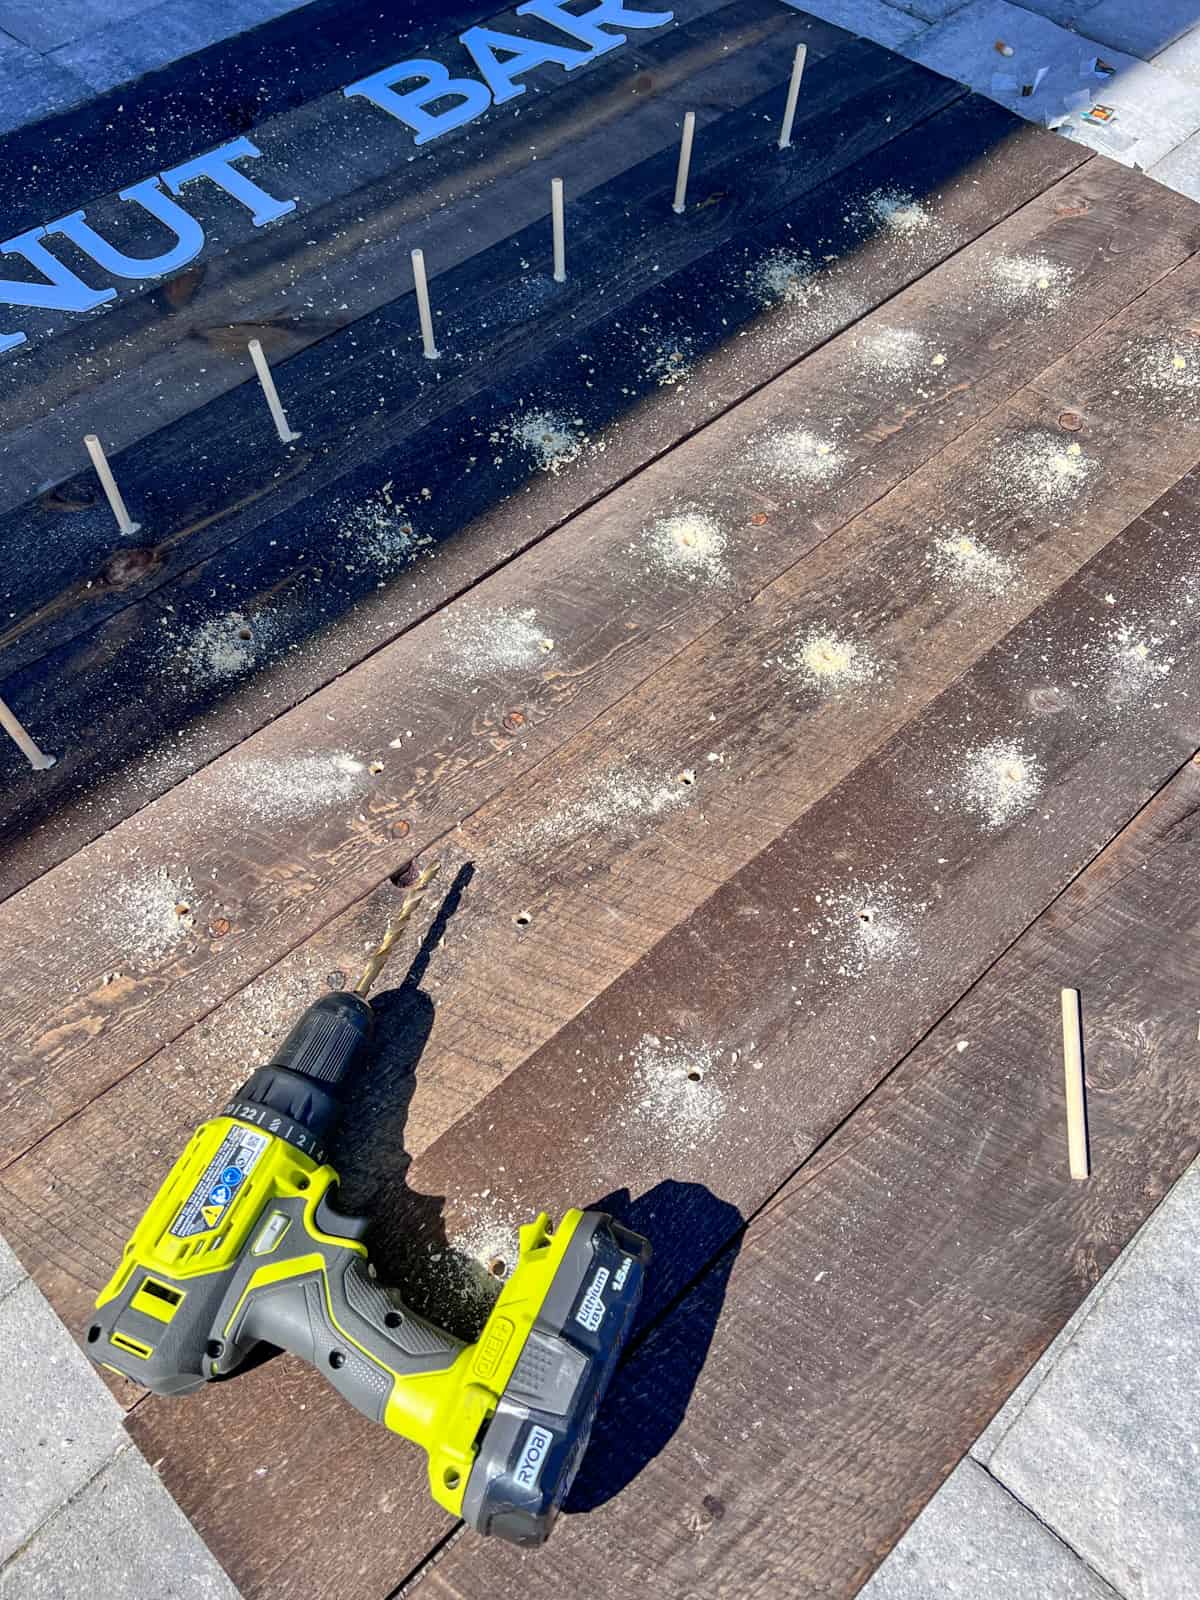
Use your power drill and attach a drill bit that is just a tad bit smaller than the diameter of your pegs. Mark out your holes with a marker (make sure to measure) and drill the holes all the way through.
Be Careful!
When drilling, make sure the surface you're drilling on is tough like concrete or pavers so you do not destroy the floor.
Cut & Glue On Your Pegs
Next, cut your wooden dowels into pegs that are about 3-4" long. Use a touch of wood glue around one end of the dowel and place them in each hole. Use a hammer if needed.
Glue On Your Letters
Use the wood glue to glue on your DONUT BAR letters. Make sure to measure this before you start gluing!
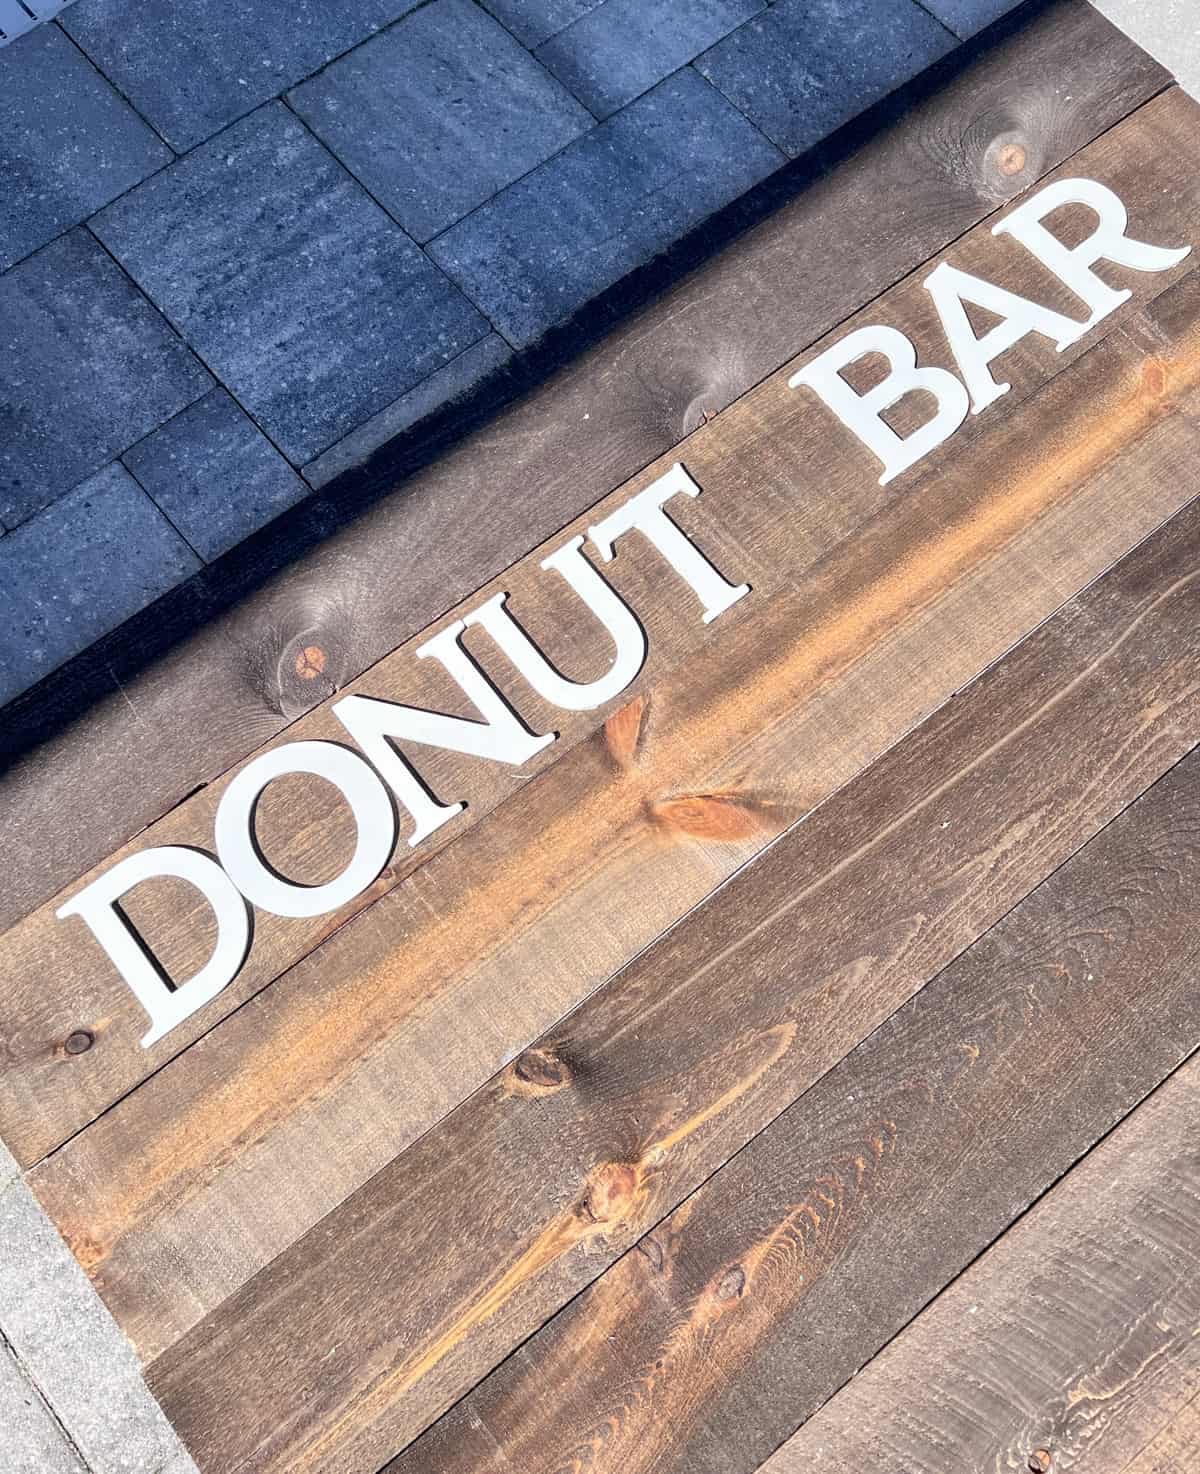
Lastly, brush off and wood dust and let dry for a hour.
Hang the Donuts
Once all the pegs are securely attached, it's time to hang the donuts! Simply slide a donut onto each peg, ensuring they are evenly spaced and secure. The pegs should fit at least TWO donuts.
Consider adding my homemade Strawberry Donuts to your board!
Display and Enjoy!
Once your DIY donut wall is complete, find a suitable place to display it at your party or event. You can lean it against a wall or hang it using command hooks or mounting hardware.
I prefer to decorate my rustic donut wall with some faux greenery I also found at Hobby Lobby. This immediately elevates the look of it! This donut wall can be used for weddings, engagament parties, graduation parties or bridal showers!
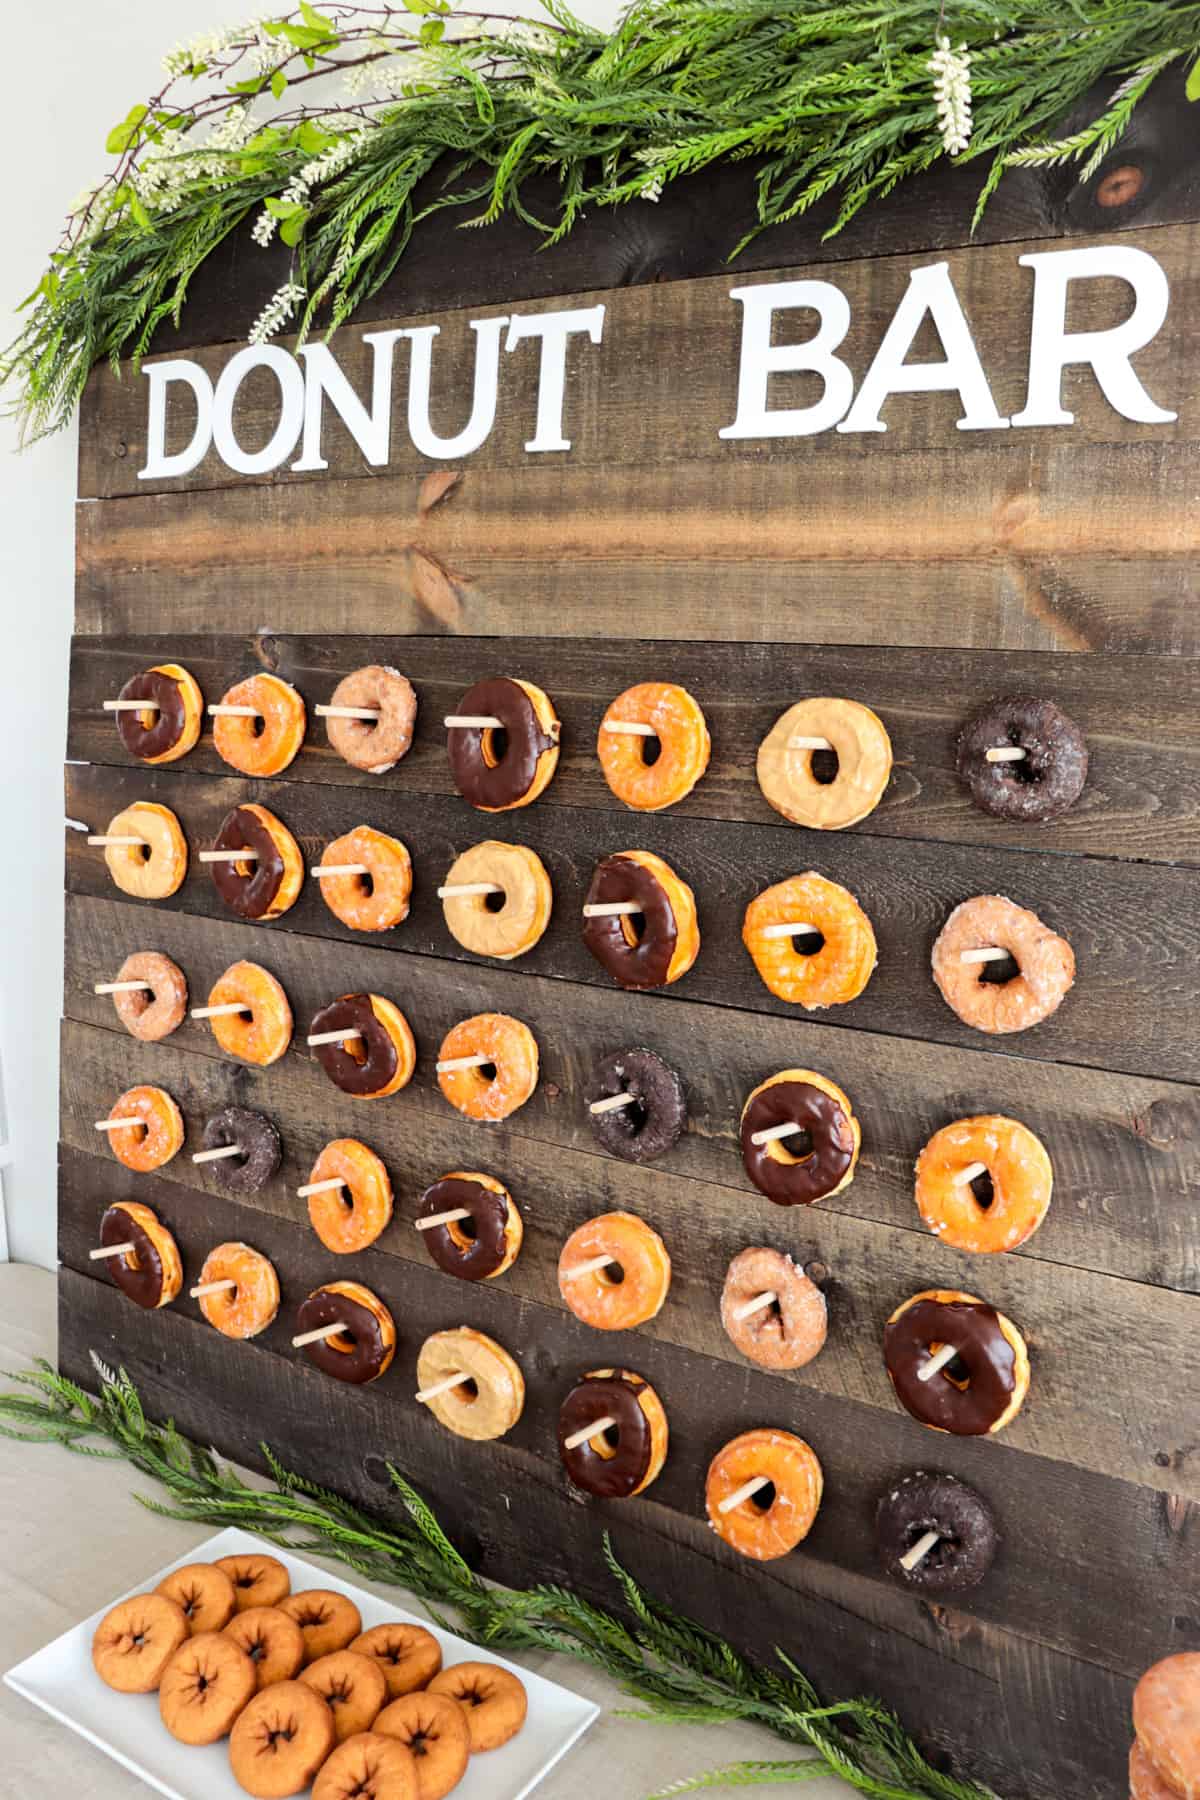
Donut Wall Display Tips
- Choose a variety of donut flavors, colors, and toppings to make your donut wall visually appealing.
- Consider adding another small sign or labels to the donut wall to indicate the different flavors or types of donuts available.
- Keep an eye on the donut wall throughout the event to ensure it stays neat and tidy, and refill any empty pegs as needed.
Total Cost
This donut wall cost me $70. I already had the power drill, screws and glue. If you use stain or paint, it might be a little more.






Tried the recipe? I'd love to hear your thoughts below!