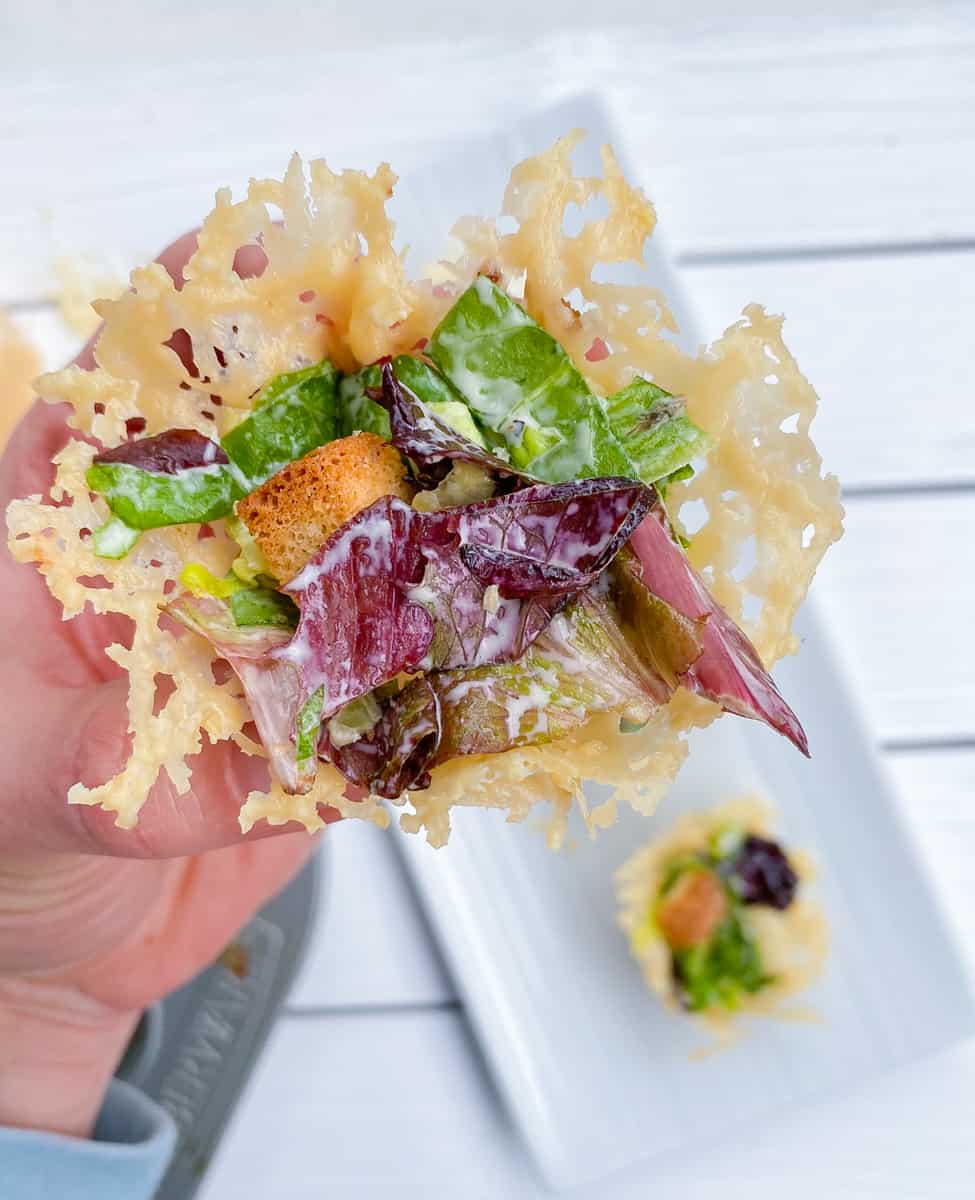
These Mini Caesar Salad Parmesan Cheese Cups are a fun and easy appetizer to serve your guests! Salads are hard to make bite sized but these individual baskets, made with Parmesan cheese, are a fun way to eat one with your fingers!

These Caesar salad cups are a fun and easy party recipe to serve as a brunch snack, a pre-dinner appetizer or a fancy hors d'oeuvre.
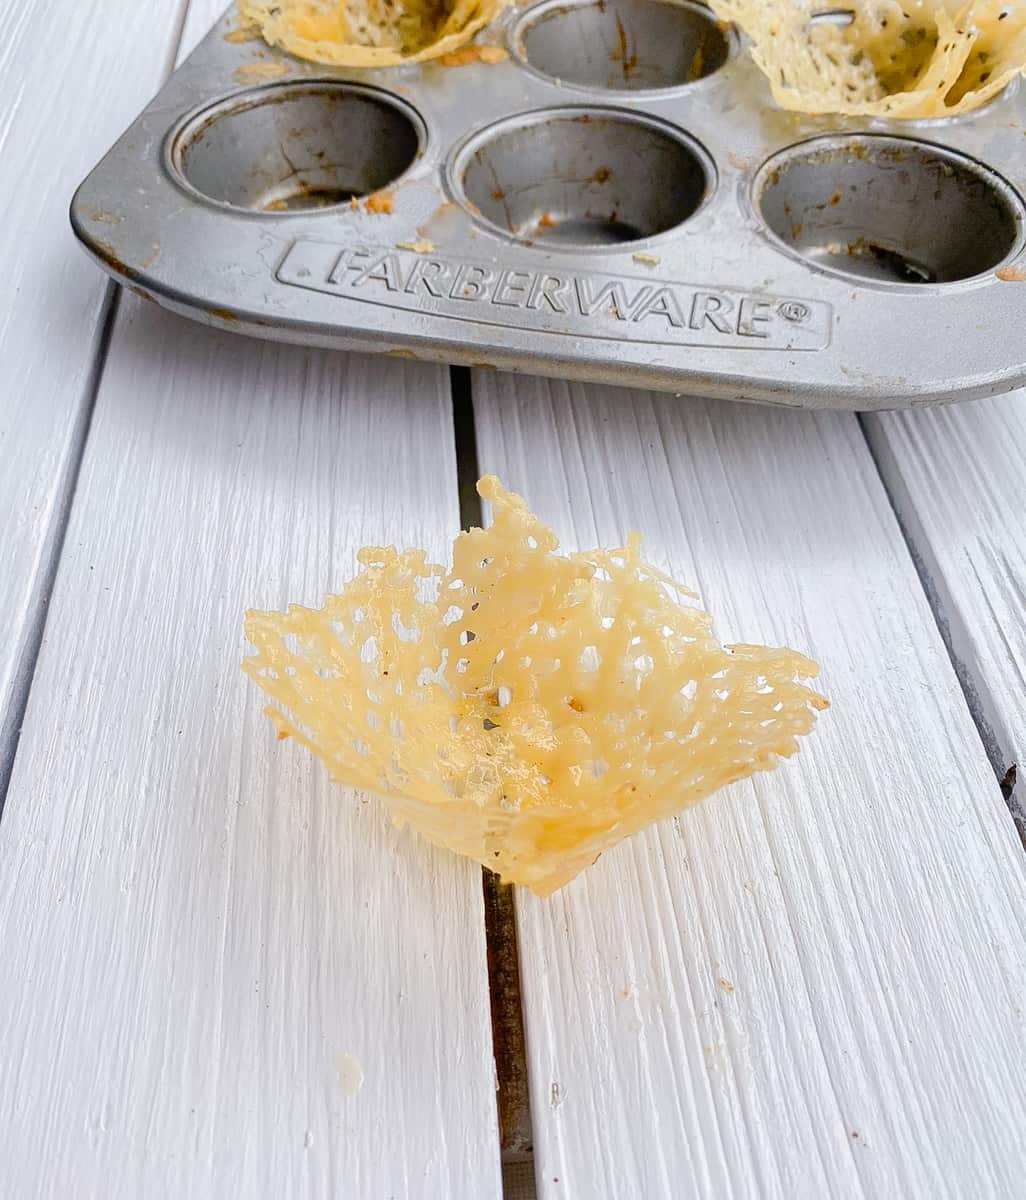
The Parmesan crisps take less than 5 minutes in the oven and less than a minute to set! Once baked, the edible mini cheese cups or "bowls" can last for several days in a sealed container.
Like my Mini Stuffed Bell Peppers, they are the perfect finger food to serve a crowd! They even make it more fun for kids to eat a salad!
How To Make Mini Parmesan Cups
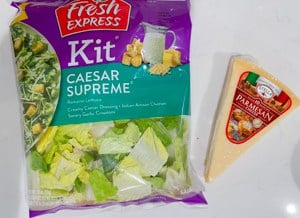
For this recipe, I purchased a pre-packaged salad bag which comes with chopped and cleaned Romain lettuce, mini croutons, Parmesan cheese shavings AND Caesar dressing with or without anchovies.
So technically, this appetizer uses only 2 ingredients! The salad kit AND a Parmesan cheese.
Step 1: If you use a block of Parmesan cheese, you will need to grate your cheese first.
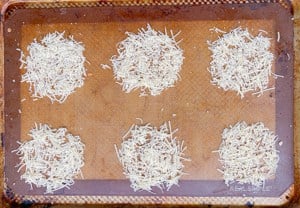
Step 2: If using a block of Parmesan, use a box grater to finely grate your cheese. Then place about 1 tablespoon of grated Parmesan cheese onto a silicone mat, or parchment paper, lined baking sheet. If you do not use one or the other, the cheese will stick! You want cheese rounds that are about 4" wide and 2" apart from each other.
Step 3: Bake for 3-5 minutes or until cheese is just melted.
Step 4: Remove melted cheese crisps from the oven and let sit for 40-60 seconds before removing.
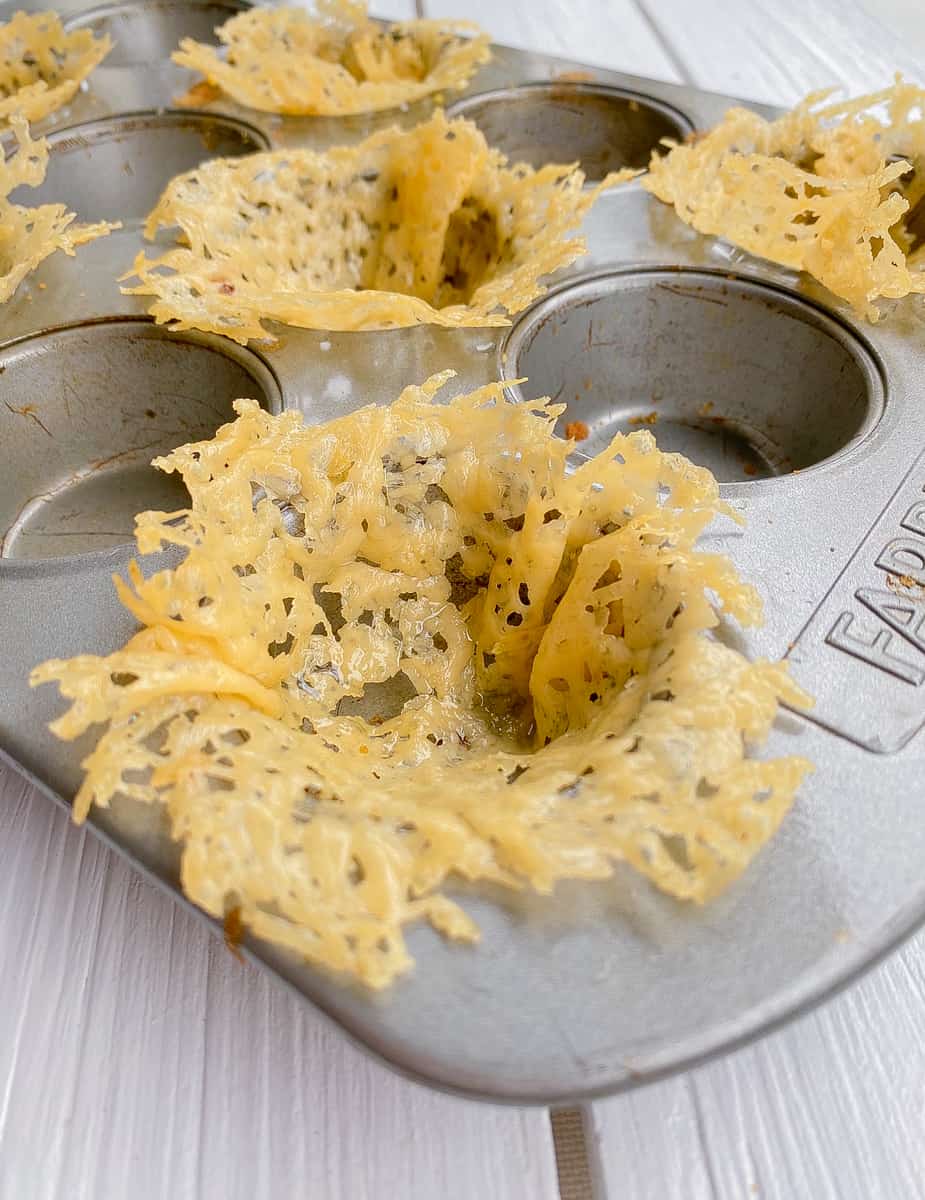
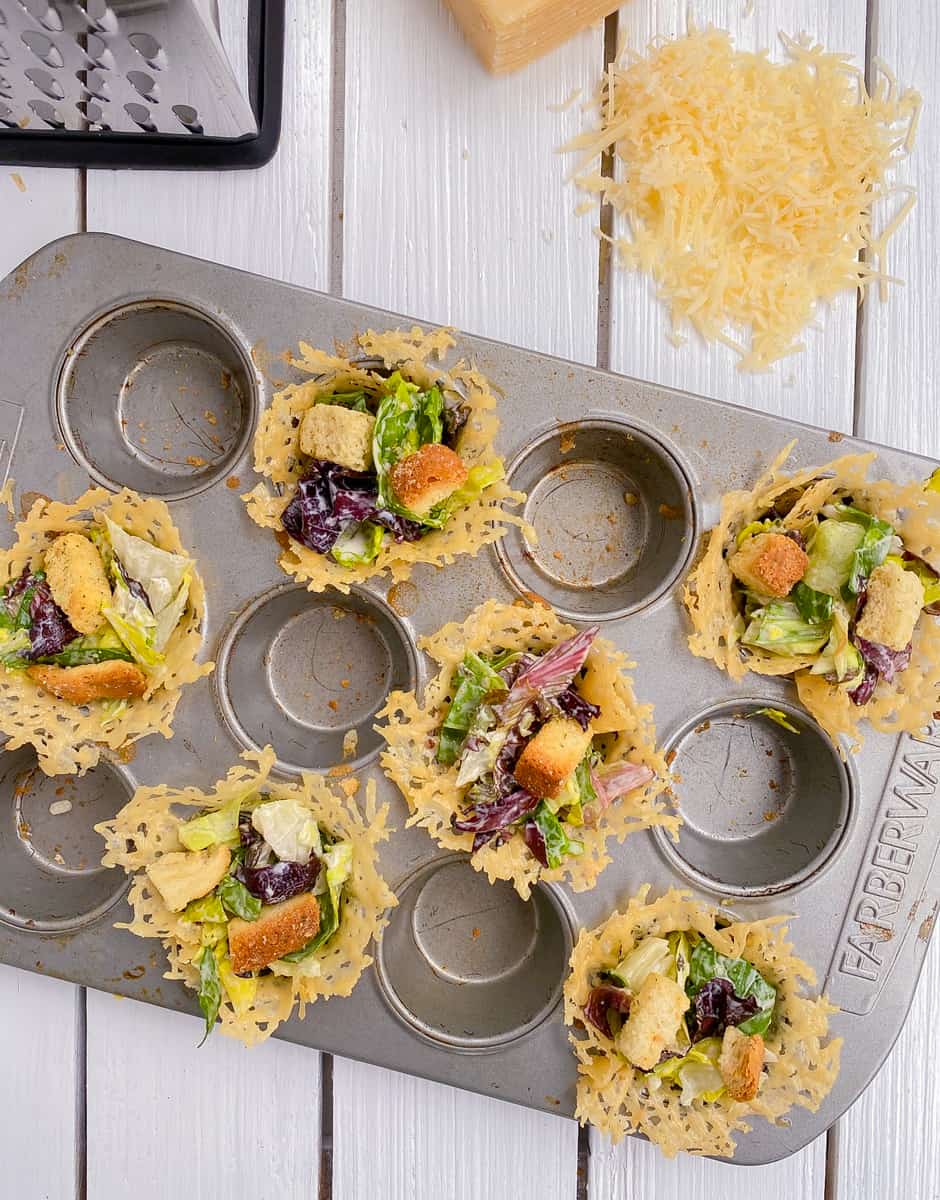
Step 5: Use a spatula to carefully but quickly remove each cheese crisp from the baking sheet to your mini muffin tin. Use your fingers or a shot glass to press them down into every other muffin tin slot. You want the edges to overlap the muffin tin.
*I do not use the bottom of the muffin tin to create the cup shape (like some recipes show) for one reason. That reason is because I like to use the muffin tin as a holder until I'm ready to serve them. If you use the bottom of the muffin tin, the cups will not fit the inside of your tins and you will need to use another container to transport them.
Step 5: Even though the bagged salad is pre-chopped, I chop the lettuce even more so I do not have huge salad leaves that wont fit inside the cups. Then I dress the salad generously with my Caesar dressing and fill each cup generously. You can top each cup with more cheese or mini croutons if you wish! Like mini tartlets!
How To Serve Your Cups
As mentioned above, once the Parmesan shells are set and cooled in the muffin tin, I will leave them inside and fill with my Caesar salad. This way I do not have to mess with the cups until I am ready to serve them to my guests.
Treat your mini Parmesan cups like mini canapes. They are delicate so the less you handle them, the better!
Check out this round up of Savory Canapes for parties!
How Far In Advance Can You Make Your Cups
When filled with the salad, they will stay crisp for 3-5 hours at room temperature. The individual crisps will stay crispy for several days in a sealed container.
Add Chicken!
Feel free to add shredded or diced chicken to your cups! It will help keep your guests full longer. If doing this, I suggest adding grilled chicken if possible to give your cups the most flavor!
More salad appetizers you may like:
Cucumber Cups Filled with Greek Salad
19 Easy Last Minute COLD Party Dips For A Crowd
Burrata Salad Appetizer with Roasted Veggies
Amuse Bouche Tips and Recipe Ideas

15+ Delicious Pizza Party Appetizers
Ingredients
Method
- Preheat oven to 400°F.
- Place 1-1½ tablespoon of grated Parmesan cheese onto a baking sheet with a silicone mat or parchment paper. (One of these is essential or your cheese will stick!)Spread the cheese out so each round measures about 4" wide. Leave about 2" gaps between your rounds. You can fit 6-8 rounds onto each baking sheet. If using garlic powder, sprinkle each round with some of the powder to make these "Garlic Parmesan" crisps.

- Bake for 3-5 minutes or until the cheese is just melted. You do not want to brown your cheese!
- Remove from oven and let cool for 40-60 seconds.
- Use a spatula and quickly but carefully place each round over every other slot on your muffin tin tray. Use your fingers or a shot glass to press the cheese down into the cups. You want to do this while the cheese is still slightly hot so they will mold easily. It is okay if your cheese overlaps the tin.

- While waiting for crips to cool, add your salad and dressing to a large bowl and mix until coated. Use as much dressing as you wish but I prefer a generous amount of dressing. You do not need to use the entire ½ cup.
- Once your cups are cooled, fill each cup while still in the muffin tin. Keep them in the tin until your ready to serve. If you only have one muffin tin, fill each cup and place them onto your serving tray. Garnish with more parmesan cheese or croutons if you like!


ayeza malik
such a nice recipe .. will try soon
JanetGoesBitesized
SO CUTE for a baby or bridal shower, or any kind of party. GREAT WEBSITE design as well!!! wow. go you!
Aleka Shunk
Thanks so much for your sweet comments 🙂 Yes, totally baby or bridal shower worthy! ?